

2
QMS 4060 LCIF-Legal Installation Guide (continued)
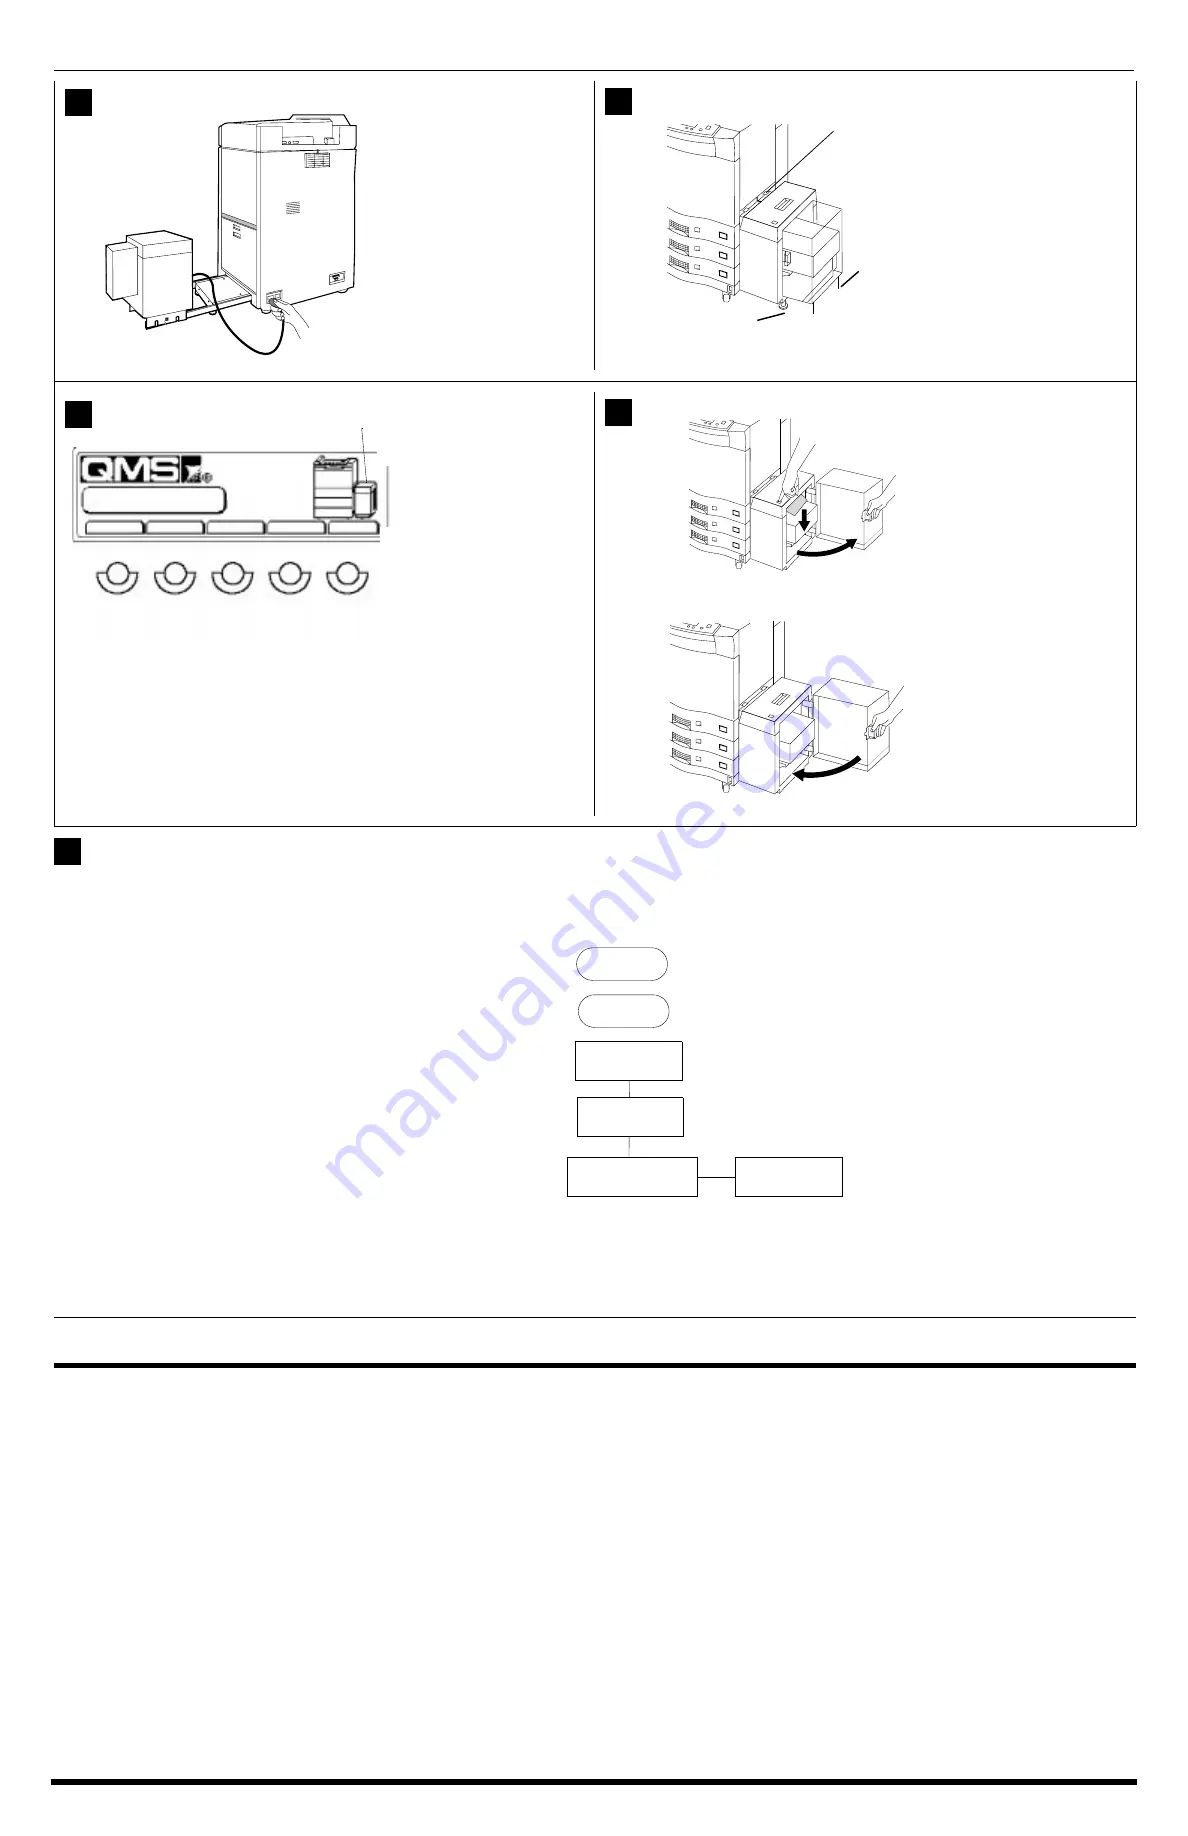
Connect the interface cable
to the connector on the rear
lower-left side of the printer.
Slide the LCIF into the
sheet guide on the printer
until it locks in place.
Caution
: Adjust the
leveling feet on the
support stand so the
leveling chains just
touch the floor.
Turn on the printer.
Check the printer display
panel for the LCIF graphic.
This lets you know the
LCIF is connected properly.
To load paper in the LCIF-
Legal, open the LCIF door,
press the button on top of
the LCIF, load paper, and
close the door.
Press the Tray button on the
printer control panel to
select the LCIF-Legal for
paper feeding.
Use the Previous or Next
button to highlight the LCIF-
Legal on the graphic, and
then press Select.
Through the Administration/Engine/Default Paper Sz menu, set the LCIF-Legal to legal-size paper.
For further menu information, see chapter 4, “Printer Configuration,” in the
QMS 4060 Print System Reference
manual on your
QMS 4060 Print System Documenta-
tion
CD-ROM.
The operating environment is the same as for the printer. For information about paper jams, see “Clearing LCIF Pick-up Jams” on page 4-6 of the
QMS 4060 Print
System Operation
manual on your
QMS 4060 Print System Documentation
CD-ROM.
QMS is a registered trademark of QMS, Inc.
Copyright
©
1999 by QMS, Inc. All Rights Reserved.
7
LTR
LTR
LTR
8
IDLE
LETTER
LETTER
LETTER
LTR
Online
Tray
Cancel
Status
Copy
9
LTR
LTR
LTR
LTR
LTR
LTR
10
11
Engine
Default Paper Sz.
Legal
Administration
Online
Menu


