


106
3
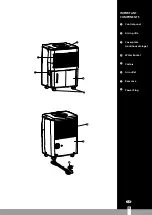
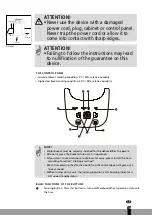
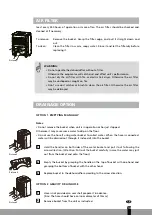
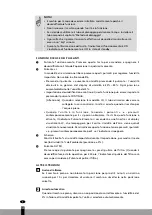
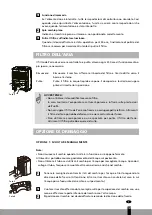
Thread the drain hose onto the nozzle and make sure it's securely locked.
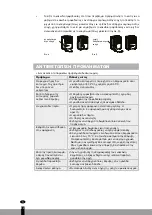
A
Picture 6
A
drain hose
nozzle
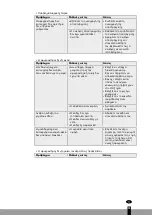
4
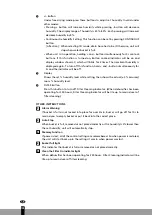
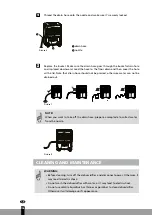
Replace the bucket. Make sure the drain hose goes through the buckefs drain hole
and is placed downward. Lead the hose to the floor drain and then cover the hole
with a lid. Note that drain hose should not be pressed, otherwise water can not be
drained out.
Picture 7
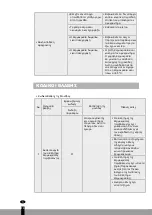
G
NOTE!
When you want to take off the drain hose, prepare a receptacle to collect water
from the nozzle.
Picture 8
CLEANING AND MAINTENANCE
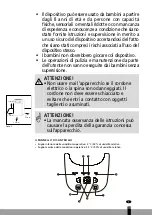
WARNING:
• Before cleaning, tum off the dehumidifier and disconnect power. Otherwise it
may lead to electric shock.
• Do not wash the dehumidifier with water, or it may lead to electric shock.
• Do not use volatile liquid(such as thinner or gasoline) to clean dehumidifier.
Otherwise it will damage unit's appearance.
G
4
106
Summary of Contents for D 410
Page 33: ...33 6 33...
Page 65: ...65 3 65...
Page 81: ...81 FIN...
Page 84: ...84 220 240 V 50 Hz 84...
Page 85: ...85 CE 4 85...
Page 86: ...86 8 86...
Page 87: ...87 G 5 C 40 35 C 90 A 2 3 4 5 6 7 8 4 87 1 10 cm 10 cm 10 cm 20 cm...
Page 89: ...89 3 4 Full 5 250 250 G 1 1 2 3 4 89...
Page 90: ...90 2 3 2 1 14 mm 2 3 A 2 6 A 2 4 7 G 8 4 5 90...
Page 91: ...91 G 1 2 250 G 9 Picture 10 4 91...
Page 92: ...92 32 C 5 C 5 15 C...
Page 93: ...93 CO 4...
Page 94: ...94 5 C 1 F1...
Page 95: ...95 4 95 2 F2 3 L1 4 F0 5 H3...
Page 96: ...96 4 R134a R134a R134a 1300...
Page 113: ...113 4 113...
Page 129: ...129...
Page 159: ...159 1...
Page 191: ...191...
Page 221: ...221 y...
Page 237: ...237 TR...
Page 238: ...238...
Page 239: ...239...