2.2 Connection
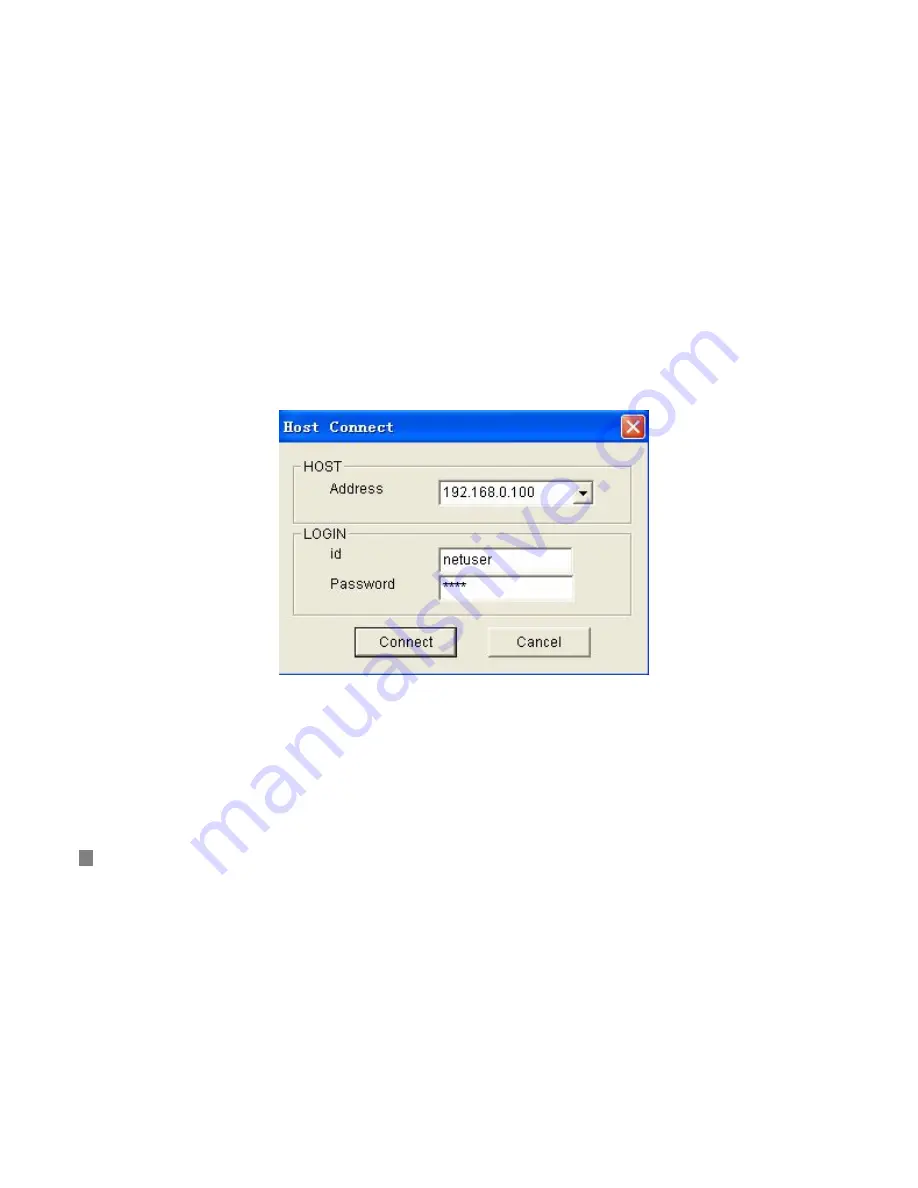
(1) Click “connect” icon in the main window of the Net Client to enter the connection setup menu.
(2) Input Address & ID / Password.
The address is the IP address of the DVR, which is set in the TYPE menu, which is in the submenu of the
NETWORK menu of the DVR.
The ID and the password are set in the NET CLIENT ID, which is in the submenu of the NETWORK menu
of the DVR. Besides the four sets of the ID and password, the user can use “Netuser” as ID, the
corresponding password is set in NET PASSWORD menu, which is in the submenu of the NETWORK menu
of the DVR.
20
Summary of Contents for QSNDVR9M
Page 5: ...1 2 Login Put the IP address of the DVR into the IE address window Then press enter or click 5...
Page 10: ...Button Screen mode Screen 1 channel 4 channel 6 channel 8 channel 10...
Page 22: ...2 4 Remote playback then use the following buttons to control playback 22...
Page 24: ...2 5 Backup then a dialogue box pops up and the backup begins 24...
Page 29: ...29...


