Q-See
SuperDVR & 8PCRP/8PCDP/16PCRP
User Manual
30
4.6 E-map Configuration
E-map is used to show full geographic range covered by the whole monitoring
system in the form of map. An E-map features simple operation and direct
display of status and is generally graded or tiered in the form of a tree
diagram.
4.6.1 Edit Map
The system only supports bmp or jpg image format.
NOTICE: You need to draw the floor plan of where you want to install the
cameras in a program such as Paint or Photoshop and save it in BMP
format before using this feature.
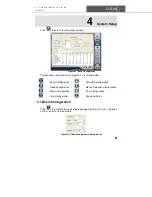
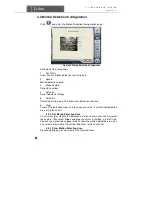
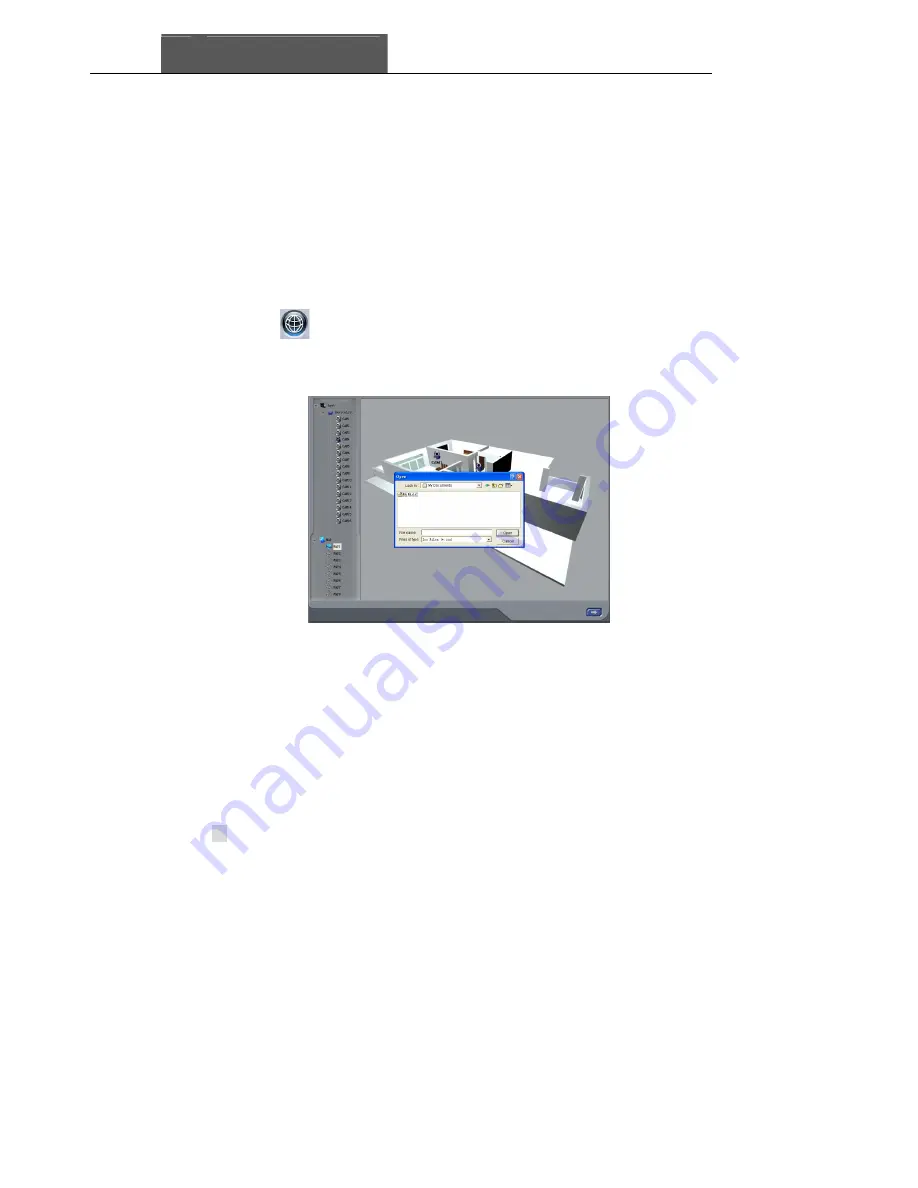
Click
to enter ‘Emap
→
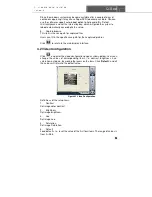
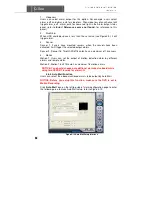
Emap Edit’, press right key of Load Picture in
the default interface of the map and select the required map file in the related
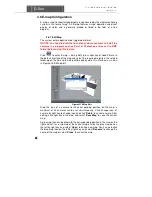
folder, open the file and the map will be displayed in this interface, as shown
in Figure4-15 E-Map Edit.
Figure4-15 E-Map Edit
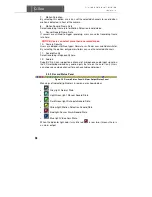
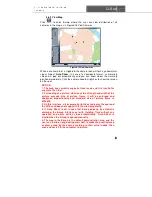
Drag the icon of a camera to the corresponding position on the map, a
maximum of 32 cameras can be set simultaneously, Click ‘change icon’ of
camera by right key to change icon and click ‘
Delete
’ to cancel camera. After
editing, click right key in the map and select ‘
Save Map
’ to save the current
map.
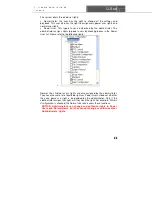
A gray map icon can be drawn to the corresponding position in the map on the
right and set it as a sub-map of the current map, or click the gray map icon on
the left by right key and select ‘
Open
’ to build a new map. You can also click
the blue map icon on the left by right key, and select ‘
Rename
’ to change the
name of the map or select ‘
Close
’ to cancel this map.


