


10
11
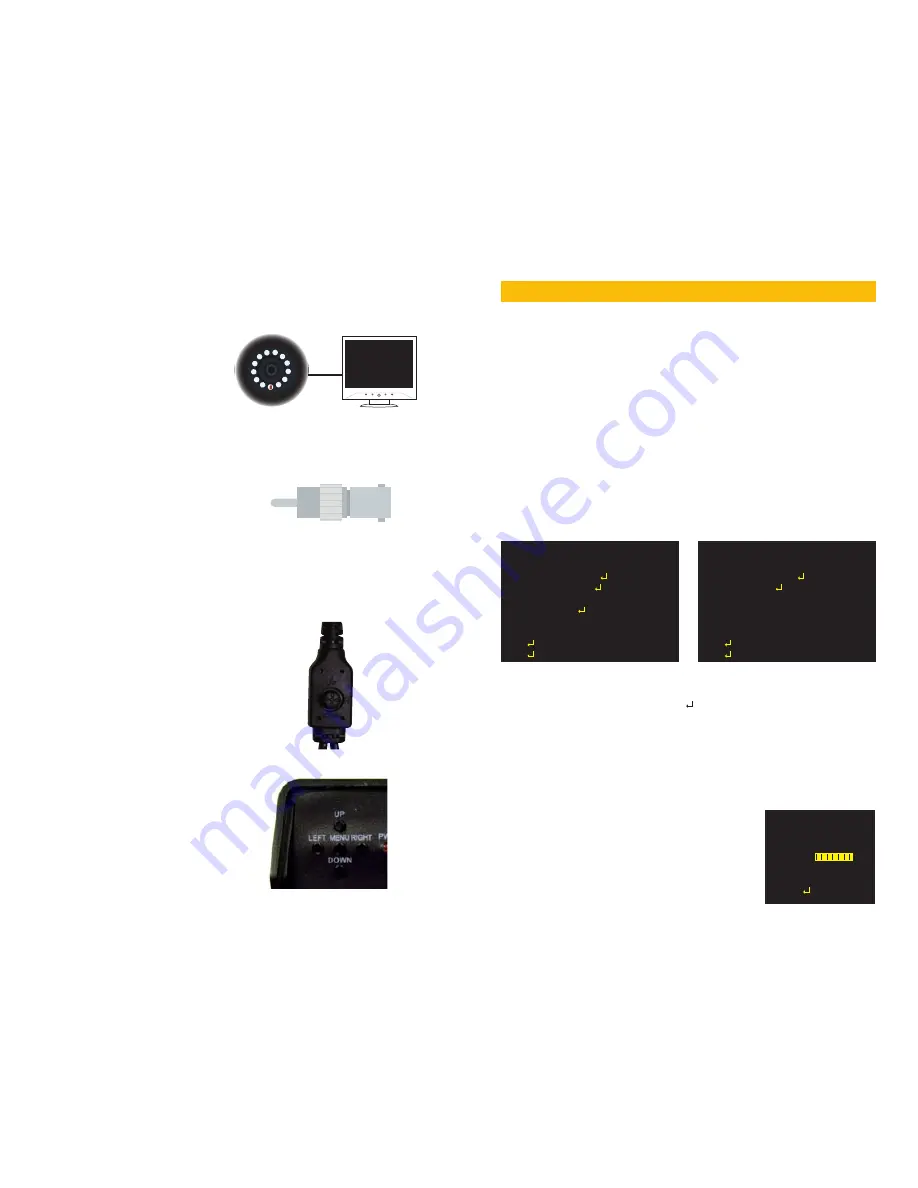
CAMERA
TV or MONITOR
CONNECTING THE CAMERA TO A TV OR MONITOR
A single camera can be connected directly to a monitor or TV with an RCA input using the
included cable and a separately available adapter if needed.
STEP 1.
Connect the camera to the
cable and power supply as described
in Steps 1, 2 and 5 above before
connecting it to your video display.
STEP 2.
Connect the camera to the
“Video In” port on the monitor or
television.
For Television: You may need to tune or select the correct INPUT (i.e.; A/V, L1, L2, Source)
Consult your television’s manual for details.
Depending on your TV or monitor, you may
need to use a BNC-to-RCA adapter (not
included) to connect the BNC connector on
the video/power cable to your screen.
OPERATION
CONTROLLING YOUR CAMERA
The camera’s on-screen menu is accessed by the multifunction button attached to the camera
cable. In the case of the QD6503X, a group of five buttons makes up the multi-function
controls. The operation of both types of control is similar.
To access the on screen display, press the
control or menu button. This will bring up
the menu on your system’s monitor or other
attached display. This button also acts as the
“
Enter
” button when setting your parameters.
Navigate through the menu using the
directional controls. The cable-mounted
multi-function button acts as a miniature
joystick allowing you to move up, down, left
or right through the menu and submenus.
On the QD6503X, pressing the individual
directional buttons will move you through the
on screen display.
In addition to the on-screen settings, you
can adjust the camera’s zoom, focus, and
in some cases the light level (iris). These
adjustments can be made externally with the
exception of the QD6001D which will require
removal of the dome to adjust.
Cable-Mounted Multi-Function Button
QD6503X Multi-Function Controls
Page 1
Page 2
The On Screen Display (OSD) built into your camera allows you to control almost every aspect
of how it captures images. Using the built-in menus, you can control brightness, contrast,
white balance, shutter speed and other functions.
It should be noted that these settings must be made at the camera itself and they cannot be
set remotely. When used with a security DVR system, what you see on the screen will be what
is recorded - including the OSD menu. In fact, use of the OSD can trigger motion detection so
it may be advisable to temporarily disconnect/disable alarms or notifications when working in
the OSD menu.
When saved using the “Save All” command, settings will be stored on the camera even in the
event of power loss. Once power is restored, the camera will continue to operate according
to your settings. You can revert to the factory default settings by selecting “Camera Reset” in
the menu.
SETUP MENU
Pressing the multi-function or
Menu
button (depending on model) will open the OSD to the
first page of the Setup Menu. The menu will appear over the video image being delivered by
the camera.
To change a setting, scroll to the desired item until it is highlighted and press right or left to
select the desired value. Menu options with a “ ” indicate that there is a submenu. Clicking
on an item with that option will take you to the submenu. Move between the two pages using
NEXT
or
BACK
as appropriate.
LENS
This turns the auto iris feature on or off. The iris controls the amount of light entering the lens,
or exposure. Only the QD6503X has the capability to use this feature, but it will require an
automatic lens which is available separately. With such a lens attached, you can select;
SETUP MENU
LENS
MANUAL
SHUTTER/AGC AUTO
WHITE BAL
ATW
BACKLIGHT
OFF
PICT ADJUST
ATR
OFF
MOTION DET
OFF
NEXT
EXIT SAVE ALL
SETUP MENU
PRIVACY
OFF
DAY/NIGHT
AUTO
NR
CAMERA ID
OFF
SYNC
INT
LANGUAGE
ENGLISH
CAMERA RESET
BACK
EXIT SAVE ALL
AUTO IRIS
TYPE
DC
MODE
AUTO
SPEED
080
RETURN
TYPE
-
DC
(direct current) or
VIDEO
(video
control) of the iris.
MODE
-
AUTO
(automatically adjusts),
OPEN
(always opened) or
CLOSE
(always closed).
SPEED
- When the mode is set to
AUTO
, this
controls the sensitivity of the lens with a value
ranging from 0 to 255.


