background image

8

9

Mute

Stop playing EJECT

(available to analog audio output

Signal only)

Push [MUTE] to silence the sound of the
player, press it again to return to normal
state.

1. Push [EJECT]

2. Push [EJECT] to close the tray

3. Press [POWER] to turn off the player.

unload the disc until the tray is

ejected. After stopping playing, unload
the disc until the tray is ejected.

Then turn off power of all connected

equipment.

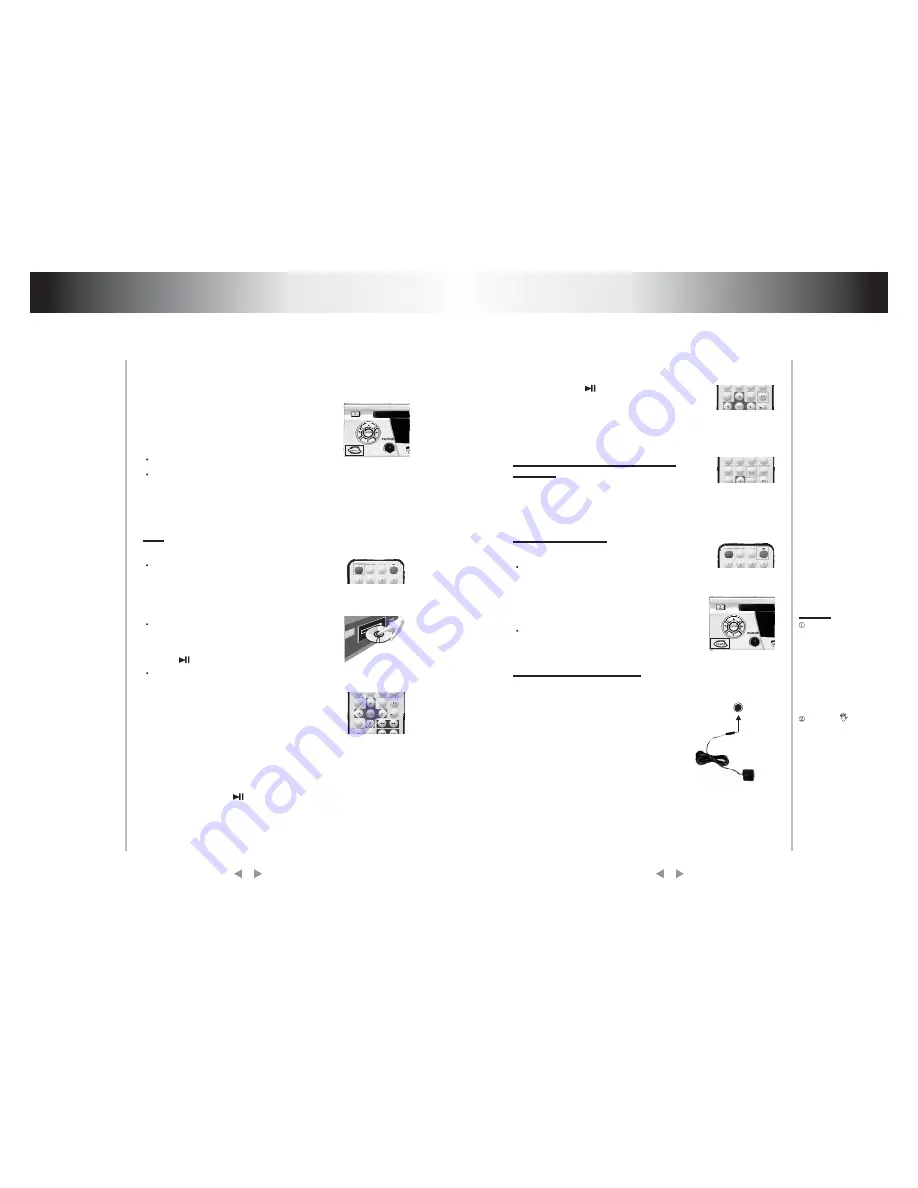
The use of REMOTE SENSOR

If you want to put the DVD player in
where you can not see, please insert
REMOTE SENSOR in the REMOTE
SENSOR INPUT, and put REMOTE
SENSOR on where you can see in
automobile, you can control the DVD
p l a y e r s o l o n g a s l e t R E M O T E
CONTROL toward REMOTE SENSOR.

4. Basic operation

Basic operation

Basic operation

If you have connected the product to TV,
all power lines have been plugged into
receptacles, and loaded the batteries
into remote control, so you can play the
player.

Turn on TV power

Play

1. Push [POWER] in the player.

2. Push

open/close eject player or [

EJECT] buttons on the remote control
to the tray.

3. Push [

] PLAY/PAUSE

If you have connected amplifier, you

should also turn it on, and select proper
amplifier mode according to the type of
discs to be played.

Control TV remote control to shift TV

to proper video input mode (VIDEO IN).

Load a disc in the tray, with label side

upward (see following figure), place
single disc in the tray,

The player will close the tray

automatically and begin to read it, It can
identify different disc format then
display it on the screen of DVD frontal
panel, afterwards if automatically plays
disc, If directory or menu picture disply
in the screen, you can push the
direction buttons [UP], [DOWN],[LEFT]
and [RIGHT] buttons in the remote
control to move lighting band to desired
track, You can directly push number
buttons to select track.

While playing push [

] to pause the

playback, push [

] again to resume

play

Attention:

While playing if you find the

picture is not shown in full

screen or some part hidden or

b l a c k a n d w h i t e i m a g e

occur,you need to the system,

please select right TV system

(PAL or NTSC), Please refer

to instructions of [SYSTEM]

IN CHAPTER 6 or examples

in chapter 6.

When the

symbol

s h o w s i n T V s c r e e n , i t

signifies invalid operation or

y o u r o p e r a t i o n i s n o t

accepted by the player.

REMOTE
SENSOR

Summary of Contents for PLDVD120

Page 1: ...yer Operating Instructions Before attempting to connect or operating this product Please read the instructions completely NOTES Any change to the design and specifications will not be advised PLDVD120 PLDVD120 ...

Page 2: ...iscs into the tray When the disc is improperly loaded please do not force Table of content 1 _ _ _ _ _ _ _ _ _ _ _ _ _ _ _ 2 _ _ _ _ _ _ _ _ _ _ _ _ _ _ 3 _ _ _ _ _ _ _ _ _ _ 5 _ _ _ _ _ _ _ _ _ _ _ _ _ 6 _ _ _ _ _ _ _ _ _ _ _ _ _ _ _ DVD features Names of parts Preparation before operation Frequent operations System setting 2 1 Frontal panel _ _ _ _ _ _ _ _ _ _ _ _ _ _ _ _ _ 2 2 Rear panel _ _ _ ...

Page 3: ... DVD discs of various versions but also VCD SUPER VCD DVCD CD MP3 etc 1 It is compatible to DVD VCD SUPER VCD DVCD CD MP3 etc 2 Multi language on screen menu 3 High quality image with over 500 lines horizontal pesolution 1 Dts digital output provides high fidelity stereo interface 3 Multi angle The user can select different angle at their option to watch e g closer angle full view etc 4 Multi imag...

Page 4: ...ELECT 10 DIRECTION KEYS 11 DVD GAME 12 VOLUME 13 TITLE 14 EJECT 15 CLEAR 16 SLOW 17 PROGRAM 18 MUTE 20 ZOOM 24 BACKWARD 25 NEXT 26 PREVIOUS 19 REPEAT 21 PLAY PAUSE 22 STOP 23 FORWARD 1 3 4 5 6 7 8 9 10 11 12 13 14 15 16 17 18 19 20 22 21 23 24 25 26 2 1 2 3 4 5 6 8 9 10 2 1 Front panel 1 POWER ON OFF 2 DISK TRAY 3 OPEN CLOSE 4 LCD DISPLAY 5 PAUSE PLAY 6 PHONE 7 STOP 8 AUDIO R 9 AUDIO L 10 VIDEO 11...

Page 5: ... only output through or coaxial terminal There are many solutions to connect TV and this product user can select one according to the condition of the apparatus to be connected However be aware to shut off all power prior connection Names of parts 3 2 Assembling batteries of remote control Open battery compartment Insert two 7 A batteries make sure to match and of the batteries to the marks in the...

Page 6: ... AMP DVD AC Power connection drawing while operating in room Connect AC adapter to 12V input DVD CHOKE Power connection for automotive application DVD WITH TV TUNER ANTENNA THIS CONNECTED ONLY USE IN DVD WITH TV TUNER MODEL AMP WHITE RED YELLOW L R VIDEO S VIDEO 110V 60Hz ADAPTOR CAR DC12V 12V Ground RED BLACK CHOKE ANT ...

Page 7: ...ray 3 Push PLAY PAUSE If you have connected amplifier you should also turn it on and select proper amplifier mode according to the type of discs to be played Control TV remote control to shift TV to proper video input mode VIDEO IN Load a disc in the tray with label side upward see following figure place single disc in the tray The player will close the tray automatically and begin to read it It c...

Page 8: ...NU to display the tradk list the moment firstly push UP DOWN to select a track then push ENTER to play For non DVD discs when PBC is on while playing push RESUME to display the track list the moment you can directly enter No to select We will introduce some regular operations of different types of function the user can perform one or more operations as you like In addition c h a p t e r 7 d e t a ...

Page 9: ...ecorded with MP3 format audio program This DVD player supports MP3 disc you can operate following these procedures Push EJECT to eject tray load MP3 disc push EJECT again TV screen will display following pictures Use Direction key to move the cursor and use Enter key or PLAY key to enter the corresponding directory or select the corresponding file for playing The option list of play modes lists so...

Page 10: ...menu play mode Please refer to the description on SETUP setting menu for the information on the switching of play modes In the first play mode after a disc is put into the player and the player reads the disc the player will go into STOP state and display STOP on DVD display panel At this time you can press a numerical key to select a file and play the disc starting with the selected file or press...

Page 11: ... Push SETUP to enable TV screen display system setting menu picture push DOWN to move the high lighting band to the item SPEAKER SETUP push ENTER TV screen will display 2 Push RIGHT to enter the sub menu in the right screen If you 2 Push RIGHT to enter the sub menu in the right screen push DOWN to move the high lighting band to the item SPDIF RAW or SPDIF PCM then push ENTER 3 Push MAIN PAGE to ex...

Page 12: ...isplay language 2 Push RIGHT to enter the sub menu in the right of the screen If you want to set the language of operation indication or menu display to English you can push UP or DOWN to move the high lighting band to English then push ENTER the language of the menu in the screen will turn into English 3 Push MAIN PAGE to exit system setting System setting System setting 18 19 3 The submenu SMART...

Page 13: ... 8 7 MENU PBC whetherifworksdependsonthetypeofdisc 8 5 REPEAT Push this button to repeat chapter title disc 7 Functions of buttons in remote control Functions of buttons in remote control Functions of buttons in remote control when PBC is off while playing you should firstly push STOP button then PBC to open yet 8 8 8 9 ANGLE 8 10 MUTE 8 11 8 12 8 13 SLOW 8 14 DISPLAY 8 15 8 16 ENTER whetheritwork...

Page 14: ...aption indication language e g English etc Press it once to change a caption Language This operation works only for the disc with multi subtitle encoded Push this key to select the language of sound on the disc push it once to change to another language This operation works only for the disc with multi language audio Functions of buttons in remote control Functions of buttons in remote control 22 ...

Page 15: ...mote control Replace the batteries with new ones Point the remote control at the remote control sensor of the unit 10 Specifications Playable discs Videoformat Audio format Signaloutput Functionaloperation Output interface Powervoltage Powerconsumption Frequencyresponse Audiosignal noiseratio Weight Productdimension mm Accessories DVD SVCD DVCD VCD1 0 1 1 2 0 micro laser video audio disc CD DA com...

Page 16: ...e on the labeled side Don t use pickup cleaning p r e p a r a t i o n p h e n y l c h e m i c a l s o l u t i o n dispersing solution anti static electricity solution or any other kind of solutions to cleandisk Don t stick label or glue based note on disk Don t use disks with remaining glue or damagedglueylable D o n t u s e s c r a t c h i n g preventingmaterialsorcover unless it is assigned to u...

Reviews: