background image


Steel


Pegs


Repair


Kit


Ladder


Bands


Support


Poles


Sail


Track


7. 

Next


peg


the


annexe


starting


with


the


rear


corners


(nearest


the


caravan)


ensuring


that


you


pull


the


pegging


point


under


the


van


to


create


a


seal


whilst


ensuring


the


sidewall


is


as


vertical


as


possible.


Then


peg


the


front


corners,


ensuring


that


there


is


no


slack


material


between


the


four


corners.


Peg


the


remaining


pegging


points,


cross


pegging


the


doorways


andentrances.


Adjust


storm


straps


as


necessary.


1. 

Ensure


that


the


ground


is


free


of


stones


and


other


sharp


objects.


You


may


wish


to


lay


a


sheet


of


polyethylene


on


the


ground


to


protect


your


annexe.


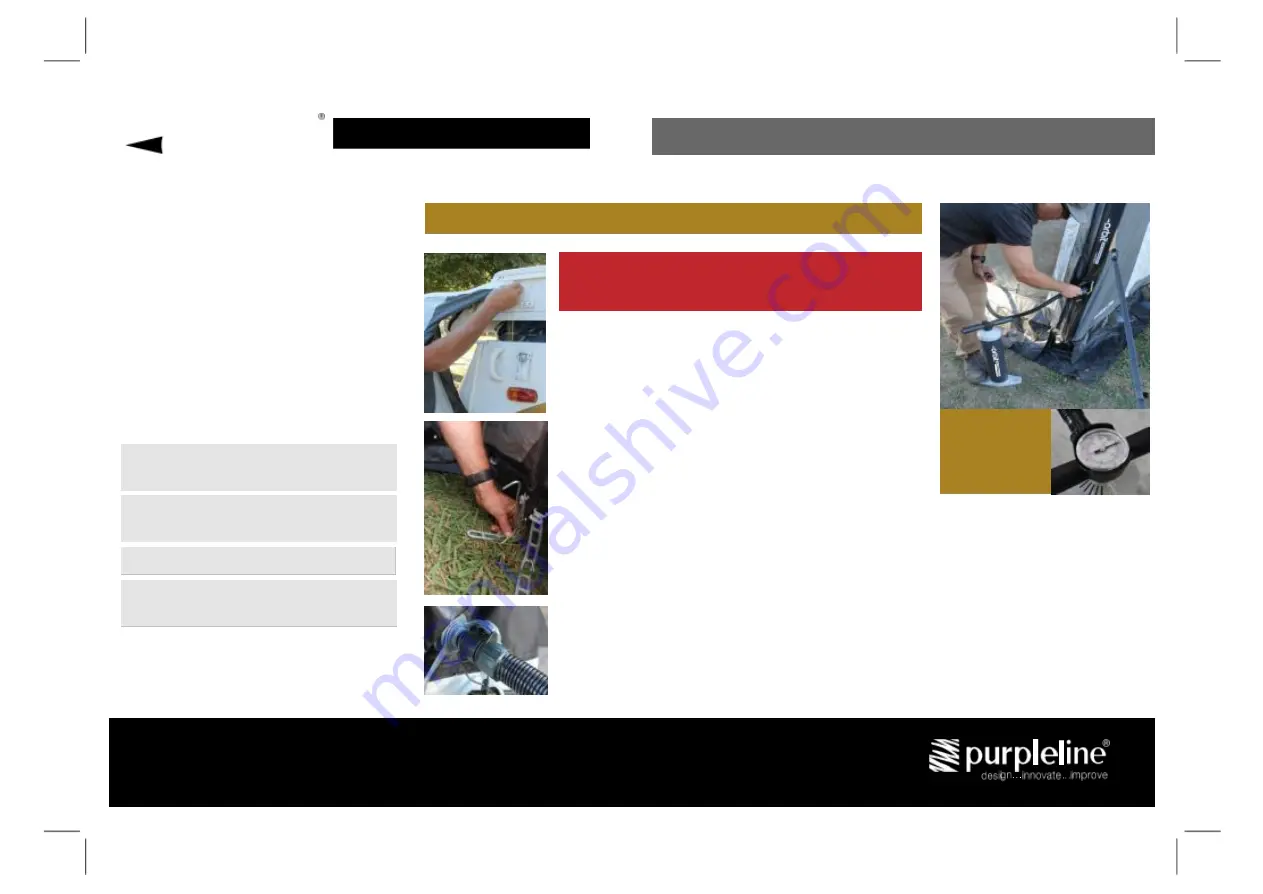
Unpack


and


spread


the


annexe


on


the


ground.


2. 

Thread


the


annexe’s


beading


through


the


sail


track


on


the


caravan


to


the


desired


position.


The


annexe


should


be


positioned


on


the


caravan


so


the


beading


is


horizontal.


The


beading


should


not


slope.


3. 

Locate


your


annexe


anchor


clips


which


are


sewn


into


the


bottom


of


the


flysheet.


4. 

Attach


the


supplied


ladder


bands


onto


all


the


anchor


clips


by


simply


pushing


the


ladder


band


into


the


anchor


clip.


To


avoid


damage


to


your


annexe,


use


all


pegging


points.


The


ladder


bands


are


replaceable.


5. 

Next


locate


the


inflation


valve


which


is


near


ground


level


on


the


main


air


beam.


The


valve


is


attached


by


a


retaining


strap


and


is


not


pre-fitted


therefore


you


will


need


to


carefully


screw


this


into


place.


Remove


the


main


valve


cap


and


insert


the


Orbit

®


Air


Pump’s


inflation


nozzle


and


operate


the


pump


accordingly.


It


may


be


necessary


to


elevate


the


tube


during


the


latter


stage


of


inflation.


Inflate


to


a


maximum


of


7


psi


and


then


screw


the


valve’s


cap


into


position.


6. 

Close


all


zip


entrances


on


the


annexe


flysheet


and


peg


out


the


storm


straps.


PLEASE


READ


THESE


INSTRUCTIONS


BEFORE


ATTEMPTING


TO


PITCH


YOUR


ANNEXE


LOW 

325


WIDTH


RANGE


DEVELOPED


SPECIFICALLY


FOR


THE


AUSTRALIAN


CLIMATE


From


the


Makers


of


the


Multi-Award


Winning


AirOPUS

®


Camper


Trailer


INFLATE


AIR


BEAMS


TO


A


MAXIMUM


OF


7


PSI


ORBIT 

AIR


COMET


325


INFLATABLE


CARAVAN


ANNEXE


ANNEXE  BAG  CONTENTS 

PITCHING


INSTRUCTIONS


Inflatable


Annexe


Wind


Skirt


Hand


Pump


Ground


Sheet


Storm


Straps


FEATURES


Plastic


LED


Sleeve


for


optional


LED


light


strip


Pre-attached


storm


buckles


&


webbing


straps


Removable


side


door


panels


3-layered


window


system


(mesh,


plastic


&


canvas)


Dirt


skirt


for


extra


protection


Superior


ventilation


orbitairtech.com.au


Summary of Contents for Orbit AIR COMET 325 Low

Page 1: ...it Air Comet 325 Low DEVELOPED SPECIFICALLY FORTHEAUSTRALIAN CLIMATE From the Makers of the Multi Award Winning AirOPUS Camper Trailer AIR COMET 325 LOW 325 WIDTH RANGE INFLATABLE CARAVAN ANNEXE 325W...

Page 2: ...damage to your annexe use all pegging points The ladder bands are replaceable 5 Next locate the in ation valve which isnear ground level on the main air beam The valve isattached bya retaining strap a...

Page 3: ...rted with the bottom part through the retaining loop located at the base of the rear seal pads and with the at end inserted into the integral pocket inthe top back end of annexe above the rear seal pa...

Page 4: ...FOR THEAUSTRALIAN CLIMATE From the Makers of the Multi Award Winning AirOPUS Camper Trailer INFLATABLE CARAVAN ANNEXE LOW 325 WIDTH RANGE ORBIT AIR COMET 325 CARE INSTRUCTIONS WE HIGHLY RECCOMMEND IN...

Page 5: ...Yourannexe issupplied with storm straps that should be attached to the captive clips on the ysheet Storm straps are intended to help secure your annexe but should not be relied on inextremes of weathe...

Page 6: ...o top up the air pressure to keep the bladders rm Adrop in pressure should not be treated as a leak or puncture until further investigated VALVES Thevalves on the air tubes are attached by retaining s...

Page 7: ...e Makers of the Multi Award Winning AirOPUS Camper Trailer LOW 325 WIDTH RANGE INFLATABLE CARAVAN ANNEXE WARRANTY Your Orbit AirAnnexe iscovered byour Manufacturer sWarranty against manufacturing defe...

Page 8: ...ther or both ends use itas a bedroom or storage Orbit Air Capsule Dimensions 230W x 160D x 180H Orbit Air Capsule Photographs diagrams are for illustration purposes only Actual product may vary and an...

Reviews: