3.Equipment instructions
3.1.Processing flow
Step 1: the material to be processed is fixed on the machine with the
corresponding fixture. Generally, the thin plate is fixed by double-sided
glue, the rectangle is fixed by a vise, and the shaped workpiece is fixed by
a special fixture.
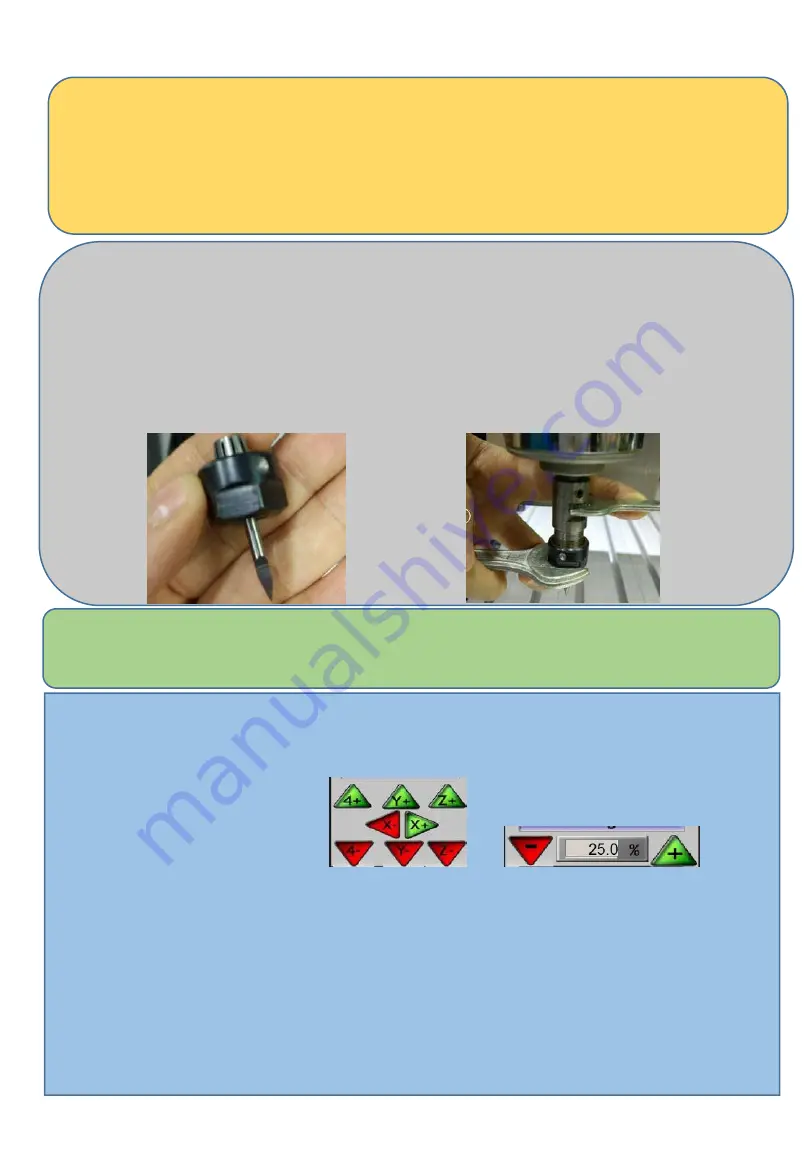
Step 2: Clamp the tool onto the spindle motor. When clamping the tool, it
is necessary to pay attention to the specifications of the clamping tool. It
must be the same as the programming time. The tool should be locked
with the spindle wrench. After the tool is clamped, it must be checked
whether the tool will be yawed. Otherwise, the quality of the processed
product will be poor. Broken knives, etc. during processing.
Step 3: Open the control software Mach3 on the computer, turn on the
machine power switch, and release the alarm state.
Step 4: manual tool setting operation, press the keyboard
“
Tab
”
on the
computer operation interface to call up the
“
MPG
”
interface, click the
corresponding button to control the forward/reverse movement of the
machine in the current axis. by To
control the speed of the movement, move the center of the tool nose to
the machining coordinate origin set during programming (for the
convenience of tool setting, the programming is usually set at the four
corners or the center of the material). For example, when programming,
the origin is set in the lower left corner of the material, then we will align
the center of the tool tip with the bottom left corner of the material with
the hand wheel (the spindle speed should be adjusted to about 30% when
the tool is set to prevent the tool from breaking. Knife).


