14
15
Selection of units of measurement
Rotate the controller to select
“M”
– metres or
“Y”
– yards.
Press briefly the controller to confirm your choice.
Unit of measurement icon is shown together with measured readings.
Activation of wireless remote control (XQ series only)
The wireless remote control
(RC)
duplicates functions of the scope's
turning on, image calibration and digital zoom.
The RC has three buttons:
Button
“ON” (19)
– turning the scope on/off (press for two seconds to
turn off).
Button
“CAL” (20)
–
image calibration.
Button
“ZOOM” (21)
– digital zoom on/off.
To start using the wireless remote control you will need to activate
it:
Turn on the scope and select menu option
“RC activation”
(icon ).
Press the controller, a message
“WAIT”
will show up and countdown
will start within which you need to press any button of the RC.
If the activation is successful, a message
“Complete”
will show up
next to the icon. The RC is ready for use.
If the RC does not work, replace the battery. To do this, unscrew the
screws on the rear panel of the RC, remove the cover, pull out the old
battery and insert a new CR2032 battery.
Digital zoom
To activate digital zoom, press briefly button
“Mode” (4)
.
Digital zoom change is shown as a pop-up symbol and takes place
repeatedly, when the final value is reached, the first value is shown
(see table below).
Set value of the full optical magnification is shown in the status bar.
The unit does not save the magnification value. Upon turning the unit
on, full optical magnification will correspond to the value of optical
magnification with x1 ratio.
Magnification ratio
Model
Optical magnification x
1
x2
x3
x4
Full optical magnification
1
.
6х
3.2x
4.8x
6.4x
3.1x
6.2x
9.3x
12.4x
4.1x
8.2x
12.3x
16.4x
1
.
6х
3.1x
4.1x
LQ
19
/ XQ19
LQ
38
/ XQ38
LQ50 / XQ50
Monoculars
Quantum XQ
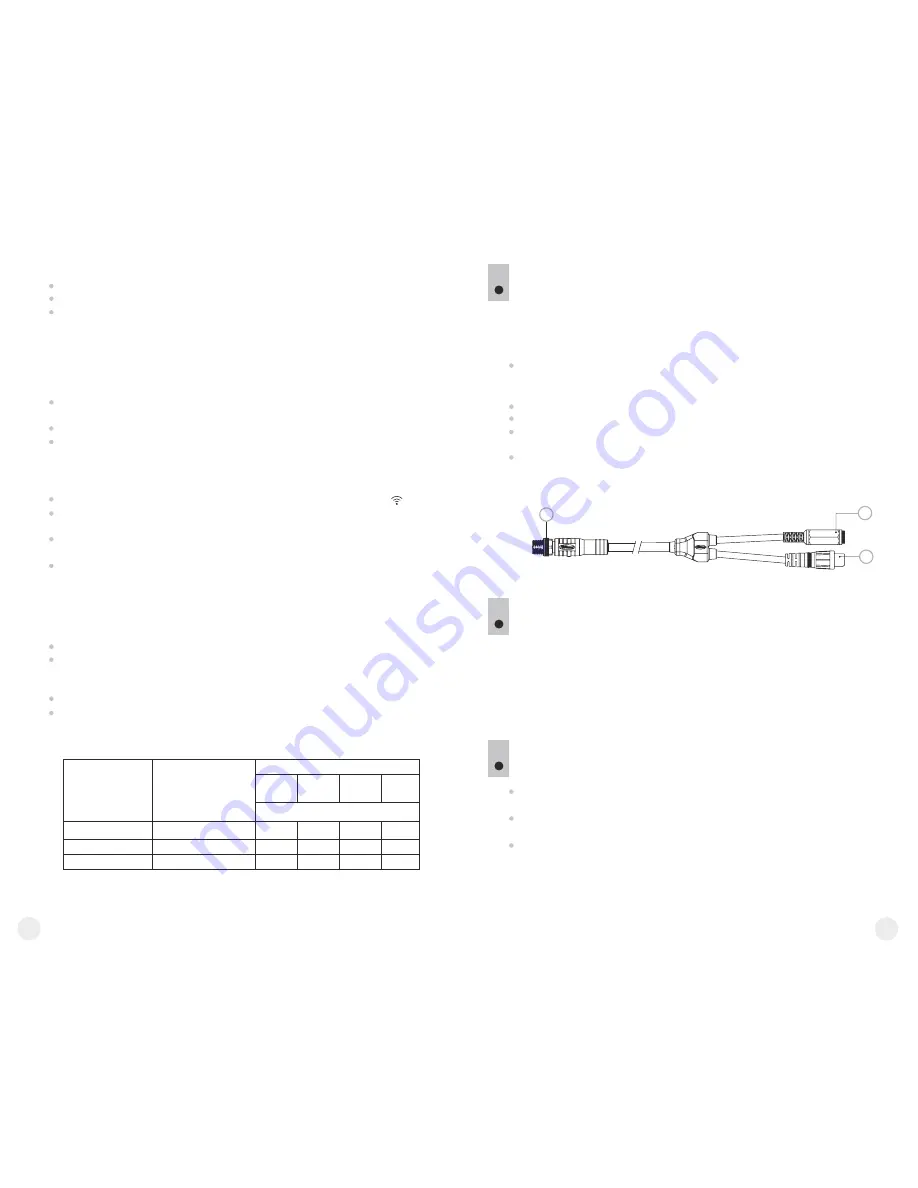
are equipped with a video output to connect
external recording devices and to transmit video signal to monitors, TV
sets etc.
VIDEO OUTPUT (XQ series only)
10
Connect the plug
(16)
of the cable to the jack
(10)
of the scope by
matching the notch in the plug connector and the protrusion of the jack
(10)
(see the scheme).
Secure the cable by turning clockwise the locking ring of the plug
(16)
.
Connect a signal receiver to the jack
(18)
of the cable.
Turn the scope on – image will appear on the external device. Please
make sure the external device is in the AV mode.
To record video, you can use video recorders such as Yukon MPR
(#27041) and others.
16
17
18
ACCESSORIES
11
Using the Weaver mounting rail
(8)
, you can attach various
accessories to the
Quantum
scopes, such as Battery Pack EPS3I
(SKU#79112).
The ¼” tripod mounts from both sides of the scope are designed to
have the scope installed on a tripod or have a hand strap (included)
attached.
CARE AND MAINTENANCE
12
The thermal imaging scopes have IPX4 degree of protection
(splashproof) but they are not intended for submersion into water.
Attempts to disassemble or repair the scope will void the
warranty!
Clean the scope's optical surfaces only if necessary, and use caution.
First, remove (by blowing with a blower brush or canned air) any dust
or sand particles. Then proceed to clean by using camera/lens
cleaning equipment approved for use with multicoated lenses. Do not
pour the solution directly onto the lens!
Summary of Contents for Quantum LQ19
Page 1: ...LQ19 LQ38 LQ50 XQ19 XQ38 XQ50...
Page 54: ...Quantum http pulsar nv com ru support faq 104 105...
Page 55: ......
Page 56: ......


