


32
Using the Battery Pack
The battery life of the included battery pack is more than two and a half hours.
It attaches to the bottom of the player and may be charged while connect to
the player.
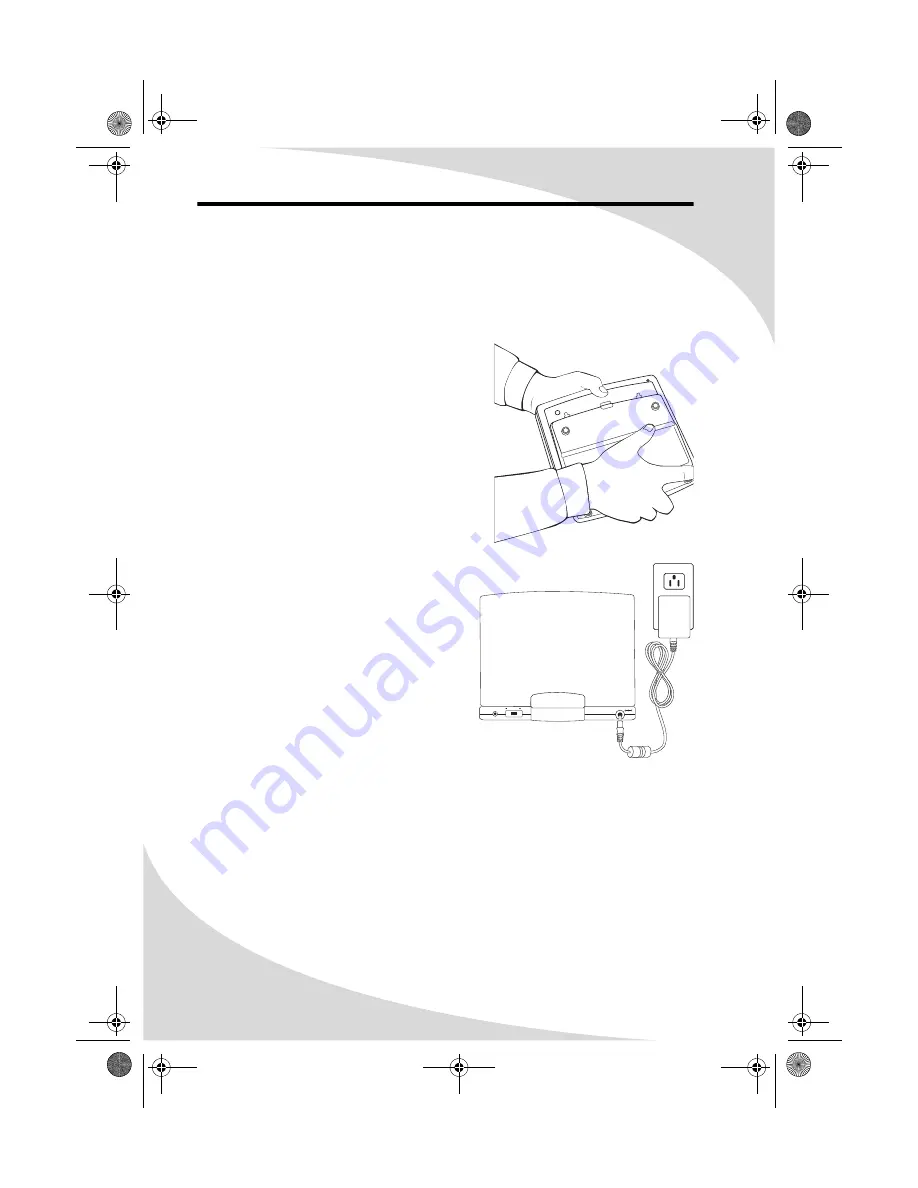
Connecting the Battery
To connect the battery to the player, align the
notches on the battery with the holes on the
bottom of the player, push the notches into
the holes, and slide the battery and player
together.
Disconnecting the Battery
To disconnect the battery, hold down the
button on the front of the battery, slide the
battery back, and pull it away from the
player.
Charging the Battery
The battery may be charged while
connected to the player.
To charge the battery, ensure it is
attached to the player properly as
described above, and then attach one
end of the power adapter to the DC IN
jack on the player, and the other end to a
power source.
The CHG light on the front of the player
will shine red when the battery is
charging and will turn green when the
battery is fully charged.
Note:
The battery will only charge when the player is turned off.
DC IN
S-VIDEO
AV SELECT
IN
OUT
-
+
OMPDS758LP.book Page 32 Tuesday, June 14, 2005 8:49 AM


