4-3-5. Edit Satellite
This HD-Receiver supports 104 default satellite lists. Also user can add, remove and modify satellites.
If you are using USALS system, you should carefully enter the real satellite position value.
Otherwise you can’t get signal from newly added satellite.
4-3-3-2. USALS Setting
Step-1.
Select satellite and transponder as you wish to setup.
Step-2.
Enter the longitude and latitude value properly as you are positioned.
Step-3.
Move to motor control item and select “Go to” option then press button.
The antenna will move to angular position based on real satellite angle.
Step-4.
If the signal status is not good, you should adjust antenna position by movement item.
Step-5.
There is no “store position” item in the USALS menu because all mechanism operates
by actual satellite position (angle). So if you can’t get a good signal by doing Step-4, you
must calibrate your antenna position by manually.
4-3-4. Channel Scan
After all antenna setting was properly done, you can start channel scanning for add up new
channels. Before you starting search, also you can choose NIT search, channel type, access
type options as you wish. There are three types of search methods which is Manual, Auto and Multi.
Usually Multiple search will be done one by one so it will take long scanning time than Manual
or Auto search.
Manual :
One transponder search in one Satellite
Auto :
All transponder search in one Satellite
Multi :
All transponder search in multiple Satellites
If you want add new transponder then enter the frequency, polar and symbol-rate value in the
transponder item. If there is new channel available in this transponder then it will be added
transponder list, if not it will be ignored and remove from the list. Please make sure, this operation
is only work under the manual channel search.
Note :
For advanced control command, you’d better refer to STAB’s motor reference manual.
Since it is intended for installer or expert users so we recommend that normal user
should not handle it by himself.
4-3-3. Motorized System
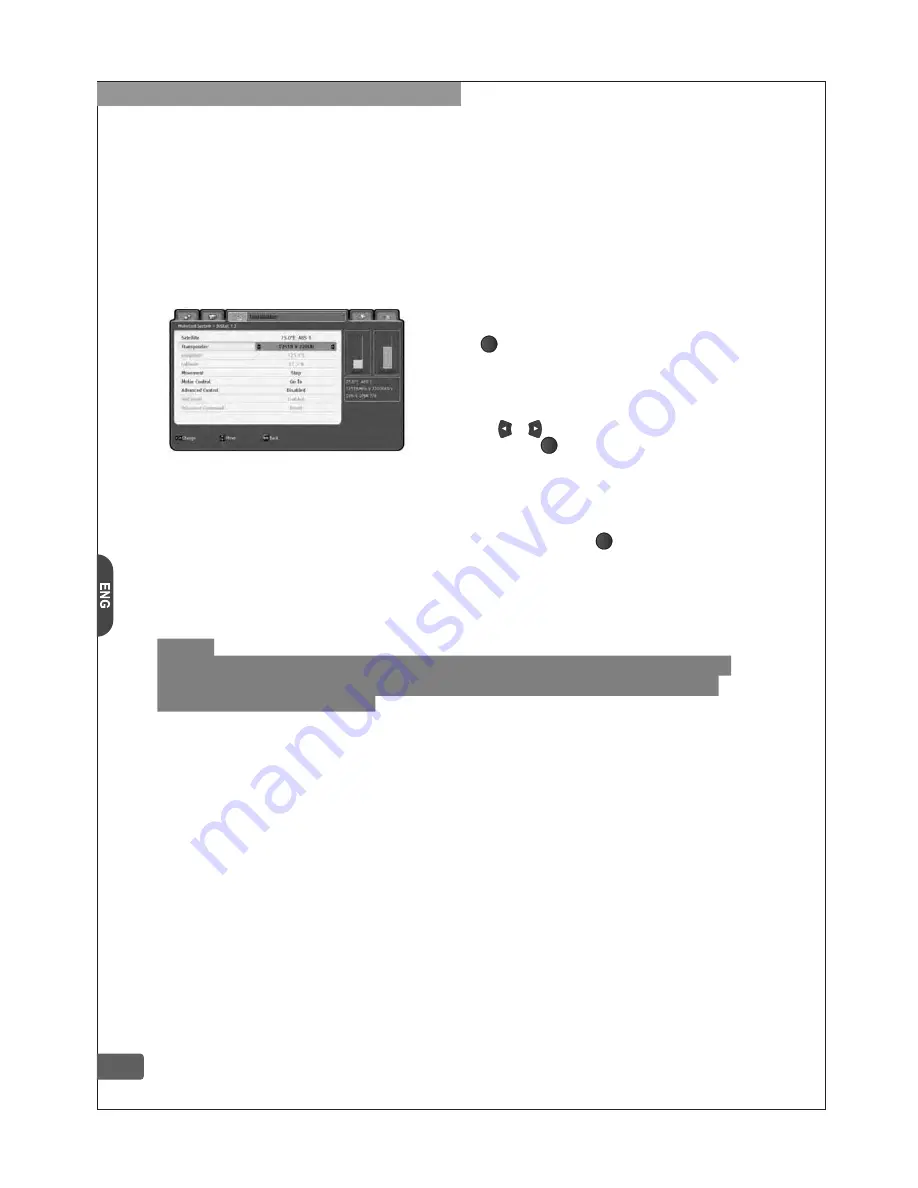
If you are using motor system, you can calibrate the antenna followed by below menus
(DiSEqC 1.2 or USALS) depends on which motor system you have. You can dynamic check up the
received signal status with quality and strength bar at the right side of OSD. Normally you don’t
need to adjust the advanced control menu if antenna is properly setting up, but sometimes antenna
installer needs more complex commands. In this case you can simply enabling advanced control
item, and you can access the ‘reset’, “set limit”, “go to reference” commands and so on. If you use
these commands, please be careful otherwise you will be confused for LNB setup.
4-3-3-1. DiSEqC 1.2 Setting
Step-1.
Select satellite and transponder as you wish to setup.
Step-2.
Move to motor control item and select “Go to” option
then press button. The antenna will move to stored
position which receiver has.
Step-3.
If the signal strength and quality is not good, you can
adjust antenna position by movement item.
Step-4.
If you can get good signal, move again motor control
item then press or button to choose store position.
Step-5.
At lastly, press button then the current position
data will be overwritten on the previous stored data.
OK
OK
OK
4. Using the MENU System
9


