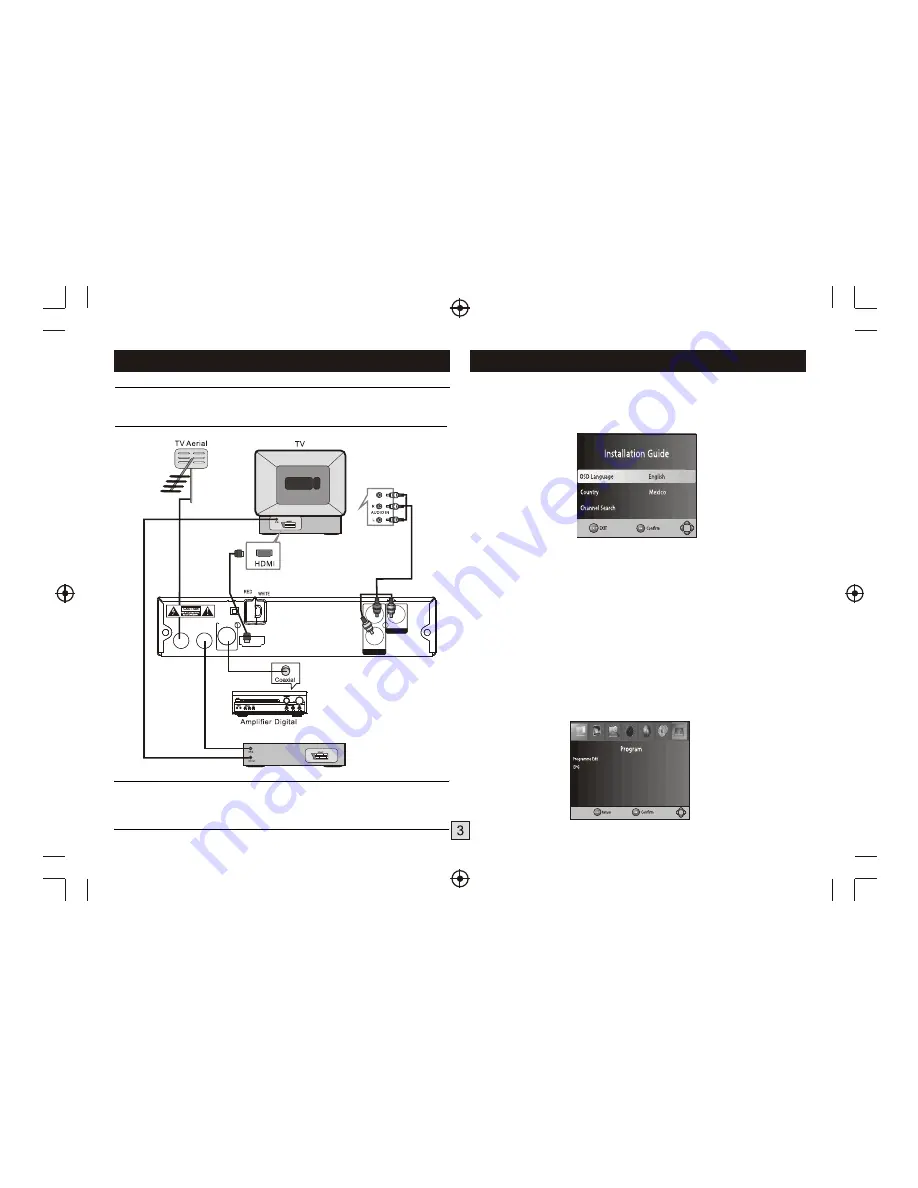
Connections
Caution:
Make sure to check the voltage specification of the wall outlet is
the same rating with the receiver. To prevent the risk of electric shock,
do not open the cover or the back of the receiver.
Note:
When connecting the receiver to other equipment, e.g., TV, VCR and
amplifier, make sure to refer to relevant user manual for instruction. Also,
make sure you disconnect all the equipments from the mains supply before
the connection.
First Time Installation
After all connections have been made properly, switch on TV and make
sure the receiver is connected to the Main Power. Press Power button to
switch receiver on. If you are using the receiver for the first time or
restored to Factory Default, the Main Menu will appear on your TV screen.
(1) Select [OSD Language] and press RIGHT/LEFT key to select an
language
(2) Select [Country] and press RIGHT/LEFT key to select your country of
residence
(3) Select [Channel Search] and press RIGHT or OK key to begin
Automatic channel search
(4) Once channel tuning is complete, you are now ready to watch TV
.
.
.
.
Basic Operation
(1) Program Manage Settings
To access the Menu, press the MENU button and select [Program].
The Menu provides options to adjust the Program Manage Settings. Select
an option and press OK or RIGHT to adjust that setting. Press the EXIT
button to exit the Menu.
VIDEO IN
(Audio)
YELLOW
(Video)
Loop Through
L
VIDEO
VIDEO OUT
R
AUDIO OUT
COAXIAL
DIGITAL
AUDIO
RF LOOP
THROUGH
RF IN
HDMI OUT
100-240V~
50/60Hz


