V1.0
6 in. Dual Action Air Sander
8844144
Visit www.princessauto.com for more information
9
IMPORTANT! Vibration may cause failure if a quick coupler is
connected directly to the air tool. To overcome this, connect a
leader hose to the tool. A quick coupler may then be used to
connect the leader hose to the air line hose.
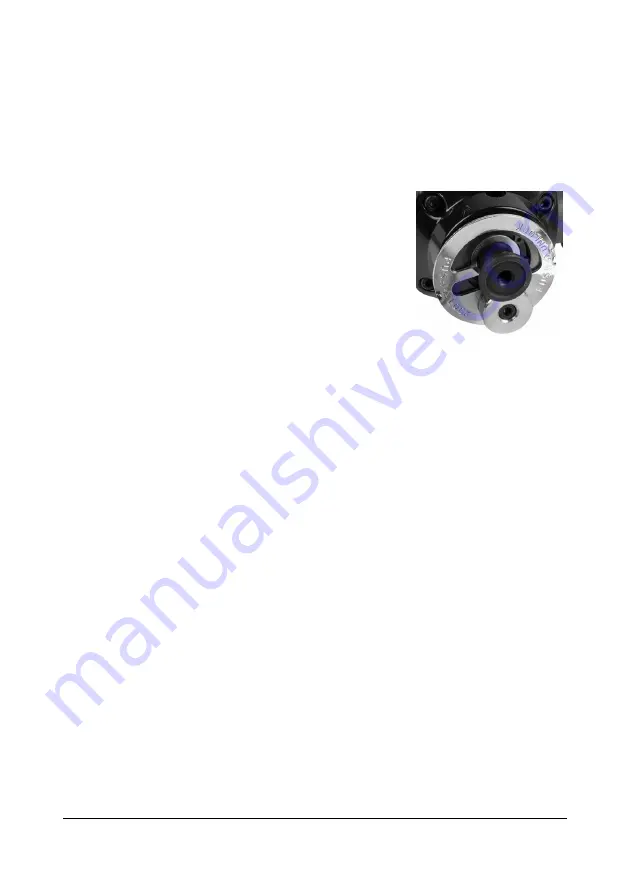
INSTALL THE PAD
1. Twist the spindle so the flattened area of
the spindle (D) faces the knob.
2. Push the locking plate (B) towards the
spindle so that the knob fits into the spindle
flat preventing the spindle from moving.
3. Hold the orbit wheel stationary and screw
the sanding pad (C) clockwise onto the
drive spindle until the pad is tight.
4. Push the locking plate away from the spindle to free the spindle.
FIT THE SANDING SHEET
1. Peel off the back of the self-adhesive sanding sheet and stick it to
the sanding pad.
2. Inspect the sanding pad before use. Do not use if cracked or broken.
Check that the rated speed of the backing pad is at least as high as
that of the tool.
OPERATION
Selecting the correct size and type of abrasive grit is extremely important
in achieving a high-quality sanded finish. Aluminum oxide, silicon carbide
and other synthetic abrasive are best for power sanding.
To produce the best finish possible, start with a coarse grit sanding paper
and gradually change to finer and finer grit sandpapers. A final sanding
with a well-worn fine sandpaper will produce a professional looking finish
that in many cases will not need hand sanding.
1. Squeeze the trigger to start the sander and to control the speed.
2. Adjust the operating speed by twisting the air regulating knob
(#21). The speed of rotation is shown by the arrow embossed on
the tool body. Turning the air regulating knob counter-clockwise will
increase the sanding speed.
Fig. 2


