background image

Troubleshooting

If you suspect something is wrong,

immediately switch power off. Immediately stop using it and call the store where you purchased it.

Never try to repair the unit yourself because it is dangerous to do so.

When a disc beco mes dirty clean it with a c leaning cloth.
Wipe the disc from the c enter out.

After prolonged use, dir t or dust may accumulate at the lens. To ens ure go od playback quality, clea n the disc wit h Philips CD lens

Cleaner or any commercially available cleaner. Follow the in structions supplied with cleaner.

To ensure good playbac k quality, clean the heads A ,the caps tan B ,
and pressure roller C after every 50 hours of tape operation. Used
a cot ton sw ab slightly m oistened wit h cleaning fluid or alcohol.
You can also clea n the heads by playing a cleaning tape once.

Clearing d isc

Cleaning t he disc lens

Cleaning t he heads an d the Tape Parts

Maintenance

MAINTENANCE AND TROUBLESHOOTING

1-9

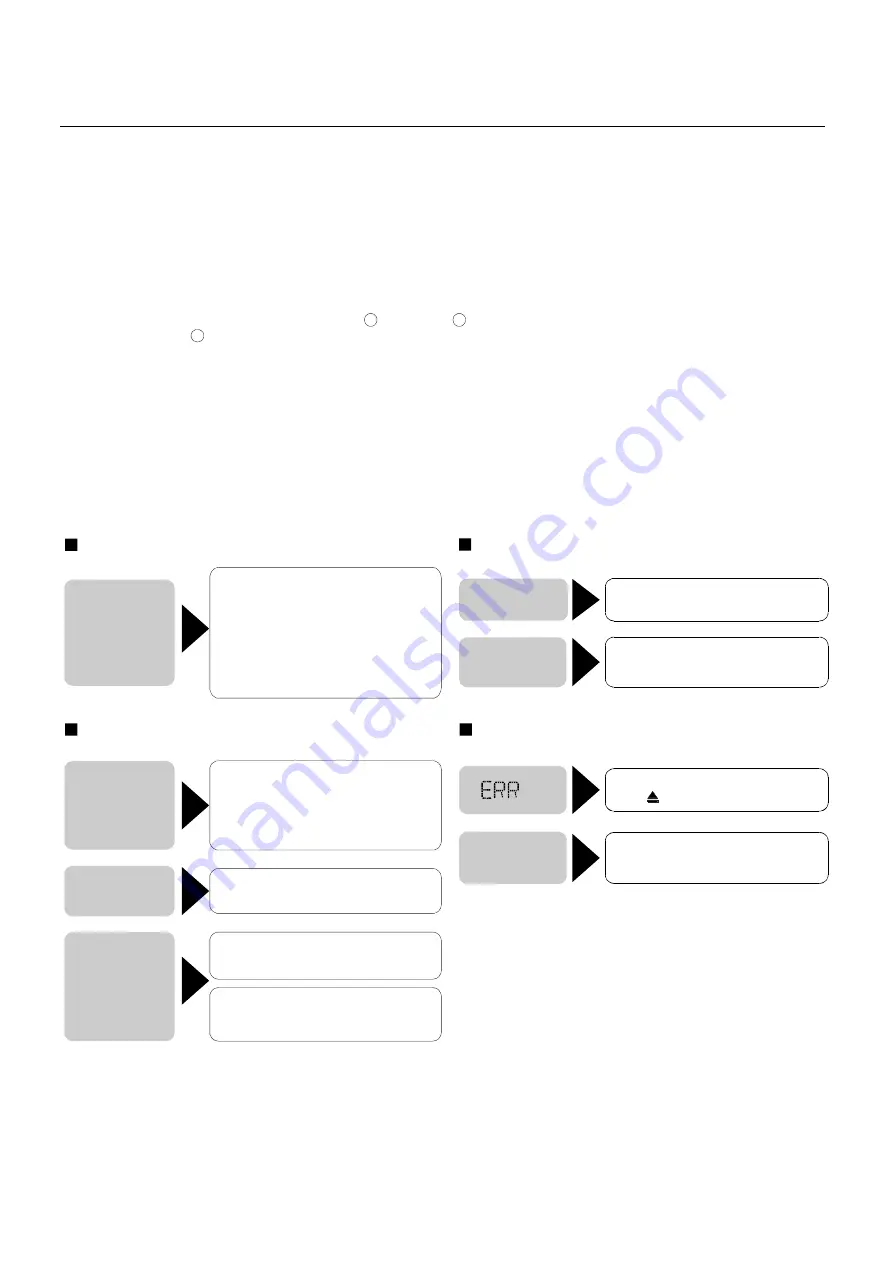
General

Radio

Disc

Disc is upside down.

Disc is dirty or damaged

Place disc in the correct direction,

and the label side up.

Clean disc or change another disc.

Disc is inside but

no sound.

Disc sound skips,

tone quality is low.

Disc is dirty or damaged.

Clean CD or change another CD.

Much noise in

broadcasts

Station is too far, or signals are too weak.

Select other stations of higher signal level.

Battery cable is not correctly connected.

Connect the battery cable to the

terminal that is always live.

Preset station

lost

Mounting angle is over 30

o

.

Adjust mounting angle to less than 30 .

o

Sound skips due

to vibration.

Unstable mounting

.

Mount the unit securely with the
mounting parts.

No power or

no sound

Car's engine switch is not on.

Cable is not correctly connected.

Fuse is burnt.

If the above solutions cannot help,

Turn your car's key to ACC or ON.

Check connection.

Replace fuse.

Check volume or mute on / off.

Press the RESET button.

Error Display Messages

Disc is dirty, damaged or upside down.

Press

to eject the disc.

File read error or file type not supported.

Press SRC to exit. Then press SRC to

play disc again.

When video file

initializing time

is too long

Summary of Contents for DVD520

Page 1: ...ervice Aids Safety Instruction etc 1 4 to 1 5 Preparations Controls 1 6 to 1 8 Maintenance Troubleshooting 1 9 Disassembly Instructions Service positions 2 Set Block diagram 3 Set Wiring diagram 4 Key...

Page 2: ...Trim plate 1 T key 2 Operating Instructions 1 Rubber Remote controller cushion 1 1 1 1 1 General Power supply Maximum power output Continuous power output Suitable speaker impedance Pre Amp output vol...

Page 3: ...tmeter e g PM5326 250Hz 15kHz e g 7122 707 48001 e g PM2534 S N and distortion meter e g Sound Technology ST1700B Frame aerial e g 7122 707 89001 To avoid atmospheric interference all AM measurements...

Page 4: ...SOLDER WICK 4822 321 40042 e g A PAIR OF TWEEZERS HEATING HEATING SOLDERING IRON SOLDER WICK CLEANING PRECAUTIONS COPPER TRACK IRON CORRECT SOLDERING IRON SOLDERING CHIP COMPONENT EXAMPLES CORRECT IR...

Page 5: ...potentiaal AVVERTIMENTO Tutti IC e parecchi semi conduttori sono sensibili alle scariche statiche ESD La loro longevita potrebbe essere fortemente ridatta in caso di non osservazione della piu grande...

Page 6: ...peaker Rear Right Speaker Front Right Speaker Rear White Black Stripe White Gray Black Stripe Green Black Stripe Gray Green Purple Black Stripe Purple Black Blue Motor Electric Antenna relay control L...

Page 7: ...is in Remote sensor Aux in Rotate the knob to adjust volume level Push to select VOL BAS TRE BAL FAD Rotate the knob to adjust level Pushmore than2 seconds to Menu mode Press the button to open the pa...

Page 8: ...tallic materials Doing this may cause the battery to give off heat crack or start a fire When throwing away or saving the battery wrap it in tape and insulate otherwise the battery may start to give o...

Page 9: ...isc is upside down Disc is dirty or damaged Place disc in the correct direction and the label side up Clean disc or change another disc Disc is inside but no sound Disc sound skips tone quality is low...

Page 10: ...t from main set 3 Loosen 4 pcs screw to remove Front Cabinet Remove 2 pcs screw from front cabinet Loosen 8 screws to remove heatsink top cover bottom cover Remove the 2 pcs screw to dismantle the fra...

Page 11: ...2 2 DISMANTLING INSTRUCTIONS 2 2 Service Position A Service Position B Service Position C Service Position D...

Page 12: ...CC DC 11 16V Controlled Power D5V SUPPLY LOUDNESS DEMODULATOR STEREO ADJUST STEREOBLEND CREF OUT LR PILOT CANCELLATION VS CASSL INPUT MULTIPLEXER AUTOZERO PHONE GND MPOUT BEEP MPX MIXING STAGE VOLUME...

Page 13: ...4 4 SET WIRING DIAGRAM...

Page 14: ...KEY BOARD TABLE OF CONTENTS LCD PIN CONNECTION 5 1 5 1 LCD Display 5 1 Front board 5 2 connector board 5 2 Key Board Circuit Diagram 5 3 Key Board Layout Diagram 5 4 Electrical Parts List 5 5...

Page 15: ...5 2 5 2 FRONT BOARD CIRCUIT DIAGRAM CONNECTOR BOARD CIRCUIT DIAGRAM FRONT BOARD LAYOUT DIAGRAM CONNECTOR BOARD LAYOUT DIAGRAM...

Page 16: ...5 3 5 3 KEY BOARD CIRCUIT DIAGRAM...

Page 17: ...5 4 5 4 KEY BOARD LAYOUT DIAGRAM TOP VIEW KEY BOARD LAYOUT DIAGRAM BOTTOM VIEW...

Page 18: ...08 R118 R102 R112 R120 R123 R103 R113 R109 R104 R114 R110 R105 R115 R139 R201 R202 R106 R116 R125 R133 R141 R134 R137 C101 C102 C103 C104 D101 D121 IC101 SW101 SW117 R140 R145 EN101 D126 D127 LCD101 8...

Page 19: ...6 1 6 1 SERVO BOARD TABLE OF CONTENTS Circuit Diagram 6 2 to 6 4 PCB Layout 6 5 6 6 Electrical Parts List...

Page 20: ...6 2 6 2 SERVO BOARD CIRCUIT DIAGRAM...

Page 21: ...6 3 6 3 SERVO BOARD CIRCUIT DIAGRAM...

Page 22: ...6 4 6 4 SERVO BOARD CIRCUIT DIAGRAM...

Page 23: ...6 5 6 5 SERVO BOARD LAYOUT DIAGRAM TOP VIEW SERVO BOARD LAYOUT DIAGRAM BOTTOM VIEW...

Page 24: ...BC58 BC60 BC61 BC63 BC64 BC66 BC69 BC70 BC74 BC75 BC76 BC77 C43 C45 C48 C57 C76 C77 C59 C46 C58 C60 C61 BC33 C15 C18 C6 C9 C66 C70 BC47 BC51 C79 C80 BC49 BC11 C73 C47 C49 C2 C3 C69 C62 C63 C64 C65 C52...

Page 25: ...7 1 7 1 TABLE OF CONTENTS Circuit Diagram 7 2 PCB Layout Top View 7 3 PCB Layout Bottom V iew 7 4 Electrical Parts List 7 5 to 7 6 MAIN BOARD...

Page 26: ...CIRCUIT DIAGRAM 7 2 7 2...

Page 27: ...PCB LAYOUT TOP VIEW 7 3 7 3...

Page 28: ...7 4 7 4 PCB LAYOUT VIEW BOTTOM...

Page 29: ...R813 R482 121604000103 121604000104 121604000123 121604000223 121604000224 121604000272 121604000394 121604000472 121604000473 121604000474 121604000512 121604000562 141604000682 121604000752 1216040...

Page 30: ...DA7386 FLEXIWATT25 ST CRYSTAL 8 664MHz 30ppm 20 70 CL 30pF HC 49 US TUNER KST C6102LVD 100 FM OIRT AM CM700 20PIN PWR SPK EST KNT 20 04 2PIN SOCKET 2 0mm DIP 180 6PIN 2 0mm WAFER DIP 180 14PIN 2 0mm W...

Page 31: ...8 1 8 1 EXPLODED VIEW MAIN UNIT...

Page 32: ...crew PAM2 8 Ni Deck front bracket Servo board ass y SHINWA DVD DECK DL C28D1 Pivot screw M2 6 19 Top cover Deck rear bracket SCREW BTS2610 NI Screw M2 6 3 SCREW BTD2607 MI Pole Rubber Screw BTS M2 6 1...

Page 33: ...rew PAM2 8 Ni Deck front bracket Servo board ass y SHINWA DVD DECK DL C28D1 Pivot screw M2 6 19 Top cover Deck rear bracket SCREW BTS2610 NI Screw M2 6 3 SCREW BTD2607 MI Pole Rubber Screw BTS M2 6 14...

Page 34: ...k front bracket Servo board ass y SHINWA DVD DECK DL C28D1 Pivot screw M2 6 19 Top cover Deck rear bracket SCREW BTS2610 NI Screw M2 6 3 SCREW BTD2607 MI Pole Rubber Screw BTS M2 6 14 Ni Short sheet A...

Page 35: ...front bracket Servo board ass y SHINWA DVD DECK DL C28D1 Pivot screw M2 6 19 Top cover Deck rear bracket SCREW BTS2610 NI Screw M2 6 3 SCREW BTD2607 MI Pole Rubber Screw BTS M2 6 14 Ni Short sheet An...

Reviews: