Proline LD3256HD Operating Instructions Manual Download Page 22

English   

- 21 -

Note: Remove the battery from remote control hand-
set when it is not to be used for a long period. Other-
wise it can be damaged due to any leakage of bat-
tery.

Switching The TV ON/OFF

To switch the TV on:

Your TV  will switch on in two steps:

1-

Connect the plug of the mains socket-outlet. Press

Stand-by  button.  Then  the  TV  switches  itself  to
stand-by  mode.

2-

 To switch on the TV from stand-by mode either:

You  can  press 

  button  to  switch  the TV  on. You

may also press a digit button on the remote control  or
press  the  "

-P/CH

"  or  "

P/CH+

"  button  on  the  TV  or

press the 

“P-”

 or 

“P+”

 button on the remote control,

so that last mode switched off is selected.
By either method the TV will switch on. When the TV
is  operated  for  the  first  time,  the  following  screen
appears:

Country

Language

Germany

Ok

Cancel

PLEASE CHECK ANTENNA CABLE

AUTO PROGRAMMING SYSTEM

TXT Language

Select  your  Country,  Language  and TXT  Language
by using “ ” or “ ” and “ ” or “ ”  buttons.
For  more  information  on  this  process,    see  “

Install

Menu

”  section.

To switch the TV off:

• Press the “

 (stand-by)” button on the remote con-

trol.

or stand-by button on the TV, so the TV will switch
to stand-by mode.
• To power down the TV completely, unplug the power

cord from the mains socket.

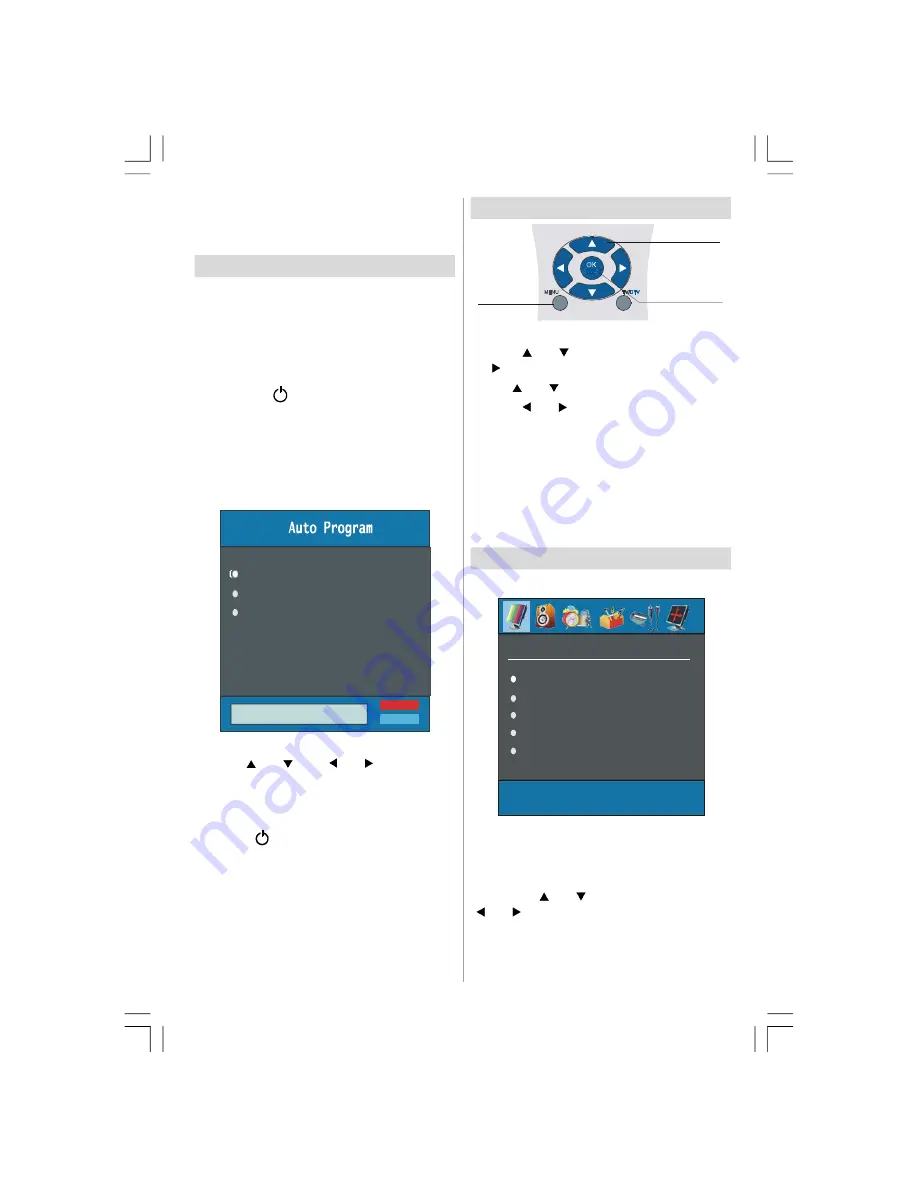
Navigating the Menu System

MENU 

TV/DTV

OK

For Displaying 
Menu Options

For Navigation

To Confirm Choices

1-

 Press “

MENU

” to display the menu.

2- 

Press “ ” or “ ” button to select an icon. Press

“ ” for more options.

3-

 Use “ ” or “ ” button to highlight.

4-

 Press “ ” or “ ” buttons to change the settings.

Press 

OK

 to set as default.

5-

 To exit the menu or return from sub-menu screen,

press  “

MENU

”.

These  explanations  are available  for  the  navigation
of the whole Menu System. To select options that are
explained in the following parts, refer to “Navigating
The Menu System”.

Menu System

Picture Menu

PICTURE

Mode

Contrast

Brightness

Sharpness

Colour

In    picture  menu;  if  PC,  YPbPr  or  HDMI  mode  is
selected,  resolution  information  is  displayed  at  the
bottom of the menu OSD.

Mode

By pressing “ ” or “ ” button, select 

Mode

. Press

“ ” or “ ”  button to choose from one of these op-
tions: 

Cinema

Dynamic 

and

  Natural.

02-ENG-32735W-1055UK-32 INCH MB32-(WO PIP)(SUBW)-50116142.p65

14.09.2007, 09:55

21

Summary of Contents for LD3256HD

Page 1: ...KULLANMA KILAVUZU OPERATING INSTRUCTIONS LD3256HD line PRO Renkli Televizyon LCD TV line PRO...

Page 2: ...inde Dola m 6 Men Sistemi 6 PC Modu 10 Di er zellikler 11 Teletext 12 evresel Donan m Ba lama 13 EkA PC Giri i Tipik G r nt leme Modlar 14 Ek A Anten Ba lant s 14 Ek B evresel Donan m Ba lama 14 pu la...

Page 3: ...aydet mle Tu lar Menu Men Green button Resim Red button Ses Zaman Teletext Karma lev yok WIDE G r nt boyutu Geni P P SWAP nceki Program PP Ki isel tercih TV den PC yeA aG sterim Ge i Rehber Dizin Sayf...

Page 4: ...avaland rma Arka kapak zerindeki yuvalar ve a kl klar havaland rmaya y nelik ve g venli al may sa lama ama l d r A r s nman n engellenmesi i in bu a kl klar n n hi bir ekilde kapanmamal veya rt lmemel...

Page 5: ...e dahil olmak zere pillerin evsel at klar ile birlikte bertaraf edilmemesi gerekir L tfen kullan lan pilleri evresel a dan d zg n bir ekilde bertaraf edin Ya ad n z b lgede ge erli olan yasal d zenlem...

Page 6: ...MA KAPAMA TV yi a mak i in TV niz iki ad mdaa l r 1 Elektrik prizine fi i tak n Stand by Bekleme d mesine bas n Ard ndan TV otomatik olarak bekleme moduna ge ecektir Opsiyonel 2 Televizyonu bekleme mo...

Page 7: ...nda resim men s nde g r nt lenir Renk S cakl tu lar na basarak Renk S cakl n se in u se eneklerden birini se mek i in tu lar na bas n So uk Normal ve Il k G r lt Azaltma tu lar na basarak G r lt Azal...

Page 8: ...modunu sadece se ilen kanal o modu destekliyorsa se ebilirsiniz AVL tu lar na basarak AVL VL yi se in AVL yi a k veya kapal olarak ayarlamak i in tu lar na bas n Efekt tu lar na basarak Efekt i se in...

Page 9: ...nk Standard Program Tablosu tu una basarak Program Tablosu nu se in Program Tablosu nu g r nt lemek i in tu una bas n P02 C 04 P03 C 05 P04 BBC 1 P05 CH 4 P06 BBC 2 P07 C 04 P08 C 07 P09 C 12 P10 C 15...

Page 10: ...ya C ya da S olarak se ilebilir Kanal Kanal tu u veya Say Tu lar arac l ile de i tirilebilir Renk Standard tu lar na basarak Renk Standard n se in Renk standard n PAL SECAM PAL60 veya Otomatik olarak...

Page 11: ...C giri i olmayan TV lerde PC men s etkin olmayacakt r PC modunda Men Sistemi Ses Men s zellik Men s Bu men lerdeki maddeler Men Sistemi nde belirtilen Ses ve zellik Men s nde tarif edilmektedir PC Res...

Page 12: ...sine basarak Resim Modu ayarlar n de i tirebilirsiniz Zoom Modlar Zoom modu WIDE tu una bas larak de i tirilebilir Resim y n oran na uygun olarak ekran boyutunu de i tirilebilirsiniz A a daki ZOOM mod...

Page 13: ...n Normal boyuta geri d nmek i in tekrar bas n Testin ve oyunlar n z mlerini g rmek i in e bas n Zaman zaman bir metin sayfas n n tutulmas uygundur Sayfay tutmak i in e bas n Tu a yeniden bas lana dek...

Page 14: ...ten soketi olmadan bir dekoder ba lanmas Dekoderi TV nin EXTERNAL Harici yuvas na RCA kablosuna ba lay n Dekoderin SCART RCA yuvas arac l yla daha iyi ekran z n rl elde edebilirsiniz TV ve Video Kayde...

Page 15: ...en tipik video ekran modlar n n izimidir Modu Yatay Dikey Yat kHz Ver Hz 1 640 480 31 5 60 2 640 480 37 9 72 3 640 480 37 5 75 4 800 600 35 2 56 5 800 600 37 9 60 6 800 600 48 1 72 7 800 600 46 9 75 8...

Page 16: ...o Picture n anlam TV nizin herhangi bir yay n almad d r Uzaktan kumanda zerinde do ru tu u se tiniz mi Bir kez daha deneyin Ses Hi ses duyam yorsunuz Tu a basarak sesi kesmi olabilir misiniz Ses hopar...

Page 17: ...z Not FAV CVBS ve SVHS Y paralel olarak ba land ndan t r ayn zamanda iki evresel ayg t n kullan lmas halinde g r nt kar abilir Benzer bi imde SVHS C ve SCART II R paralel olarak ba land ndan t r ayn z...

Page 18: ...Menu System 21 Menu System 21 PC Mode 26 Other Features 26 Teletext 28 Connect Peripheral Equipment 29 Tips 30 Specifications 30 Appendix A PC Input Typical Display Modes 31 Appendix B Aerial Connect...

Page 19: ...own OK SELECT Okay Store Cursor buttons Menu Menu Green button Picture Red button Sound Time Teletext Mix No function WIDE Imagesize Expand P P SWAP PreviousProgramme PP ColourTemperature Reveal Switc...

Page 20: ...ion and to ensure reliable opera tion To prevent overheating these openings must not be blocked or covered in anyway 6 Heat and Flames The set should not be placed near to naked flames and sources of...

Page 21: ...stallation instrutions The LCD panel is very high technology product with about a million thin film transistors giving you fine picture details Occasionally a few non active pixels may appear on the s...

Page 22: ...see Install Menu section To switch the TV off Press the stand by button on the remote con trol or stand by button on the TV so the TV will switch to stand by mode To power down the TV completely unpl...

Page 23: ...ore the adjust ments Stored will be displayed on the screen Sound Menu SOUND Volume Equalizer Balance Headphone Sound Mode Volume By pressing or select Volume Press or button to change the level of th...

Page 24: ...Child Lock on or off When on is selected the TV can only be controlled by the remote control handset In this case the control panel buttons will not work Hence if one of these but tons is pressed Chi...

Page 25: ...select the other letters By pressing the RED button you can store the name Insert Select the programme which you want to insert by navigation buttons Press the GREEN button By navi gation buttons move...

Page 26: ...ne Tune Press or button to adjust the tuning Search By pressing or button select Search Press or button to start program searching You ou can also enter the desired frequency via digit buttons when se...

Page 27: ...button Warning Auto position adjustment recommended to be done with the full screen image for the proper adjustment H Horizontal Position This item shifts the image horizontally to right hand side or...

Page 28: ...ode change to another ZOOM mode manually 16 9 This zooms up the wide picture 16 9 aspect ratio to the full screen 4 3 Use to view a normal picture 4 3 aspect ratio as this is its original shape Panora...

Page 29: ...ve teletext transmission no information will be displayed When button is pressed while in teletext mode the screen will be splitted into two windows one displaying the teletext and the other displayin...

Page 30: ...attain a better dis play resolution TV And Video Recorder Connect the aerial cables Better picture quality can be obtained if you also con nect a Scart cable to SCART sockets Playback NTSC Connect NT...

Page 31: ...bt consult your dealer No Picture means that your TV is not receiving a transmission Have you selected the correct button on the remote control Try once more Sound You can not hear any sound Did you p...

Page 32: ...imum resolution of 1360 x 768 frequency range of 56 75 Hz The following table is an illustration of some of the typical video display modes Mode Horizontal Vertical Hor kHz Ver Hz 1 640 480 31 5 60 2...

Page 33: ...the product Note Because FAV CVBS and SVHS Y are connected parallelly the picture may blend if the two peripherals are used at the same time Likewise because SVHS C and SCART II R are connected paral...

Page 34: ......

Reviews: