background image

14

6.  When you are finished exercising, the console will 

turn off automatically.


See step 6 on page 13.

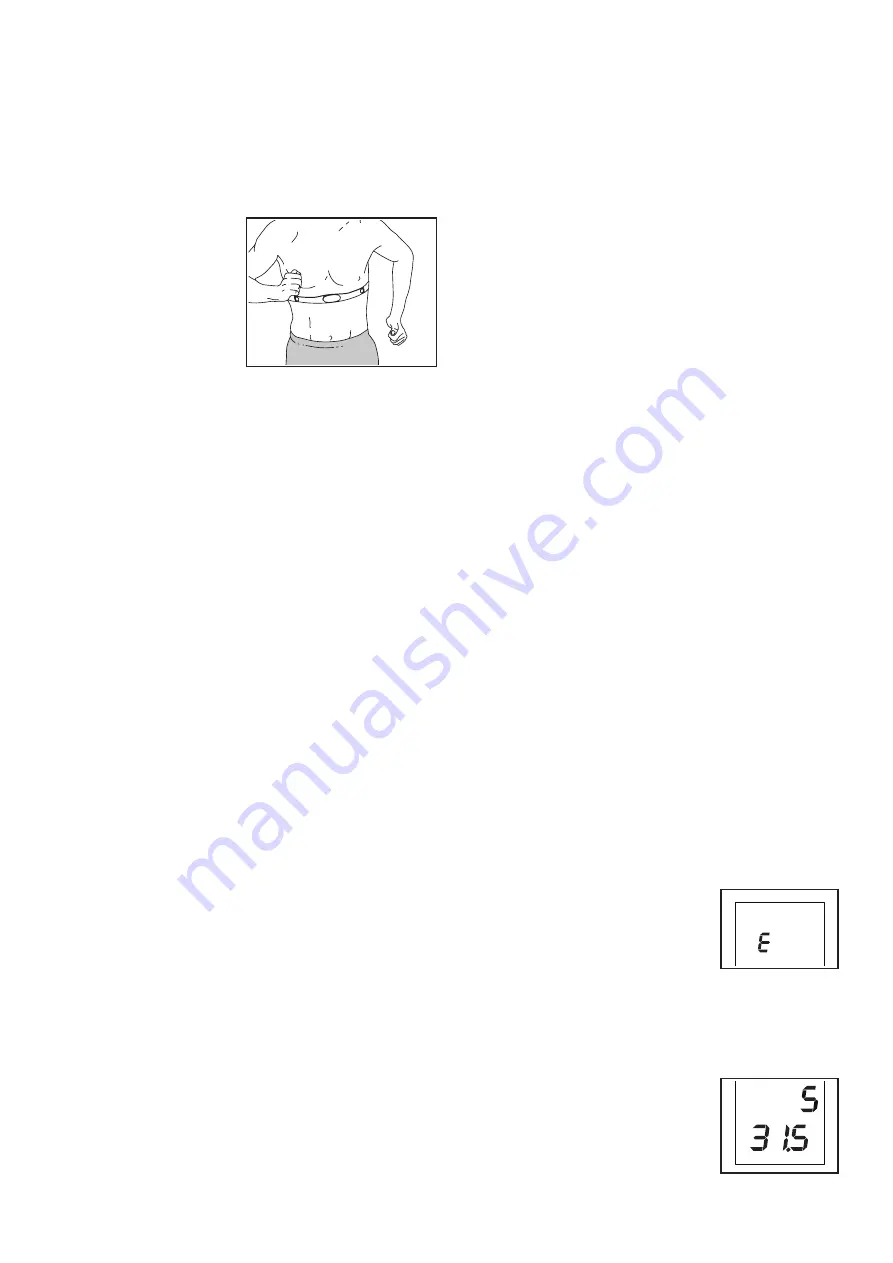
THE OPTIONAL CHEST HEART RATE MONITOR

Whether your goal is to burn fat or to strengthen your car-

diovascular system, the 

key to achieving the best 

results is to maintain the 

proper heart rate dur-

ing your workouts. The 

optional chest heart rate 

monitor will enable you 

to continuously monitor 

your heart rate while you 

exercise, helping you to 

reach your personal fitness goals. To purchase a chest 

heart rate monitor, please see the front cover of this 

manual.

Note: The console is compatible with all BLUETOOTH 

Smart heart rate monitors.

HOW TO CONNECT YOUR SMART DEVICE TO THE 

CONSOLE

The console supports BLUETOOTH connections to smart 

devices via the iFit app and to compatible heart rate 

monitors. Note: Other BLUETOOTH connections are not 

supported.

1.   Download  and  install  the  iFit  app  on  your  smart 

device.

   On your iOS

®

 or Android™ smart device, open the App 

Store℠ or the Google Play™ store, search for the free 

iFit app, and then install the app on your smart device. 

Make sure that the BLUETOOTH option is enabled 

on your smart device. 

   Then, open the iFit app and follow the instructions to 

set up an iFit account and customize settings.

2.   Connect your smart device to the console.

   Follow the instructions in the iFit app to connect your 

smart device to the console. 


 When a connection is established, the LED on the con-

sole will flash blue. Press the Bluetooth Smart button 

on the console to confirm the connection; the LED on 

the console will then turn solid blue.

3.  Record and track your workout information.

   Follow the instructions in the iFit app to record and 

track your workout information.

4.   Disconnect your smart device from the console if 

desired. 

   To disconnect your smart device from the console, 

press and hold the Bluetooth Smart button on the 

console for 5 seconds; the LED on the console will 

light while the button is held and turn off when the but-

ton is released.

   Note: All BLUETOOTH connections between the con-

sole and other devices (including any smart devices, 

heart rate monitors, and so forth) will be disconnected.

HOW TO CONNECT YOUR HEART RATE MONITOR 

TO THE CONSOLE

The console is compatible with all BLUETOOTH Smart 

heart rate monitors.

To connect your BLUETOOTH Smart heart rate monitor 

to the console, press the Bluetooth Smart button on the 

console. When a connection is established, the LED on 

the console will flash red twice. 

Note: If there is more than one compatible heart rate moni-

tor near the console, the console will connect to the heart 

rate monitor with the strongest signal.

To disconnect your heart rate monitor from the console, 

press and hold the Bluetooth Smart button on the console 

for 5 seconds; the LED on the console will light while the 

button is held and turn off when the button is released.

Note: All BLUETOOTH connections between the console 

and other devices (including any smart devices, heart 

rate monitors, and so forth) will be disconnected. 

THE SETTINGS MODE

The console features a settings mode that allows you to 

select a unit of measurement for the console and to view 

console usage information.

To select the settings mode, press and hold down the On/

Reset button until the settings mode information appears 

in the display. 

The console can show pedaling speed and distance in 

either miles or kilometers. The upper display will show the 

selected unit of measurement. An E for English miles or 

an M for metric kilometers will appear in the display. To 

change the unit of measurement, 

press the Watts Workouts button 

repeatedly. 

Note: When you replace the batter-

ies, it may be necessary to reselect 

the unit of measurement.

Press the Calorie Workouts button to view the total dis-

tance and the total time. The center display will show the 

total time (in hours) that the console has been used since 

the elliptical was purchased. The 

lower display will show the total dis-

tance (in miles or kilometers) that 

the elliptical has been pedaled. 

To exit the settings mode, press the 

On/Reset button twice.

Summary of Contents for 105 CSE

Page 1: ...and instructions in this manual before using this equipment Keep this manual for future reference CUSTOMER SERVICE UNITED KINGDOM Call 0330 123 1045 From Ireland 053 92 36102 Website www iconsupport e...

Page 2: ...LE OF CONTENTS WARNING DECAL PLACEMENT WARNING DECAL PLACEMENT 2 IMPORTANT PRECAUTIONS 3 BEFORE YOU BEGIN 4 PART IDENTIFICATION CHART 5 ASSEMBLY 6 HOW TO USE THE ELLIPTICAL 10 CONSOLE FEATURES 11 EXER...

Page 3: ...igthing more than 253 lbs 115kg 9 Wear appropriate clothes while exercising do not wear loose clothes that could become caught on the elliptical Always wear athletic shoes for foot protection while ex...

Page 4: ...ave questions after reading this manual please see the front cover of this manual To help us assist you note the product model number and serial number before contacting us The model number and the lo...

Page 5: ...draw ing is the key number of the part from the PART LIST near the end of this manual The number following the key number is the quantity needed for assembly Note If a part is not in the hardware kit...

Page 6: ...s Place all parts in a cleared area and remove the packing materials Do not dispose of the packing materials until you finish all assembly steps Left and right parts are marked L or Left and R or Righ...

Page 7: ...onnection Wire 15 well with the Sensor wire 12 Then fix the Handlebar post 17 on the post of the Main Frame 1 with the Allen pan head screw 13 the Spring washer 8 and the Curved washer 9 as shown II F...

Page 8: ...t the Right swing tube 28R and the Right pedal support tube 41R with the Bolt 34 Flat washer 35 and Nylon nut 36 then tighten the Bolt 55 the Bolt 34 and Nylon nut 51 finally cover the Collar cap 31 t...

Page 9: ...Handlebar post 17 with the Cross pan head screw 21 II Insert one side of adapter into the back of console 19 and another plug insert to power supply Note Before using the machine make sure all the sc...

Page 10: ...er pedal WHEN YOU ARE FINISHED EXERCISING If the pedals do not move for several minutes and the but tons are not pressed the console will turn off and the display will be reset HOW TO USE THE TABLET H...

Page 11: ...cord and track your workout information The console also offers a selection of preset workouts Each workout automatically changes the resistance of the pedals and prompts you to vary your pedaling spe...

Page 12: ...splay will show the distance Dist you have pedaled in miles or kilometers and the elapsed time The display will change every few seconds Note During a preset workout the display will show the time rem...

Page 13: ...or begin pedaling to turn on the console When you turn on the console the displays will turn on a tone will sound and the console will be ready for use 2 Select a preset workout To select a preset wor...

Page 14: ...e button is held and turn off when the but ton is released Note All BLUETOOTH connections between the con sole and other devices including any smart devices heart rate monitors and so forth will be di...

Page 15: ...bic Exercise If your goal is to strengthen your car diovascular system you must perform aerobic exercise which is activity that requires large amounts of oxygen for prolonged periods of time For aerob...

Page 16: ...lles Stretch With one leg in front of the other reach forward and place your hands against a wall Keep your back leg straight and your back foot flat on the floor Bend your front leg lean forward and...

Page 17: ...shape washer 17X 23X0 6 45 4 Axle bushing 2 28 20 46 2 Washer 10 5X 20X2 47 2 Nylon nut M10 48 4 Collar cap S17 49 2 Hex bolt M10X50 50 2 Thin spring washer D13 51L R 2 Nylon nut B0 5 20 52 2 Collar c...

Page 18: ...18 EXPLODED DRAWING MODEL N PFIVEL19216 0...

Page 19: ...19 EXPLODED DRAWING MODEL N PFIVEL19216 0...

Page 20: ...EPLACEMENT PARTS This electronic product must not be disposed of in municipal waste To preserve the environment this product must be recycled after its useful life as required by law Please use recycl...

Reviews: