22
CREATING A LABEL
1. Place the disc onto the CD catch with its printing surface facing
up. Do not place the printing surface facing downward as it will
damage the disc.
2. On the Windows desktop, double-click the
icon and
the main application window will appear.
Alternatively, you can also run the application by clicking the
Start button followed by Programs. Next, click the
CD/DVD Printer application and select the CD/DVD
Printer from the list.
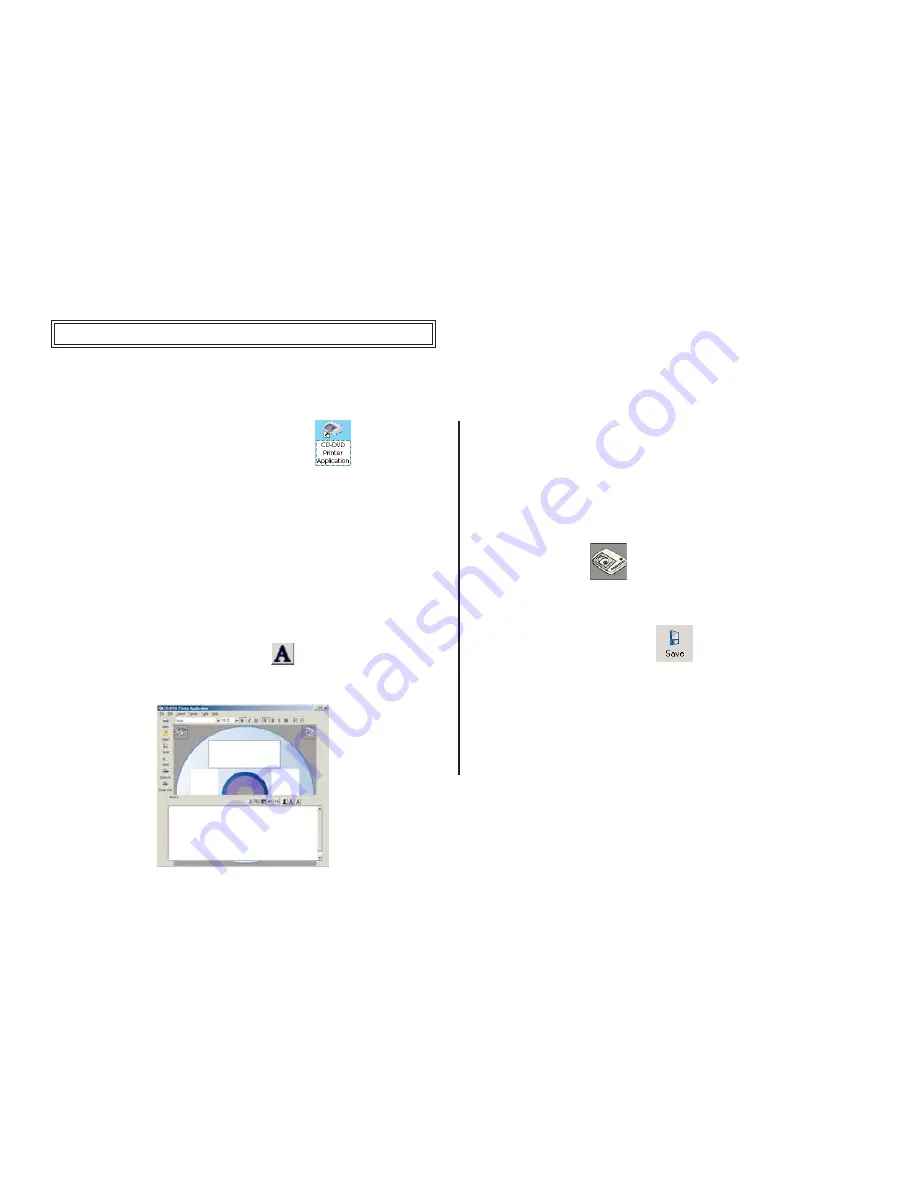
3. Click on any label boxes to create text.
4. Click on the “Formatted Text Edit”
icon
5. A window “Area” will appear
6. Configure the layout setting. Make the selection by clicking the
respective pattern icon on the top of the editing window.
7. Select a font
• Select the font type, size, style and text alignment in the
editing window.
• Edit the content
• Click on other label boxes to continue with their editing or
outside these boxes to exit.
8. Print a label
• Click the print
icon.
• The printing display dialog box appears.
• Click OK. This will start the printing operation.
9. Save a label by clicking the
icon. The printing job is saved
in your Windows My Document folder.
10. To quit the CD/DVD Printer application.
• Go to File tab.
• On the drop down menu, click Exit.
• A dialog box will appear. Click Yes to exit the application.


