12
B.
Hardware Test
1.
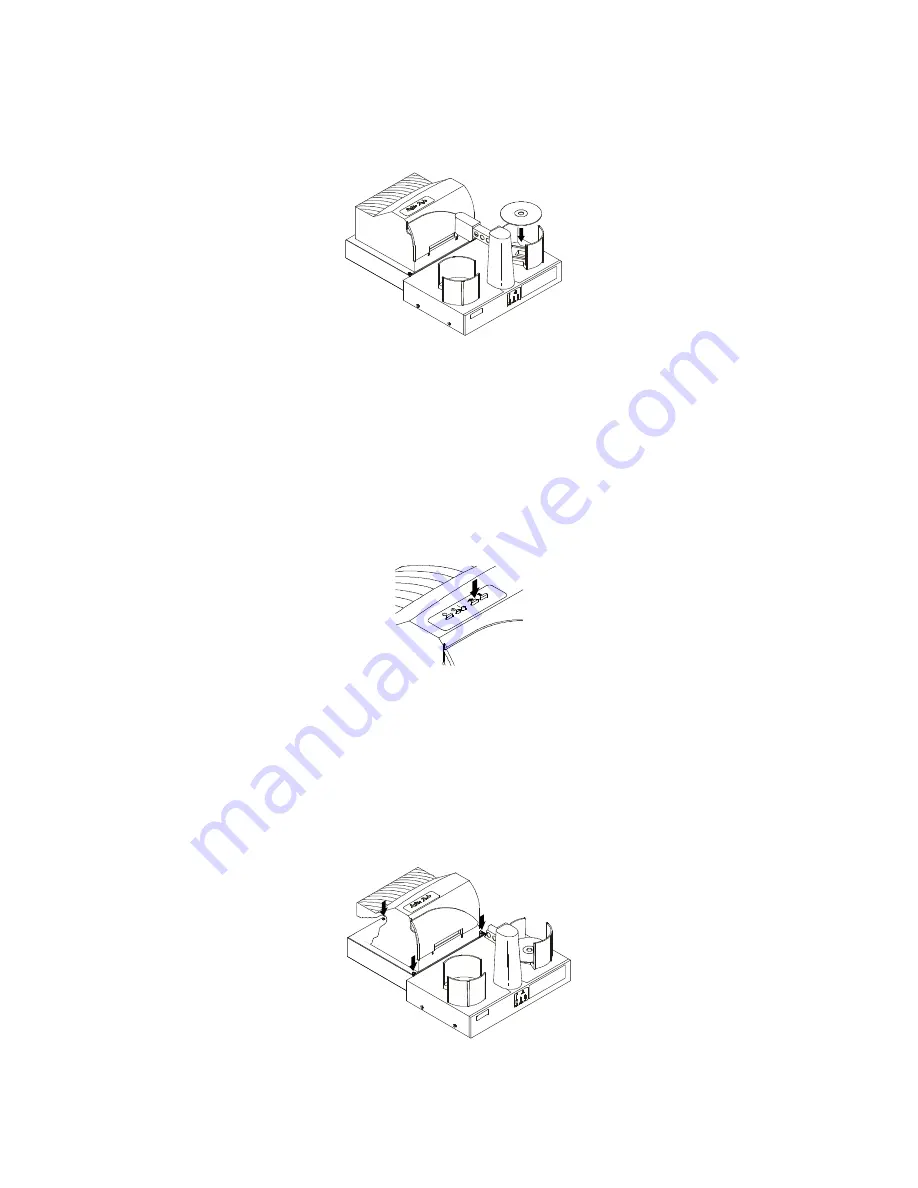
Load the Input Bin with at least 4-5 CDs and place the output bin in the proper location.
Figure 12: Loading CDs
2.
Press the Sequence Button on Conductor’s front panel. The Robotic Arm will swing over to and
above the Input Bin.
3.
Press the Pick Button. The Robotic Arm will pick up a CD.
4.
Press the Sequence Button again. The Robotic Arm will swing in front of the printer.
5.
Open the printer’s tray. On Signature III, this is the button middle button on top of the unit.
On Inscripta, this is the button at the bottom right side of the unit.
Figure 13: Tray Open Button on Signature III
6.
Press the Pick Button. The CD will drop into the printer tray. If it does not drop perfectly into
place, you will need to adjust the printer stand’s Mounting Plate. This is accomplished by
loosening the three Phillips-head adjusting screws and moving the printer slightly in one
direction or another until the disc is dropped perfectly into the printer’s tray. You can repeatedly
press the Pick button to test your alignment. Or, press and hold the Pick button for 5 seconds,
then release it, and the disc will be positioned about 5 millimeters above the tray for easy visual
alignment.
Figure 14: Adjusting the Printer Stand
Summary of Contents for 082100-510148
Page 2: ...2...


