SEND
is compatible with any SimplyWorks receiver unit, whether for computer switch access or for
controlling toys, games, or mains powered equipment.
Compatibility
First remove the battery cover on the underside of the
unit. Fit two AAA style batteries, paying particular
attention to ensure correct orientation (a moulded ‘+’
symbol indicates the positive terminal location), then
replace the cover. As with all battery-powered
products, using good quality batteries such as
Duracell or Energiser is recommended.
If you are not intending to use
SEND
for an
extended period of time, it is advisable to remove
the batteries to prevent leakage, which may
damage the product.
Fitting the Batteries
Before your
SEND
can be used it must be paired
with the SimplyWorks receiver you require it to
work with. If the receiver is a computer access type
such as
RECEIVE
, follow the instructions in this
section. If, alternatively, the receiver is a
stand-alone type (e.g.
CONTROL LITE
,
CONTROL
or
CONTROL PRO
) then refer to the next section.
1 Place
SEND
close to your
RECEIVE
.
2 Briefly press the Pair button on the front panel
of
RECEIVE
. The Pair LED will begin to
flash slowly.
3 Within 10 seconds, press the Pair button
on
SEND
[C].
4 The Pair LED on
RECEIVE
will continue to
flash for a short time while it negotiates with
SEND
. Once complete, the Pair LED will light
steadily for 5 seconds to indicate success.
SEND
is then ready to use. Whenever data is
successfully sent to
RECEIVE
its Pair LED
flashes briefly to give a visual indication that
the wireless link is operational.
5 If the Pair LED stops flashing after 30 seconds
and does not light steadily, repeat the process
from (2). If it is still not successful, please
refer to the Troubleshooting section.
Pairing information is retained in
SEND
’s internal
memory even after changing the battery.
Pairing with a USB Receiver
The function of each
SEND
that you pair with a USB
receiver can be selected using the Mode button [A]
and associated LED display [B]. Press the Mode
button once and the LED display will show the
mode that is currently selected. Use Table 1 to look
up the function from the number/letter displayed.
The default mode is 7 (space).
The modes that can be selected are a mix of button,
mouse and keyboard functions. Simply select the
mode according to your requirements. To change
the mode press the Mode button repeatedly (or
press and hold) while the display is lit. It scrolls
through 0-9 and then A-H and then back to 0.
The LED display is extinguished 4 seconds after the
last press of the Mode button to conserve power.
For example, if you are using a computer program
that requires Space and Enter as access switches,
pair two
SEND
’s with your USB receiver, setting one
to mode 7 (Space) and the other to mode 8 (Enter).
Alternatively, if you need Left and Right Click, pair
two
SEND
’s with your USB receiver, setting one to
mode 4 (Left Click) and the other to mode 5 (Right
Click).
In the examples above,
SEND
’s can equally be
substituted for
SWITCH 125
.
Operating with a USB Receiver (e.g. RECEIVE)
If the receiver you are Pairing
SEND
with is a
stand-alone type (for example a
CONTROL LITE,
CONTROL
or
CONTROL PRO
) then follow these
instructions:
1 Place
SEND
close to your receiver unit.
2 Briefly press the Pair button on the front
panel of the receiver. The Pair LED will begin
to flash slowly. Note that some receivers have
more than one Pair button - one for each
channel. Make sure you press the one you need.
3 Within 10 seconds, press the Pair button on
SEND
[C].
4 The Pair LED on the receiver will continue to
flash for a short time while it negotiates with
SEND
. Once complete, the Pair LED will light
steadily for 5 seconds to indicate success.
SEND
is then ready to use. Whenever data is
successfully sent to the receiver its Pair LED
flashes briefly to give a visual indication that
the wireless link is operational.
5 If the Pair LED stops flashing after 30 seconds
and does not light steadily, repeat the process
from (2). If it is still not successful, please
refer to the Troubleshooting section.
Pairing information is retained in
SEND
’s internal
memory even after changing the battery.
Pairing with a stand-alone Receiver
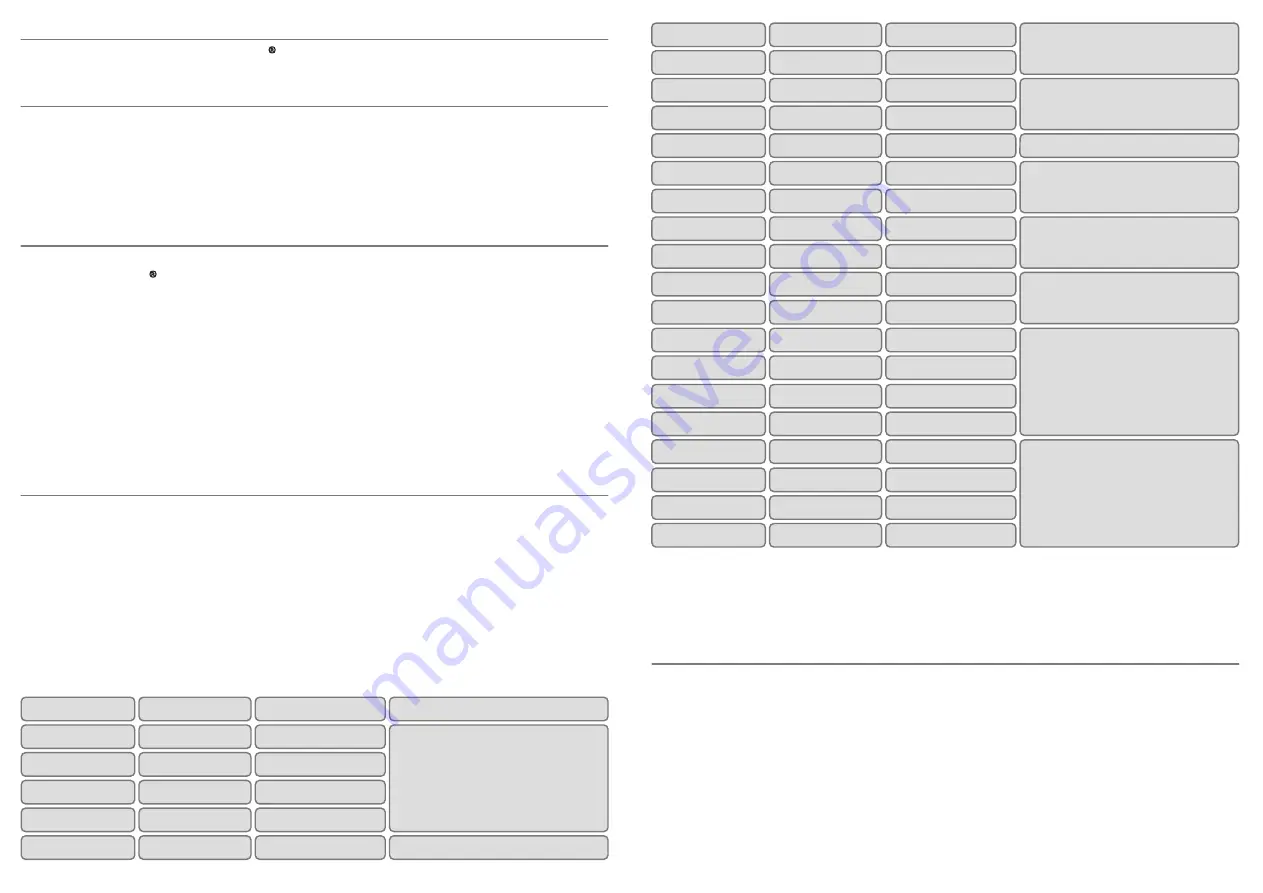
Mode Setting
Class
Function
Explanation
0
1
2
3
4
Switch
Switch
Switch
Switch
Mouse
Switch 1
Switch 2
Switch 3
Switch 4
Left Click
Gamepad functions - used
with various software including
Inclusive Technology and Crick†
Mouse Functions
5
6
7
8
9
Mouse
Mouse
Keyboard
Keyboard
Keyboard
Right Click
Mouse Functions
Drag Lock
Space
Enter
Tab
A
B
C
D
E
Keyboard
Keyboard
Keyboard
Keyboard
Keyboard
~
1
~
3
F7
F8
Numeral 2
F
G
H
Keyboard
Keyboard
Keyboard
Numeral 3
Up Arrow
Down Arrow
J
L
P
Keyboard
Keyboard
Mouse
Left Arrow
Right Arrow
Cursor Up
R
T
U
Mouse
Mouse
Mouse
Cursor Down
Cursor Left
Cursor Right
General purpose keyboard
functions used widely for
computer access
Functions 7 and 8- used
with Clicker†, for example
General purpose keyboard functions
used widely for computer access
Tilda* functions used on
new tablet computer apps
Used with Intellitools†
and other US software
General purpose
keyboard functions
used mainly for
navigation
Mouse emulation
† All trademarks are the property of their respective owners and are acknowledged.
* Do not use the Tilda functions when controlling toys or mains appliances
(e.g. with CONTROL, CONTROL PRO or ENERGISE)


