150Mbps Wireless-N Broadband Router
Quick Installation Guide
11
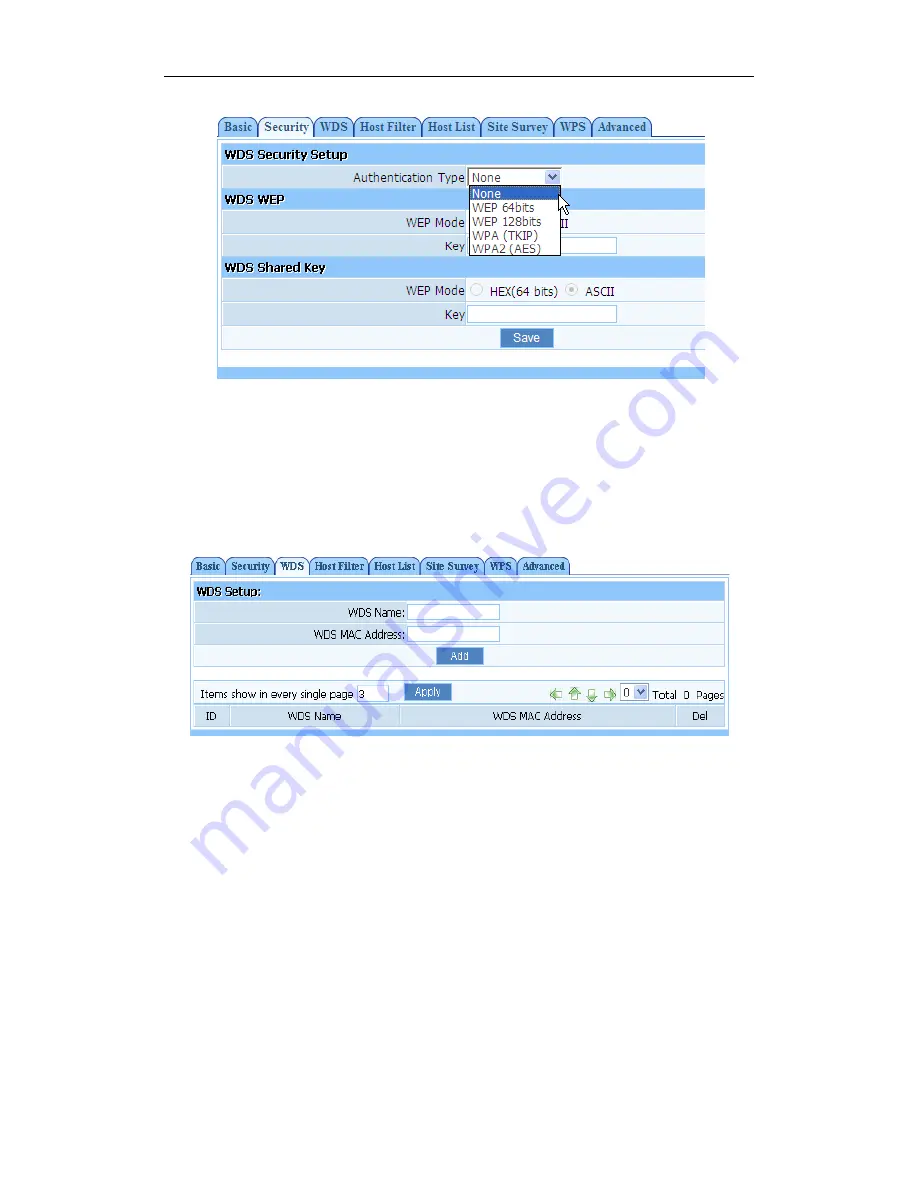
Figure 7-7
¾
Click on ‘Wireless Management’- ‘AP Setup’ - ‘WDS.’ You may choose to click on AP
Scan to scan for R2, select R2 in the window that appears and click on the connect button at the
bottom of the list in this window. The SSID/name and MAC address of R2 will automatically
be entered, and you can click on the Add button to finalize. Alternatively, you may manually
enter the name and MAC address of R2 then click add.
Figure 7-8
R2
:
¾
Select ‘LAN setup’- ‘LAN IP address’, change the IP address to something in line with R1.
If R1 is 192.168.1.1 change the R2 to 192.168.1.90 or if the R1 is 192.168.2.1 change the R2 to
192.168.2.90 and so on. Click on the save button below, and the router will reboot automatically.
You should note what this new IP is as you will need it for future access to the user interface of
this router
¾
Select ‘LAN setup’- ‘DHCP Server’, select disable DHCP server
¾
Click on ‘Wireless Management’- ‘AP Setup’ - ‘Security’ and select and save None as
authentication type
¾
Click on ‘Wireless Management’- ‘AP Setup’ - ‘Basic’ and select and save radio mode as
WDS or AP + WDS


