


13
Power On/Off
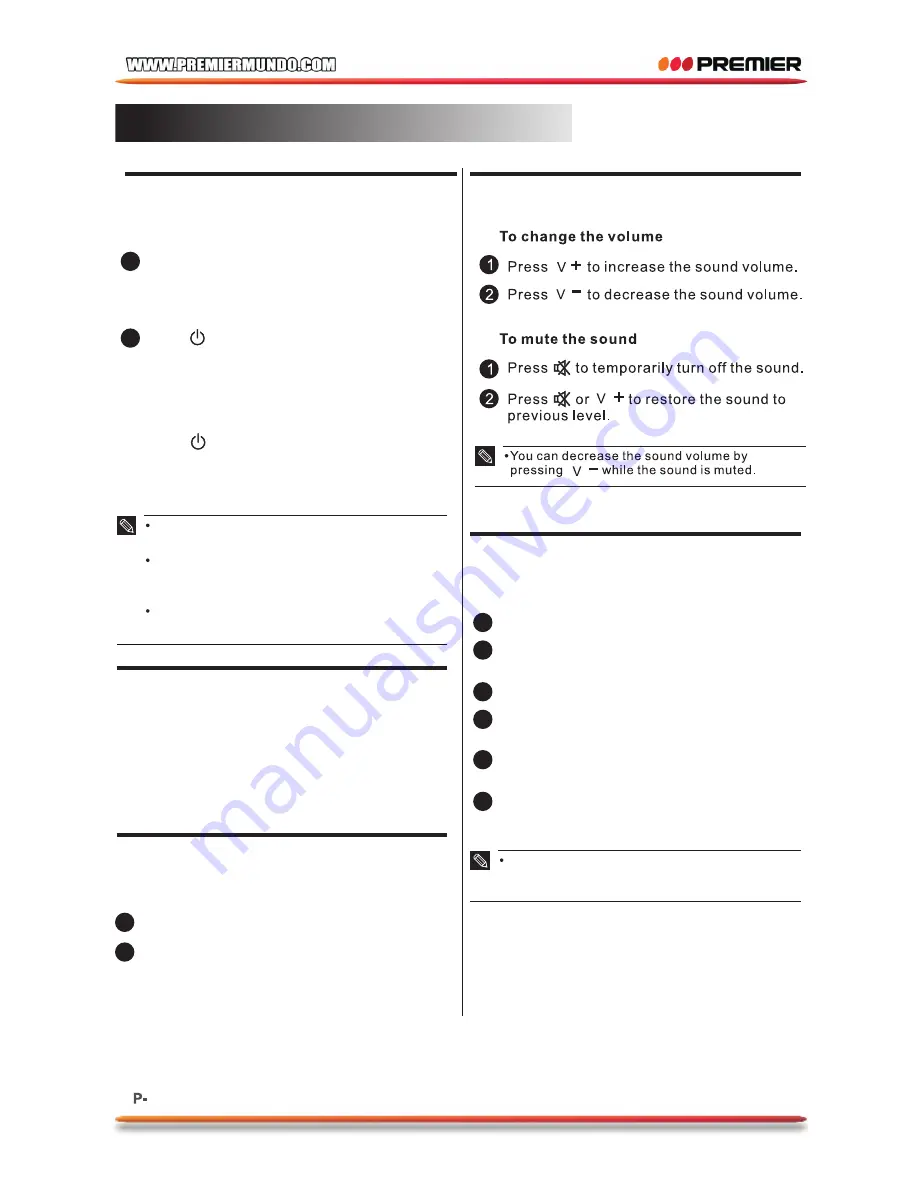
Volume Adjustment
To turn on the TV
1
Connect the power play into the wall outlet.
The power indicator lights in red, indicating
that the TV is in standby mode.
2
Press
The power indicator lights turns off and the
TV turns on.
To turn off the TV
Press
The power indicator lights in red and the
TV
turns off to standby mode.
It takes approximately 10 seconds for the
picture to appear after the TV is turned on.
The TV will switch to standby mode
automatically if there is no signal input for
10 minutes.
If the TV will not be used for a long periods
of time,unplug the TV from the wall outlet.
Channel Selection
To select a channel
Press
P+/-
or
Program Select
buttons to
select the channel number directly.
1
2
Input Source Selection
To select input source
Press
"
SOURCE
".
Press ▲/▼to select the desired input source
,
then
press
,"
enter
"
to
enter
.
The selected input source image displays.
1
2
3
4
5
6
On-Screen Display (OSD)
Selection and Adjustment
Press
to display the main menu.
"
MENU
"
Press
to select a menu.
The selected menu page displays.
▲ ▲
/
Press
to set your selection.
▲/▼
Press
to choose an item on the menu
page and press
to set your selection.
▲/▼
▲
Press
to adjust an item value or choose
options.
▲ ▲
/
Press
to return to the menu, press
"
MENU
"
again to exit.
"
MENU
"
The OSD menu screen will be closed
automatically when no operation has been
made for the set OSD menu display time.
▲ ▲
/
Basic Operation
Summary of Contents for TV-4336LED
Page 1: ...19...
Page 2: ......
Page 3: ......
Page 4: ......
Page 5: ......
Page 6: ......
Page 7: ......
Page 8: ...VIDEO2 VIDEO1 DC12V...
Page 9: ......
Page 10: ......
Page 11: ......
Page 12: ......
Page 13: ......
Page 14: ......
Page 15: ......
Page 16: ......
Page 17: ......
Page 18: ...Slow Step...
Page 20: ......
Page 21: ......
Page 23: ......
Page 25: ......
Page 26: ...LED...
Page 27: ...5 3x10 5...
Page 28: ......
Page 29: ...On Standby Mode the power light turns red ATV AV1 AV2 YPBPR VGA HDMI USB...
Page 31: ...9...
Page 32: ...10 P P V V...
Page 33: ...11...
Page 36: ...14...
Page 37: ...15...
Page 38: ...16...
Page 39: ...17...
Page 40: ...18...
Page 41: ...19 Slow Step...
Page 44: ...22 456x187x341mm 2 44W 250cd m 2 1366x768 160 160 3 2KG...


