Power Acoustik PTID-5850NRT, Operating Manual
The Power Acoustik PTID-5850NRT multimedia receiver features a 6.2" touchscreen display, DVD player, Bluetooth connectivity, and navigation capabilities. Enhance your audio experience with this versatile device. For detailed instructions on how to utilize its features, refer to the Operating Manual available for free download from manualshive.com.
Share
Download


Reviews:
No comments
Related manuals for PTID-5850NRT

Aqua-Pure 3MFF100
Brand: 3M Pages: 8

LARDIS:ONE LAR-1192
Brand: LARDIS Pages: 22

XOD1740BT
Brand: XOVision Pages: 26
Duros
Brand: Rastergraf Pages: 169

NEARSCAPES 4.1
Brand: Bogen Pages: 2

ProAudio ARX7570z
Brand: Clarion Pages: 29

WMiniDAC MK2
Brand: Waversasystems Pages: 24

HIF-4800RC
Brand: Roadstar Pages: 21

AVDVD1P
Brand: AudioBahn Pages: 54

OV-CR-422
Brand: Overmax Pages: 32

1209YAMMDWMTS
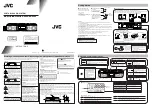
Brand: JVC Pages: 41

0209RYMMDWDAT
Brand: JVC Pages: 10

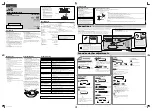
0603MWMMDWORIJVC
Brand: JVC Pages: 26
0108NYMCREBET
Brand: JVC Pages: 2

0209YAMMDWCDT
Brand: JVC Pages: 2

0310YAMMDWDAT
Brand: JVC Pages: 2
0410YOMMDWCDT
Brand: JVC Pages: 2
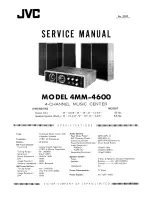
4MM-4600
Brand: JVC Pages: 17


