background image

8

PICTURE CONTROL

To adjust CONTRAST, BRIGHTNESS, COLOR press the MENU button until you
arrive at the screen for that item. Use the arrow buttons to adjust the value. Press
the MENU button to make another adjustment or leave the MENU system.

Contrast/Brightness/Color

CONTRAST

BRIGHTNESS

COLOR

50

1. Bring up the on-screen function menu by pressing the MENU button on the unit

or the remote control.

2. Press the MENU button on the unit or the remote control of monitor until you see

the item you wish to adjust.

3. Use the arrow buttons to adjust the value.

4. Press the MENU button to make another adjustment or leave the MENU system.

50

50

INSTALLATION

Product installed

AUX

M

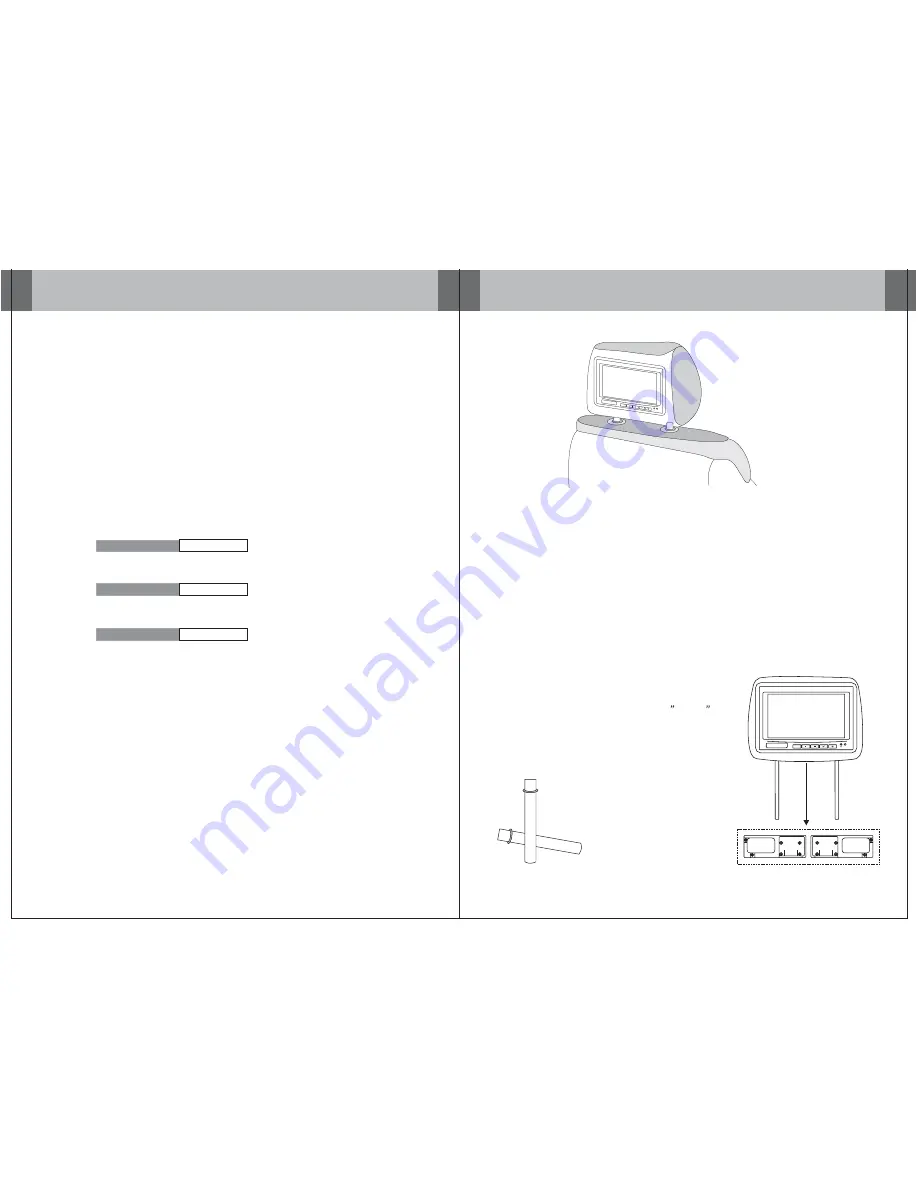
1. Remove the existing headrest from the seat.

2. Adjust the posts of the new headrest to fit the holes in the seat where the

headrest will be installed. The post can be moved together or apart
grasp one post in each hand, move the posts in opposing directions
(like they were walking) while pushing them toward each other or away
from each other.

3. Insert the cable in the proper hole. Insert the posts into the holes in the

seat and carefully work the headrest into position. Make sure the cable
is not pinched.

4. Run the cable down the seat and out to the location of the video source

unit (such as a DVD player).

5. See the picture on the right and you can adjust

the distance between the tubes to required
space(pole width adjustments 4

~ 8.2

.

)

AUX

M

5

How to use the Adapter tubes

Since the spacing of the mounting holes
can vary on different veicles we supply
two adapter tubes. Use these tubes when
the headrest mounting holes in your seat
are too large for the posts of the headrest
monitor.

Summary of Contents for HD-88BK

Page 1: ...OWNER S MANUAL Two Preloaded 8 8 Wide Universal Replacement Headrest Monitors Package HD 88BK AUX M HD 88BG HD 88GR HD 88GRDK ...

Page 2: ...ed in a commercial environment This equipment generates uses and can radiate radio frequency energy and if not installed and used in accordance with the instruction manual may cause harmful interference to radio communications Operation of this equipment in a residential area is likely to cause harmful interference in which case the user will be required to correct the interference at his own expe...

Page 3: ...he deployment of the airbag or in an area where it would affect the vehicular control Also be careful to avoid mounting the product where it can become hazardous during sudden stops or in the event of an accident Use extra caution with any liquids in your car If you or your child Spills any liquid on these products pull your vehicle to the roadside and turn the key off to disconnect or wipe the pr...

Page 4: ...rating temperatures to return to normal operating ranges Your monitor will return to its normal functions when these operating ranges are achieved 3 Optimum picture quality is achieved when you are directly in front of the monitor 45 degrees 4 If the buttons get stuck please try to press the up of buttons it will get back It won t impact using normal 5 If you cann t find the files name in list whe...

Page 5: ...he posts of the new headrest to fit the holes in the seat where the headrest will be installed The post can be moved together or apart grasp one post in each hand move the posts in opposing directions like they were walking while pushing them toward each other or away from each other 3 Insert the cable in the proper hole Insert the posts into the holes in the seat and carefully work the headrest i...

Page 6: ...Interface Switch Function Power Power ON OFF AV Signal Select Menu Press this button for OSD menu And select menu option Increase current option value Decrease current option value POWER KEY AV1 AV2 Aux KEY KEY KEY MENU KEY Remote Control POWER MUTE SOURCE 1 2 3 4 5 6 7 8 9 0 SUB T ANGLE TITLE ZOOM PROG MENU SETUP ENTER GOTO SLOW AUDIO P N DISPLAY A B PBC MENU AV MONITOR and among ...

Reviews: