


Booting Windows XP
Upon first power-up, you will be guided through the Windows Welcome procedure which is self-
explanatory. The Windows XP serial number is printed on the Windows XP label on the bottom of your
WEBS-1010.
Maintenance
The WEBS-1010 requires no maintenance. You should not take the WEBS-1010 apart - this will void its
warranty. The following operations can be conducted by the user:
Affixing rubber feet
You should stick the rubber feet to the bottom of the WEBS-1010 to protect the supporting surface.
Recommended rubber feet placement is shown below:
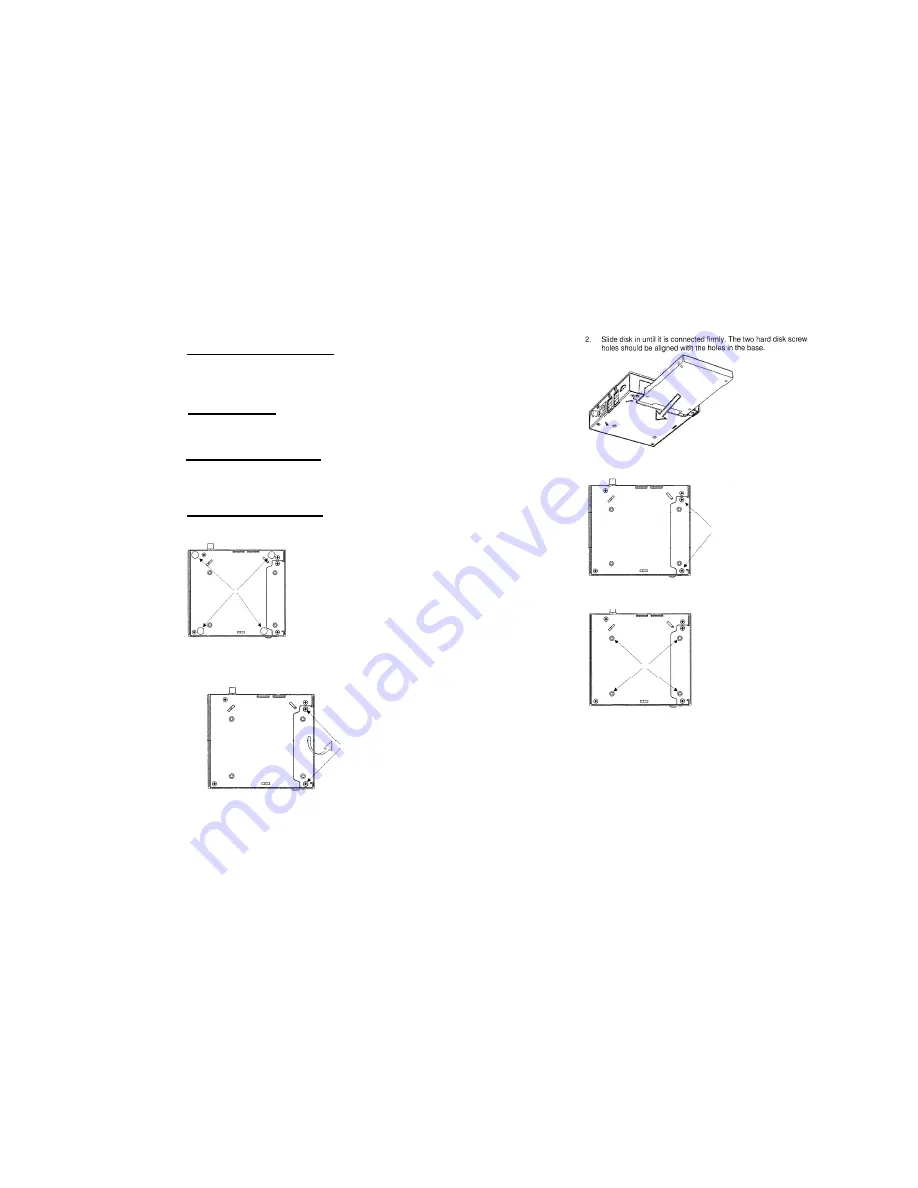
Installing Hard Disk
1. Open the two screws on the HDD cover indicated below and remove it.
3. Replace the HDD cover and tighten the two screws.
4. Tighten the four HDD screws indicated below.
Removing Hard Disk
1. Open the four HDD screws


