Portsmith Peripheral-to-Ethernet Adapter Manual
3
Step 3: CAB File Installation.
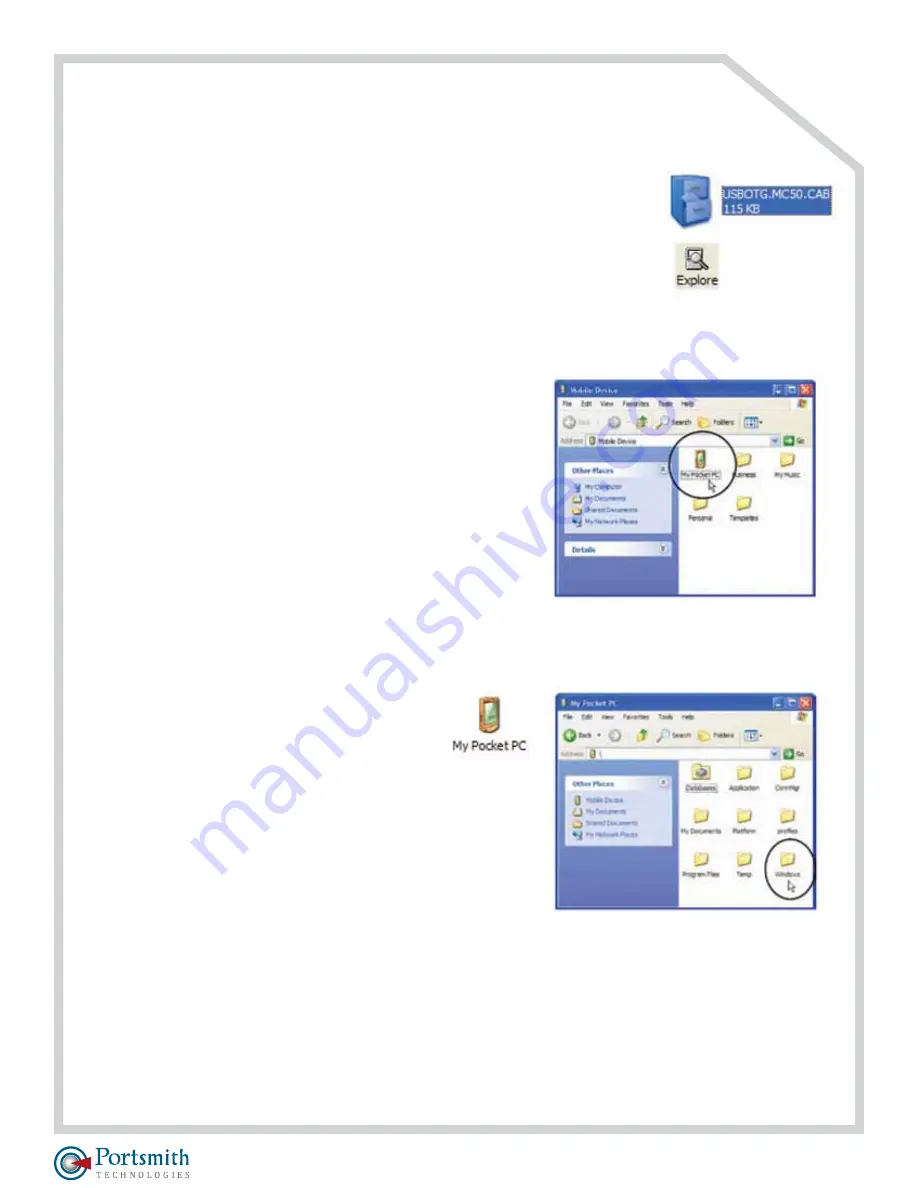
To install the CAB file directly onto the MC50,
follow these simple steps:
• Connect the MC50 USB Cable to a USB port on your computer.
• Open your Windows Explorer and browse to the /MC50 Drivers folder to locate
the file
USBOTG.MC50.CAB
.
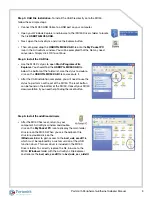
• Next, open the ActiveSync and click the Explore button.
• Then, drag and drop the
USBOTG.MC50.CAB
file onto the
My Pocket PC
icon in the ActiveSync window. You will be prompted that the file may need
conversion. Simply click OK to continue.
Step 4: Install the CAB file.
• Use the MC50’s stylus to open
Start>Programs>File
Explorer.
You should find the
USBOYG.MC50.CAB
file
below the bottom of the folder list. Use the stylus to double-
click on the
USBOTG.MC50.CAB
file and execute it.
• After the CAB installation completes, you will need to use the
stylus to perform a soft reset of the MC50. The reset button
can be found on the bottom of the MC50. Consult your MC50
documentation if you need help finding the reset button.
Step 5: Install the additional drivers
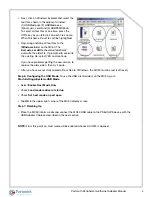
• After the MC50 has reset, return to your
computer’s ActiveSync window and double-
click on the
My Pocket PC
icon to display the main folder
structure on the MC50. When you see the adjacent file
structure, double-click on the
/Windows
folder to gain access to the
bvd_udc_ser.dll
file
which must be replaced by a custom version of the USB
function driver. This new driver is included in the MC50
Drivers folder. To correctly replace the file, browse to the
MC50
/Windows
folder with the ActiveSync File Explorer
and rename the
bvd_udc_ser.dll
file to
bvd_udc_ser_old.dll
.

