NOTE:
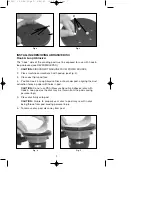
A slight twisting action will ease removal and reassembly.
Tap container lightly to remove compacted dust. DO NOT WASH CONTAINER.
Dry compressed air may be used to blow out container.
CAUTION:
Wear safety glasses while using compressed air.
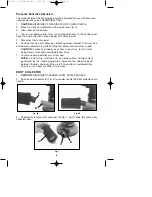
The dust collector flange contains a clear plastic disc (C) Fig. 7, that acts as a
check valve to prevent collected dust from getting back into the sander. DO
NOT REMOVE THIS DISC.
CAUTION:
Never run sander with dust container or dust collector
assembly removed. Dust could be blown into eyes.
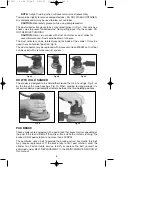
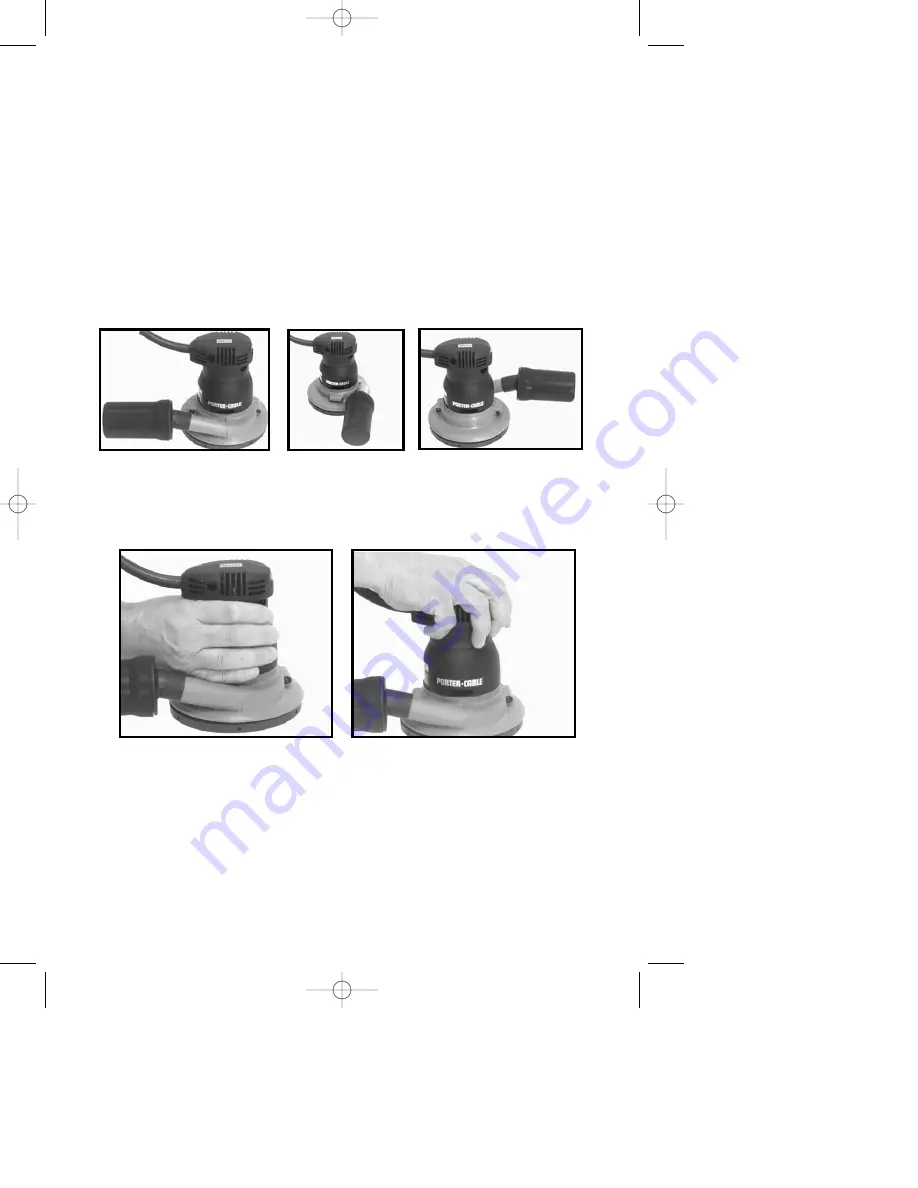
The dust collector can be rotated around the body of the sander. It may be
used in any convenient position, Fig. 8.
The dust collector may be replaced with Accessory Hose #39332 so that tool
can be used with a remote vacuum system.
HOW TO HOLD SANDER
The sander is designed to be held either around the main housings, Fig. 9, or
by the top of the main housings, Fig. 10. When sanding for long periods, it is
recommended you periodically alternate between the two holding positions.
PAD BRAKE
These sanders are equipped with a pad brake that prevents over-speeding of
the pad. If the tool is lifted off the work surface while the motor is running, the
brake will limit pad rotation to no more than 400 RPM.
The pad brake uses a belt to provide the braking action. Eventually, this belt
may require replacement. If the brake fails to limit pad rotation, send the
sander to a Porter-Cable service facility or replace the belt yourself as
explained under BELT REPLACEMENT in the MAINTENANCE SECTION of
this manual.
9
Fig. 9
Fig. 10
Fig. 8A
Fig. 8B
Fig. 8C
900007 - 02-28-01.QXD 9/26/02 11:46 AM Page 9


