background image

fuse Visualizer 

2002327-001 Rev C

3.  Click “Yes.” The 

Uninstall Complete

 dialog appears. 

fuse installation: Macintosh 

To install the PolyVision fuse software on a Macintosh:  

1.  Insert the PolyVision fuse Visualizer Installation CD in your computer. 

2.  Double-click the “fuse Visualizer” disk on your desktop. 

3.  Double-click the Macintosh folder. 

4. Double-click 

PolyVision_fuse_Setup.mpkg

.” Installation begins. 

5.  Follow the prompts you see on the screen to complete the installation.  

To uninstall the fuse software on a Macintosh:  

1. Navigate 

to 

“Applications” and then to “PolyVision.” 

2.  Launch “fuse software Uninstaller.app.” 

3.  Follow the prompts as directed. 

Install the fuse camera 

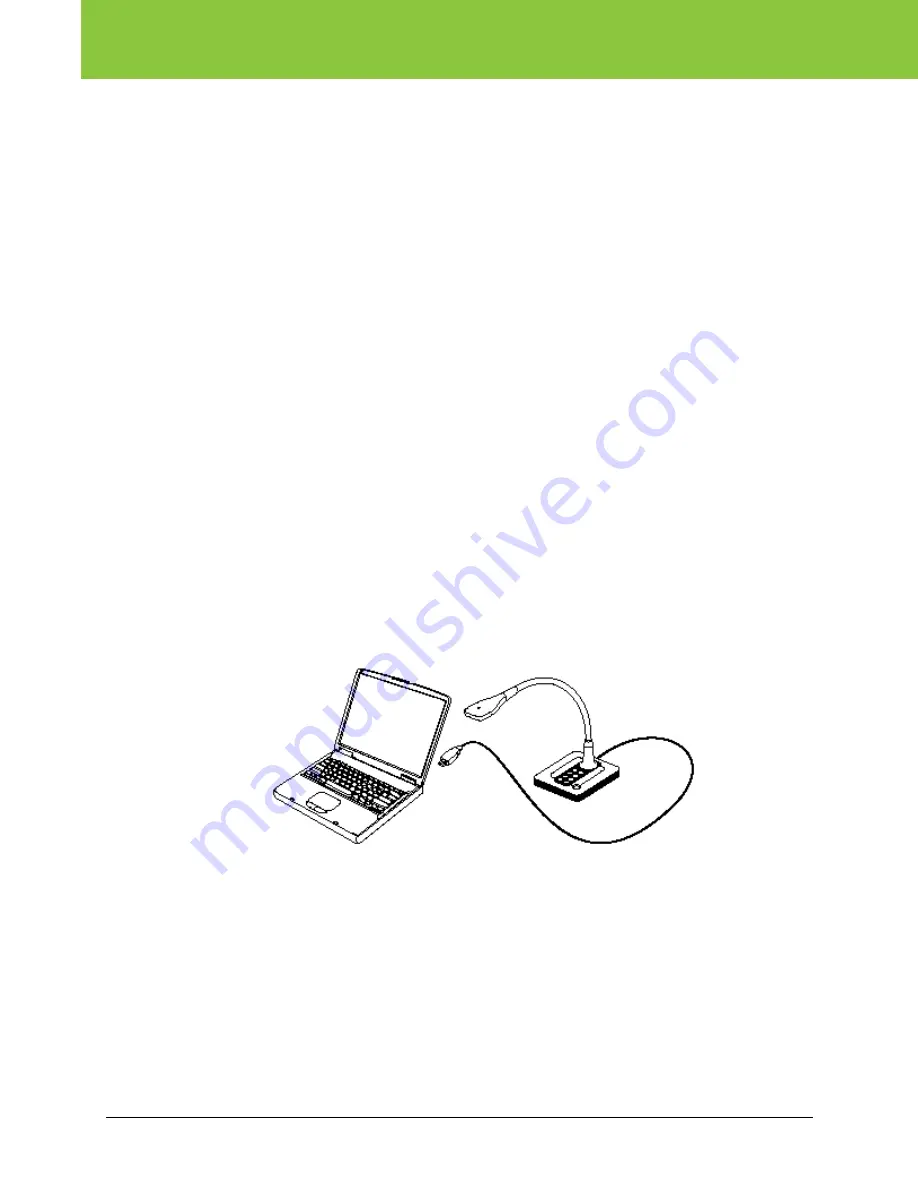
USB cable connection 

To install the fuse Visualizer: 

1.  Locate the fuse USB cable. 

2.   Connect the standard male cable end to the computer USB port. 

3.  Connect the mini-B cable end to the USB port on the fuse desktop camera. 


6 of 16 


User Guide 

Summary of Contents for fuse

Page 1: ...PolyVision fuse Visualizer User Guide Part number 2002327 001 Rev C 2012 PolyVision Corporation All rights reserved ...

Page 2: ... use fuse 8 Getting started 8 fuse application toolbar icons 8 Displaying the desired image 9 Camera LED lighting 9 Rotate 9 Auto Focus 9 Zoom in 10 Zoom out 10 Zoom the selection 10 Screen Lock 10 Reset 10 Capturing images 10 Capture a snapshot 10 Video capture 11 Copy 11 Print 11 Enhancing snapshots and printed images 11 fuse application settings 12 Getting help 13 Full Screen mode 13 Hiding and...

Page 3: ...use camera directly to the computer where fuse software is installed You can use fuse alone or add multiple features by integrating fuse with the PolyVision ēno interactive whiteboard and a projector With fuse and ēno you can view live images from fuse projected on the interactive whiteboard annotate images using the ēno stylus and capture everything as a digital image on your computer control fus...

Page 4: ...the fuse software System requirements Your computer must have 512 MB RAM Your Windows based computer must have Intel Core 2 CPU or equivalent Windows 7 Vista or XP with SP 3 Available USB 2 0 port Your Macintosh computer must have OS X release 10 5 or later Available USB 2 0 port Your Linux system must have Ubuntu 10 04 or later Fedora 14 or later Available USB 2 0 port 4 of 16 User Guide ...

Page 5: ...pears 11 Click Yes The Wizard automatically completes the installation 12 Click Finish To uninstall fuse software in Windows 1 Click Start at the lower left corner of the task bar 2 Choose All Programs from the menu 3 Choose fuse Visualizer from the menu 4 Choose Remove fuse Visualizer fuse installation Linux To install the fuse software in Linux 1 Insert the PolyVision fuse Visualizer Installatio...

Page 6: ... PolyVision_fuse_Setup mpkg Installation begins 5 Follow the prompts you see on the screen to complete the installation To uninstall the fuse software on a Macintosh 1 Navigate to Applications and then to PolyVision 2 Launch fuse software Uninstaller app 3 Follow the prompts as directed Install the fuse camera USB cable connection To install the fuse Visualizer 1 Locate the fuse USB cable 2 Connec...

Page 7: ...Visualizer 2002327 001 Rev C ēno option install the magnetic icon strip To integrate fuse with the ēno interactive whiteboard system add the fuse magnetic icon strip to the ēno whiteboard PolyVision 7 of 16 ...

Page 8: ...uter is turned on fuse is on 2 To start the fuse application on your computer you can press the Start Application button on the fuse desktop camera launch the fuse application on your computer Option When fuse is integrated with the ēno interactive whiteboard system tap the Start Application icon on the fuse magnetic icon strip that is fastened to the whiteboard 3 Rotate the head of the camera so ...

Page 9: ... to center the image and fill the fuse application window Turn on or off the camera s built in LED light Rotate the image by 90 degrees Use Auto Focus Zoom in or out on the center of the image Zoom in on a selected part of the image Freeze the live video Camera LED lighting Press this button to turn the camera LED light on and off The LED is off when the fuse software launches Refer to Lighting on...

Page 10: ...ve video select the icon again Note While the live video is locked you can copy to the clipboard capture a snapshot and reset to defaults but not magnify rotate or capture video Reset Press this button to reset the fuse application to default magnification default live video default lighting and default rotation Capturing images fuse Visualizer enables you to capture and display images for a varie...

Page 11: ... page 12 You can enhance the captured image Refer to page 11 Enhancing snapshots and printed images The fuse application enables you to enhance the captured image using TrueSnap software Square squares up the image The default is OFF Clean standardizes the colors The default is OFF Unbind flattens the image from a bound book removing the curve on the edge The default is OFF To enhance captured sna...

Page 12: ...shot files are saved in JPG format Windows or PDF Macintosh Base file name Specify the name of the snapshot files saved on your computer when you save an image from your PolyVision product Click the existing base file name to enter a new file name Check boxes enable you to add a date time stamp to the base filename to add a sequential number to the base file name and to overwrite the existing file...

Page 13: ...e application toolbar to enter Full Screen mode The fuse application window fills the monitor with no title bars and no other applications To display the application window press the Full Screen icon again or press Esc Hiding and viewing the fuse application toolbar To hide the fuse application toolbar in Full Screen mode 1 Click the push pin icon in the toolbar s right corner When hidden the tool...

Page 14: ... operates using ambient room light If using camera in a severely darkened room supplement the light entering the camera by using the LED light on the device so that there is more light for the camera to work with refer to Camera LED lighting on page 9 Never point your PolyVision fuse Visualizer at direct sunlight Subjecting the camera eye to direct sunlight may cause permanent damage FCC complianc...

Page 15: ... that your unit requires service the Technical Support agent will instruct you how and where to return the unit This warranty is limited to exchange or repair at the option of the PolyVision and PolyVision is not liable for any other damages either direct or consequential No warranty shall apply to any PolyVision product or any part thereof which has been subject to accident alteration modificatio...

Page 16: ...ng started 9 Help 13 Install software Linux 5 Macintosh 6 Windows 5 Lens cleaning 14 Lighting care and maintenance 14 On or off 9 Magnetic icon strip 7 Magnify 10 On line registration 3 Print 11 Register with PolyVision 3 Reset defaults 10 Rotate 9 Save file as type 12 Save to Directory 12 Screen Lock 10 Software updates 13 Square 11 System requirements 4 Unbind 11 Uninstall software Linux 5 Macin...

Reviews: