Downloaded from Projector.com
6
English
Getting Started
3 Set the DIP switches on the Macintosh adapter to match the output
settings of the laptop. For more information on the correct DIP switch
settings, see “Macintosh Issues” on page 30.
4 In the Control Panel of the Macintosh operating system, set the
Mirroring option to “On” and select the external monitor as the active
monitor. For more information on the Mirroring function, see
“Macintosh PowerBook Series 160, 165, 180, 185, 500, 520, 540” on
page 31.
Connecting to
Audio
You can connect the projector to computer audio output and, once
connected, you can provide an audio signal to powered external speakers.
Note that there are separate audio input connections for a computer and
VCR on the projector.
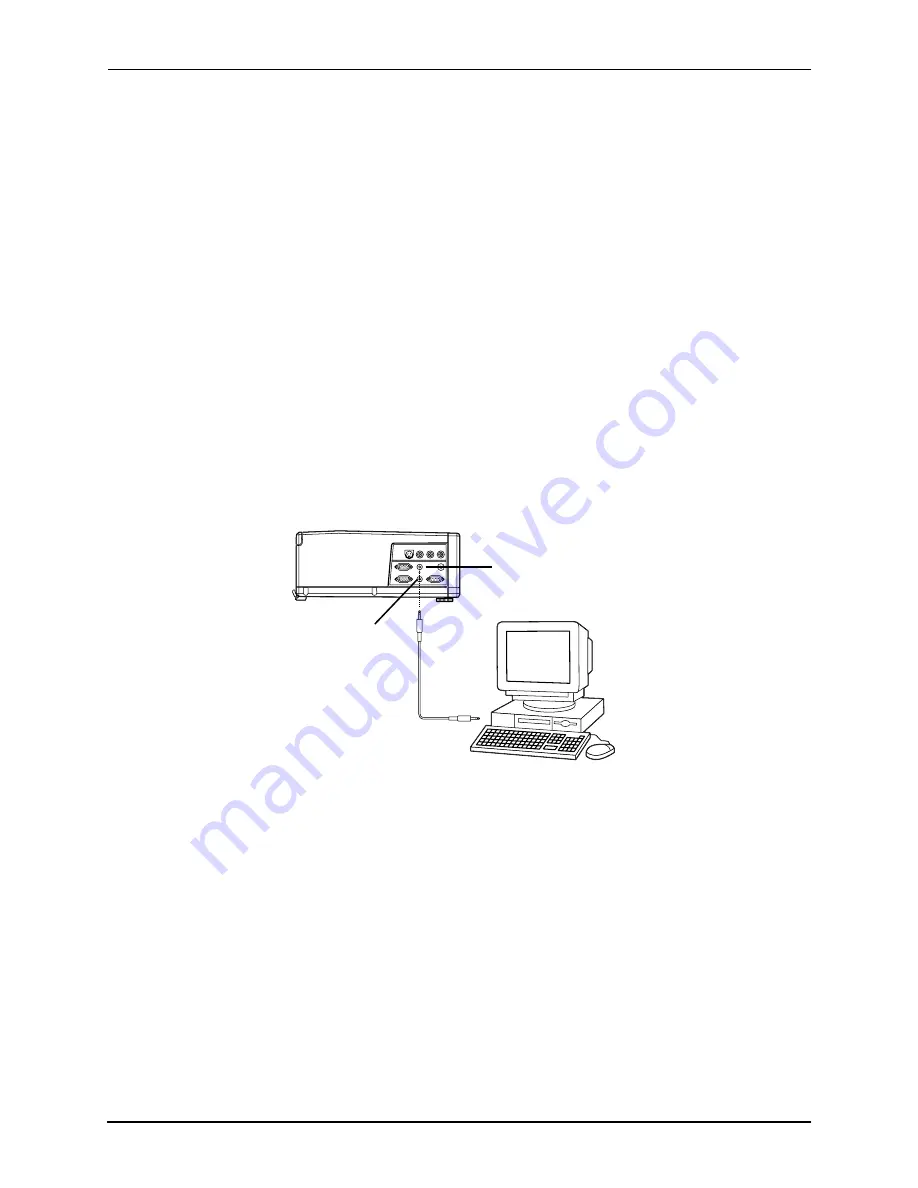
To connect to computer audio:
1 Connect one end of the stereo audio cable (3.5 mm male plugs on each
end) to the audio output connector on your computer’s sound card or
the speaker output connector on your laptop computer.
2 Connect the other end of the stereo audio cable to the Audio In
connector on the projector.
Figure 7: Connecting to Audio
To provide an audio signal to powered external speakers:
• Connect the powered external speaker cable plug to the Audio Out
connector on the projector.
Connecting to a
Video Player
You can connect either composite video/stereo audio or S-video signal
inputs to the projector.
To connect to composite video:
1 Connect the red and white audio plugs on the three-wire composite
audio/video cable to the left and right audio connectors on the
projector and to the audio output connectors on the video player.
Audio In
connector
Audio Out
connector


