background image

Polaroid DVF-130 Video Camcorder User Guide

www.polaroid.com

Questions?

Call our toll-free customer service number. Look for the insert with this icon: 

Or visit www.polaroid.com. 

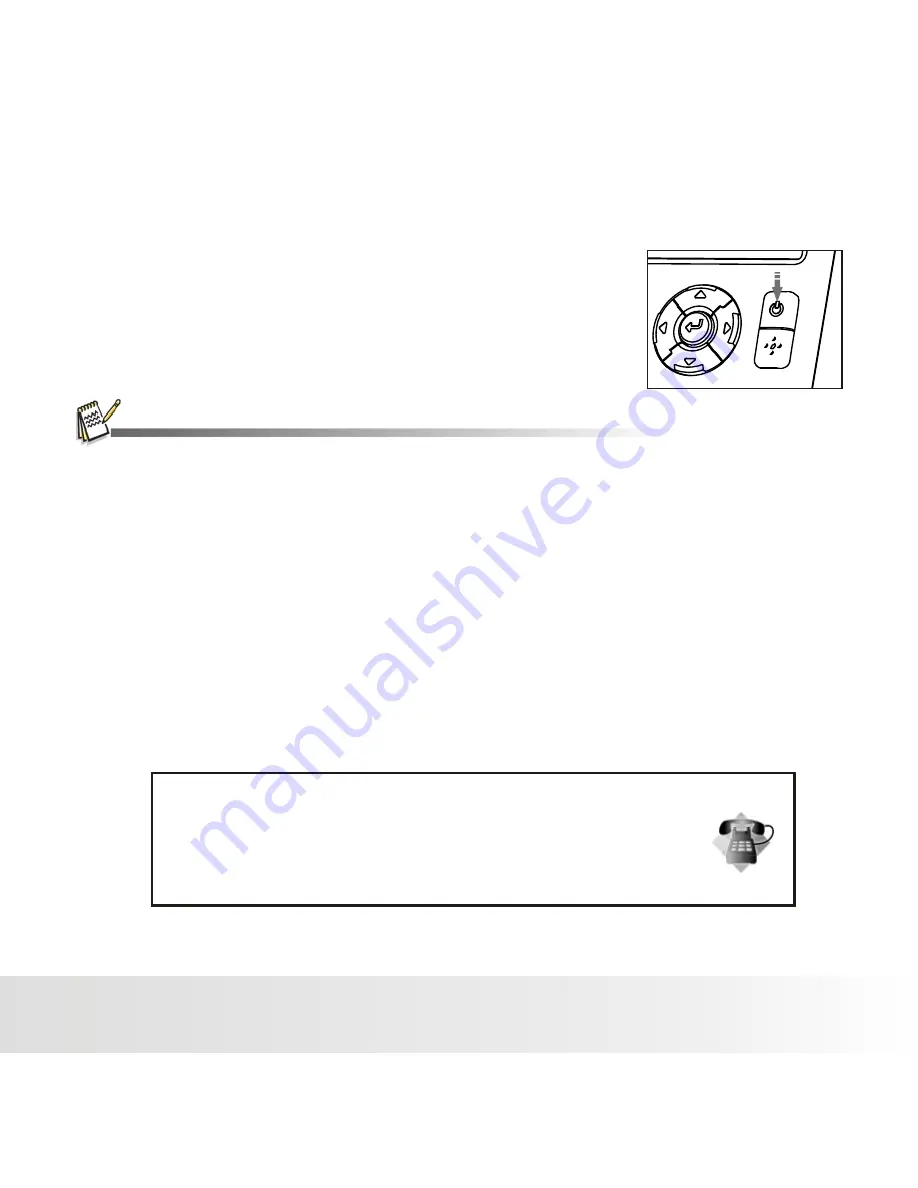
Turning the Power On/Off 

■  Pressing the 

POWER

 button once turns the camera on.                             

■  To turn the power off, press the 

POWER

  button again. 

■  To extend battery life, the power is turned off automatically when the camera has not been 
    operated for a fixed period of time. To resume, Press the Power button to the camera on again. 
    Refer to section in this manual titled “Auto Off” in the Setup Menu for further details. 

EN-10

Summary of Contents for iZone DVF-130

Page 1: ...DVF 130 USB DIGITAL CAMCORDER U S E R S M A N U A L...

Page 2: ...occur in a particular installation If this equipment does cause harmful interference to radio or television reception which can be determined by turning the equipment off and on the user is encourage...

Page 3: ...ntial adverse effects on the environment and human health Presence of this label on the product means it should not be disposed of as unsorted waste and must be collected separately As a consumer you...

Page 4: ...ent from those described in this manual This is due to the fact that different retailers often specify slightly different product inclusions and accessories to suit their market requirements customer...

Page 5: ...DISSASSEMBLE For repair please call our friendly customer service for assistance Do not use the camera in areas near water Take special care during rain snow on the beach or near the shore Exposing t...

Page 6: ...cessive force when handling the camera This may cause damage to the camera Do not use the camera in humid steamy smoky or dusty places This may cause fire or electric shock Do not remove the batteries...

Page 7: ...maging Products Association commonly known as CIPA All digital cameras are high drain products For the best performance and prolonged battery life we recommend the use of high capacity batteries desig...

Page 8: ...Getting Started Record Mode Video Recording Photo Recording 24 24 Setting the Focus 25 Choosing your Language 25 Formatting the Memory Card or Internal Memory 26 Adjusting the Exposure EV Compensation...

Page 9: ...color Package Contents Carefully unpack your camera and ensure that you have the following items Digital Video Camera Software CD ROM 2AA size batteries Common Optional Accessories SD or SDHC memory c...

Page 10: ...ly turn off Be careful not to drop the batteries when opening or closing the battery door Installing the batteries 1 Open the battery door as shown in the illustration 2 Load the batteries with correc...

Page 11: ...ower On Off Pressing the POWER button once turns the camera on To turn the power off press the POWER button again To extend battery life the power is turned off automatically when the camera has not b...

Page 12: ...Guide www polaroid com Front View 1 2 3 4 5 6 7 8 9 10 11 12 13 14 1 LCD Display 2 Handstrap retainer 3 Focus switch Normal mode Macro mode 4 AV port 5 SD card slot 6 Mode button 7 Delete button 8 UP...

Page 13: ...EN 12 GETTING TO KNOW YOUR CAMERA Polaroid DVF 130 Video Camcorder User Guide www polaroid com Rear View 15 16 17 18 19 15 Lens 16 Microphone 17 USB interface 18 USB release switch 19 Battery door...

Page 14: ...ounting indicator 00 Shows the number of pictures left in still camera mode 00 00 Shows the amount of time left in video mode 0 00 Shows the amount of recording time taken during recording 9 Zoom Show...

Page 15: ...ording time Playback mode Photographs Playback 1 Battery level 2 SD card icon 3 Zoom value 4 Playback mode 5 Still Image resolution 6 Playback indicator 7 Quantity of pictures in memory 8 Date Time Vi...

Page 16: ...ject of the image to be recorded If the write speed of your SD SDHC memory card is not fast enough for recording video clips in the currently selected size the video recording will stop In this case s...

Page 17: ...switch in the Normal mode If you would like to take close up photos slide the Focus switch to the Macro and make sure your subject is between 11 cm to 18 cm 4 to 7 inches 4 Use the LCD screen frame yo...

Page 18: ...ns 3 Press the ENTER button to start video playback Pressing the buttons during playback allows fast forward play fast reverse play To pause video playback press the ENTER button To resume playback pr...

Page 19: ...buttons To view the previous image press the button To view the next image press the button 3 Press the button to adjust the zoom The magnification factor is shown on the LCD display 4 To view differe...

Page 20: ...the following steps 1 Press the POWER button to turn the camera on 2 To activate the digital zoom press the button The status of digital magnification is shown on the LCD display 3 Frame your scene a...

Page 21: ...the M button Video Resolution This sets the size of the video clip that will be captured VGA 640 x 480 QVGA 320 x 240 White Balance This sets the white balance for a variety of lighting conditions and...

Page 22: ...th the buttons and press the ENTER button 4 Choose the desired setting with the buttons and press the ENTER button 5 To exit from the menu press the M button This sets the size of the image that will...

Page 23: ...ty of lighting conditions and permits images to be captured that approach the conditions that are observed in your scene Auto Use this setting for most scenes Sunny Use this setting when there is full...

Page 24: ...nd press the ENTER button Once an image or video clip is deleted it cannot be recovered Deleting an video image will not affect sequential video image numbering For example if you delete video image n...

Page 25: ...red focus setting based on the subject distance 3 Frame your scene and press the ENTER button Warning Your image s will be unsharp if you are not within the macro focus range The table below will help...

Page 26: ...he M button Formatting the Memory Card or Internal Memory This utility formats the internal memory or memory card and erases all stored images and data 1 Press and hold the M button 2 Select Setup Mod...

Page 27: ...t the range of EV compensation value from 2 0EV to 2 0EV then press the ENTER button 4 To exit from the menu press the button Helpful Hints on How to Use EV Settings Positive compensation Negative com...

Page 28: ...the camera is not used for a specific period of time the power to the camera is automatically turned off This feature is useful for extending battery life 1 min 3min Off This sets whether or not to mu...

Page 29: ...Video Camcorder User Guide www polaroid com Language Refer to section in this manual titled Choosing the Language for further details English T Chinese S Chinese French Deutsch Italian Spanish Portugu...

Page 30: ...ia the built in YouTube Direct application which offers you an easy way to upload your video clips to YouTube instantly Polaroid DVF 130 Video Camcorder User Guide www polaroid com Viewing Photos and...

Page 31: ...amera is properly connected to a Pict Bridge compliant printer and set to Pictbridge the Pict Bridge menu is shown on the display Select the item you want to configure with the buttons and press the E...

Page 32: ...that the printing procedure is processing The image printing may be failed if the power to the camera is cut off For service support and warranty information visit www polaroid com Polaroid and Polaro...

Page 33: ...ULT SETTINGS Image Size Quality Setup EV Sstup White Balance Date Stamp 1280X960 Fine Auto Auto No stamp Still Setup Movie Size White Balance 640x480 Auto Video Setup Questions Call our toll free cust...

Page 34: ...nity 0 5m infinity Shutter speed 1 1 1000 sec LCD display 2 0 full color LTPS TFT LCD Exposure compensation 2 0EV 2 0EV in 0 3EV increments White balance Auto Sunny Cloudy Tungsten Fluorescent Interfa...

Page 35: ...01 26 01 42 02 55 03 28 05 53 07 01 23 44 28 16 47 33 56 36 95 12 113 19 11 51 14 06 Polaroid DVF 130 Video Camcorder User Guide www polaroid com Fine Super Fine Normal Fine Super Fine Normal Fine Sup...

Page 36: ...e fuzzy Files cannot be deleted Cannot download images The ENTER button is not pressed all the way down The internal memory or memory card does not have any free space The memory card is write protect...

Page 37: ...kyo Tel 81 3 5795 1392 FAX 81 3 5795 1397 E mail support arcsoft jp Web http www arcsoft jp For latin America E mail latinsupport arcsoftsupport com For China ArcSoft China Support Center Hangzhou Tel...

Page 38: ......

Reviews: