Polaroid FLM-2625 User Manual Download Page 4

Important Information

WARNING:

TO REDUCE THE RISK OF FIRE OR ELECTRIC SHOCK, DO NOT EXPOSE THIS APPARATUS TO RAIN OR
MOISTURE.

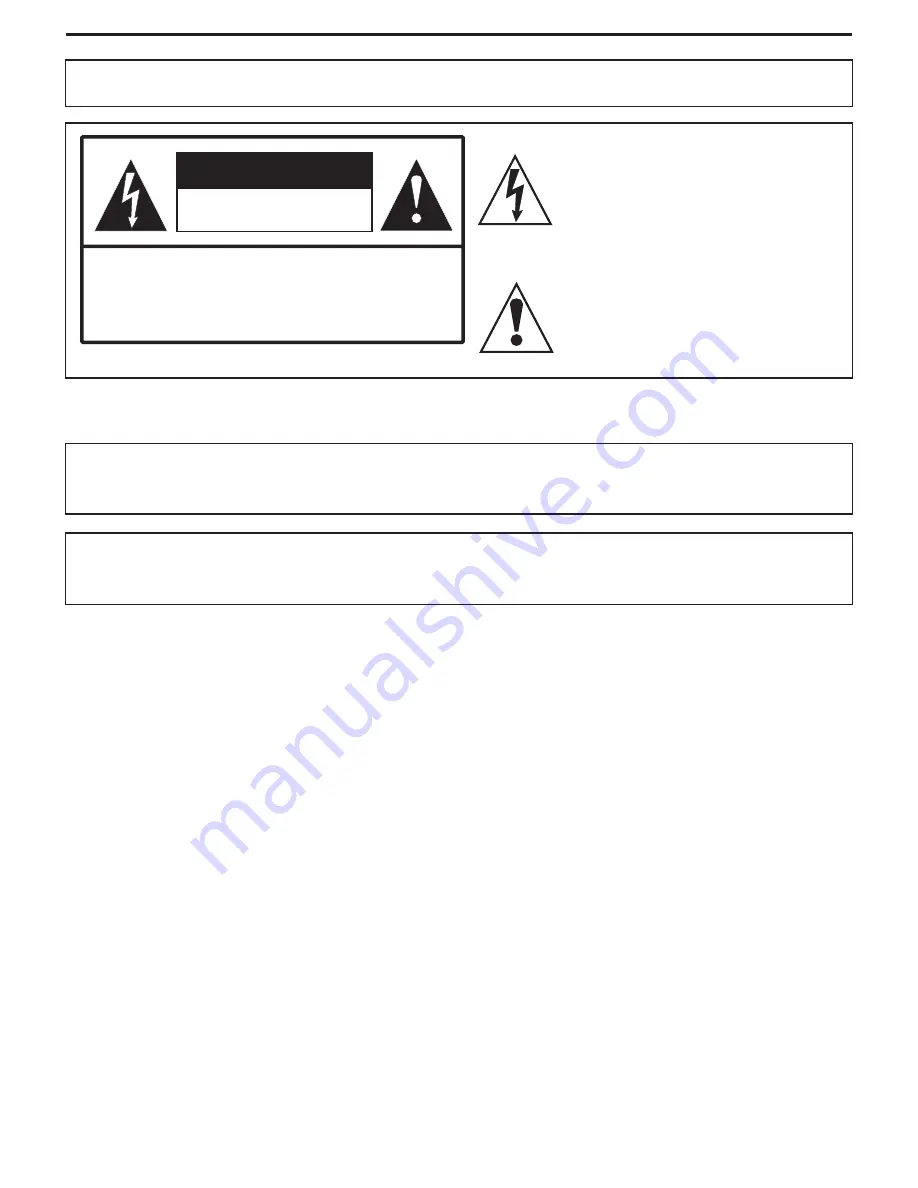
The lightning flash with arrowhead symbol,
within an equilateral triangle is intended to
alert the user to the presence of uninsulated
dangerous voltage within the product's
enclosure that may be of sufficient magnitude to
constitute a risk of electric shock to persons

.

The exclamation point within an equilateral
triangle is intended to alert the user to the
p r e s e n c e o f i m p o r t a n t o p e r a t i n g a n d
maintenance (servicing) instructions in the
literature accompanying the appliance.

RISK OF ELECTRIC SHOCK
DO NOT OPEN

CAUTION

CAUTION

-To reduce the risk of electric shock, do not perform any

servicing other than that contained in the operating
instructions unless you are qualified to do so.

"Note to CATV system installer: This reminder is provided to call the CATV system installer's attention to Article 820-40 of the National Electrical
Code that provides guidelines for proper grounding and, in particular, specifies that the cable ground shall be connected to the grounding system
of the building, as close to the point of cable entry as practical.”

This product utilizes tin-lead solder, and fluorescent lamp containing a small amount of mercury. Disposal of these materials may be regulated due
to environmental considerations. For disposal or recycling information, please contact your local authorities or the Electronic Industries Alliance:
www.eia.org

FCC STATEMENT

FCC Notice

LCD TV: A CLASS B digital device

This equipment has been tested and found to comply with the limits for a Class B digital device, pursuant to part 15 of the FCC Rules. These
limits are designed to provide reasonable protection against harmful interference when the equipment is operated in a commercial
environment.
This equipment generates, uses, and can radiate radio frequency energy and, if not installed and used in accordance with the instruction
manual, may cause harmful interference to radio communications. Operation of this equipment in a residential area is likely to cause
harmful interference in which case the user will be required to correct the interference at his own expense.

FCC CAUTION:

Pursuant to 47CFR, Part 15.21 of the FCC rules, any changes or modifications to this monitor not expressly approved by the
manufacturer could cause harmful interference and would void the user's authority to operate this device.

WARNING: This is a CLASS B product. In a domestic environment this product may cause radio interference in

which case the user may be required to take adequate measures to counter interference.

1

Summary of Contents for FLM-2625

Page 1: ...26 LCD Television FLM 2625 20051021...

Page 2: ...e 18 Storing Channels in Memory Automatically 18 Adding and Erasing Channels 19 Changing Channels 20 Adjusting the Volume 20 Select Input Source Signal 21 Selecting a Menu Language 21 Customizing the...

Page 3: ...usting the Picture 31 Adjusting Image Size 31 Changing the Position of Image 32 Adjusting the CLOCK and PHASE 32 Adjusting the Picture Automatically 32 Adjusting Parental Control Settings 33 Parental...

Page 4: ...utilizestin leadsolder andfluorescentlampcontainingasmallamountofmercury Disposalofthesematerialsmayberegulateddue to environmental considerations For disposal or recycling information please contact...

Page 5: ...from the wall outlet before cleaning Donotuseliquidcleanersoraerosolcleaners Useadampclothforcleaningifrequired 7 Do not block any ventilation openings Install in accordance with the manufacturer ins...

Page 6: ...cified by the manufacturer or those with the same characteristics and performance as the originalparts Useofunauthorizedpartscanresultinfire electricshockand orotherdanger 17 Overloading Do not overlo...

Page 7: ...des andrequirementsforthegroundingelectrode An outside antenna system should not be located in the vicinity of overhead power lines or other electric light or power circuits or where it can collide wi...

Page 8: ...ation Cautions regarding use of remote control Do not expose the remote control to shock In addition do not expose the remote control to liquids anddonotplaceinanareawithhighhumidity Donotinstallorpla...

Page 9: ...red Cable TV converter descrambler not supplied Two set signal splitter not supplied Cable TV Line RF switch not supplied OUT IN ANTENNAS The antenna requirements for good color television reception a...

Page 10: ...CH POWER INPUT 1 2 POWER 3 Remote Sensor 4 INPUT 5 CH 6 Power Indicator VOL VOL VOL Press the or button to directly increase or decrease the sound volume level Press this button to turn the unit ON f...

Page 11: ...t jack on the unit matching and ends of the cable with color Before connecting make sure to unplug the unit and all connected components 8 AUDIO VGA Y Pb Cb Pr Cr AUDIO L AUDIO R ANTENNA INPUT S VIDEO...

Page 12: ...o access source input select menu 2 POWER Turn the unit on or off 3 5 4 6 7 8 9 10 11 12 2 4 ENTER button Channel enter button 11 Menu navigation button In Menu operation use to select menu item Use t...

Page 13: ...rmation 15 STEREO To select stereo mode 16 PIP To activate PIP function 17 SIZE To adjust PIP frame size change the position of the PIP frame and 18 CAPTION To select CCD on off and CCD mode 19 SLEEP...

Page 14: ...AV2 SV To play VCR Cautions Before Connecting Carefullychecktheterminalsforpositionandtypebeforemakinganyconnections Theillustrationoftheexternalequipmentmaybedifferentdependingonyourmodel Looseconnec...

Page 15: ...tape into the camcorder and press Play button INPUT AV1 INPUT button repeatedly To playback Camcorder The operations of the camcorder may be different and is dependent on your model Please read the o...

Page 16: ...epeatedly to select INPUT YPBPR2 To play DVD How to connect a DVD Player using Component Video Connections 13 AUDIO COMPONENT DVD player W R S VIDEO AV OUT R L VIDEO AUDIO Rear of the DVD player Audio...

Page 17: ...I jack HDMI cable VGA IN HDMI AUDIO VGA 1 2 L L R R AUDIO AUDIO COMPONENT IN Y Y Pb Pb Cb Cb Pr Pr Cr Cr RF S VIDEO AV IN L L VIDEO VIDEO R R 1 2 AUDIO AUDIO Note VGA IN The HDMI Sources are compatibl...

Page 18: ...on repeatedly to select INPUT VGA To Watch the PC screen Connect a D Sub cable between the on the PC and the VGA input on the unit Connect an Audio cable between the AUDIO output on the PC and VGA int...

Page 19: ...to record 2 Turn on your VCR insert a videotape for recording 3 Press the Record button to begin recording To record program TheAVoutputterminalsoutputtheaudio videosignalfromtheAntennainputorAVinputs...

Page 20: ...ENU Use the to select menu item Use to adjust value of item use to confirm or enter submenu youcanpressthe buttonrepeatedlytoexitthemenuoperations OK MENU 56 34 1 2 Note Displaying Status Information...

Page 21: ...LE Storing Channels in Memory Automatically Press repeatedly to select item AUTO SEARCH 6 4 Press to store channels in memory automatically 5 The unit will begin memorizing all of the available channe...

Page 22: ...the submenu OK 4 Press to toggle between or ADD ERASE 6 When the item is set to erase the selected channel will be erased When the item is set to add the selected channel will be added 19 Use todirect...

Page 23: ...ectatwo digitchannel pressthe toinputthechannelnumberandtheunitgoestotheselectedchannel Toselectathree digitchannel pressthe toinputthechannelnumberandtheunitgoestotheselectedchannel Only inCABLEmode...

Page 24: ...ress to access the submenu OK 3 Press to select a desired OSD language 4 21 Press repeatedly to select menu SOURCE 56 Press to access the submenu OK Press repeatedlytoexit MENU Press repeatedly to sel...

Page 25: ...1 The PICTUREMODE willbehighlightedautomatically 3 Press toselectadesiredpicturemode 4 Press repeatedlytoexit MENU Press toaccessthe submenu OK PICTURE 2 PICTURE CONTRAST BRIGHTNESS COLOR TINT SHARPNE...

Page 26: ...ith a black bar on the top and bottom If you watcha4 3pictureinthismode thepicturewillbeexpandedandsomeinformationatthetopandbottomwillbelost Inthismodethepictureisverticallystretchedtowardupsideofthe...

Page 27: ...iththeONtimer theTVwillautomaticallyturnonatapresettime Setting ON timer Press todisplaythemenumainpage MENU 1 Press toselect item TIMEON 6repeatedly 4 5 Press repeatedly to select FUNCTION menu 56 2...

Page 28: ...56 2 Press to access the submenu OK 3 Press repeatedly to select 5 Press repeatedly to highlight item SLEEP TIMER 6 4 Setting Sleep Timer 25 Makinguseofthisfunctionallowsyoutohavethesetautomaticallytu...

Page 29: ...undmode 5 Press todisplaythemenumainpage MENU 1 Press repeatedly to select menu SOUND 56 2 Press to access the submenu OK 3 There are three preset sound modes and and one user set sound mode Eachprese...

Page 30: ...follows STEREO SOUND SOUND SOURCE SOUND MODE BASS TREBLE BALANCE MOVE SELECT MENU EXIT MTS MAIN NORMAL STEREO TherelationshipsbetweenBroadcastsignal UsersettingandOutputareshown asfollows Broadcast si...

Page 31: ...y to select item TRANSPARENCY 6 4 5 Press toadjusttheOSDtransparence Setting OSD Timeout Press todisplaythemenumainpage MENU 1 Press repeatedly to select menu OSD 56 2 Press to access the submenu OK 3...

Page 32: ...t item SUB PICTURE 6 4 Press to select signal source for the PIP frame 5 Theinputsignalsourcearedividedintotwogroups OnecontainsTV AV1 andAV2 SV theothercontainsYPBPR VGAandHDMI If the input signal so...

Page 33: ...MUTE YoumayselectbetweenOFF CC1 CC2 TEXT1 TEXT2 CC3 CC4 TEXT3 TEXT4andONMUTE TheClosedCaptionbroadcastscanbeviewedintwomodes CAPTIONandTEXT Foreachmode fourchannelsareavailable The CAPTION mode shows...

Page 34: ...NU 5 Press todisplaythemenumainpage MENU PICTURE PICTURE MODE NATURE NORMAL BRIGHTNESS COLOR TEMP COLOR R COLOR G COLOR B MOVE SELECT MENU EXIT CONTRAST Adjusting Image Size Press todisplaythemenumain...

Page 35: ...u OK 3 Press repeatedly to select item AUTO ADJUST 6 4 5 Press to start adjusting OK Ifyouarenotsatisfiedwiththepicture youmayadjustthepicturebyusingthisfunction Adjustment in VGA Mode continued 6 Pre...

Page 36: ...uggested TV 14 Parents Strongly Cautioned TV MA Mature Audience Only content based FV V S L D Content Rating can be set but this Rating is not normally broadcastbyTVStation ContentRatingcanbeset D L S...

Page 37: ...NC 17 X also Note TheMovieratingisonlyage based Example 2 FUNCTION PG R NC 17 X SELECT MENU EXIT U U PG 13 B B G MOVE B B FUNCTION PG PG 13 NC 17 X SELECT MENU EXIT U U U R B G MOVE B B Accessing PARE...

Page 38: ...RD MOVE ON Adjusting the TV RATING Afteraccessing press repeatedlytoselect item PARENTALCONTROL TVRATING 6 1 Press toaccesssubmenu OK 2 3 Thiswillautomaticallyblockthehigherage basedratings Youmaysett...

Page 39: ...1 Press repeatedlytoselectadesiredratingyouwanttoset 56 2 Pressthe repeatedlytoexit MENU 3 Press toaccesssubmenu OK Press buttontoblockorunblockthisrating PIPINPUT 4 5 Adjusting FRENCH RATING Afteracc...

Page 40: ...oomistoobright Poor picture Check the aerial connection This may be caused by electrical interference e g hairdryer nearby neon lights etc Turn off the equipment Check whether the batteries are workin...

Page 41: ...umption 140W Dimensions inch 35 6 W X 21 8 H X 9 1 D Unit Weight lbs 50 6 lb TV system NTSC M Receiving channel VHF 2 13 UHF 14 69 CATV 2 69 A 6 A 1 A W W 1 W 28 Total 181 channels For service support...

Page 42: ...PRINTED IN RECYCLED PAPER 604 L26U253 00 Ver 1 0...

Reviews: