


E-30
Freezing a Moving Picture
This function is used to stop and view a moving picture. Note that the input
image continues to advance even though the picture there is a still picture
condition.
A press of the FREEZE button changes the screen to a still picture. A
further press returns the screen to a moving picture.
General Operation
ON
OFF
FREEZE
MUTE
ECO
DVI
RGB
VIDEO
S-VIDEO
QUICK
ASPECT
AUTO
POWER
Cancelling Video and Audio Temporarily
This function is used to cancel the video and audio at the same time.
A press of the MUTE button will blank the picture and the sound, and
the screen will take on the background color that has been set.
Another press will cause a return to the original conditions.
ON
OFF
FREEZE
MUTE
ECO
DVI
RGB
VIDEO
S-VIDEO
QUICK
ASPECT
AUTO
POWER
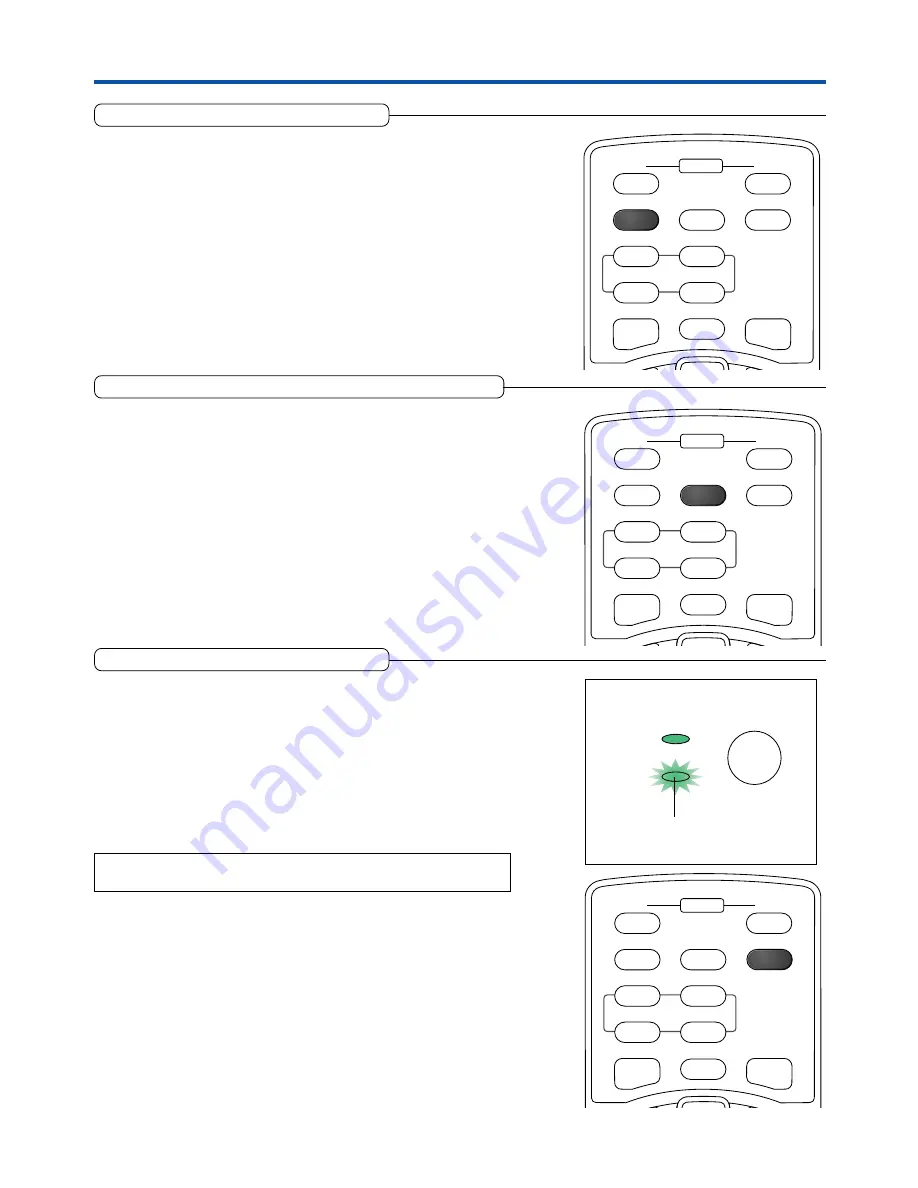
Lamp Mode
Use this if the picture is projected on a small screen and the picture
is too bright or when projecting images in dark rooms.
Pressing the ECO button will set the lamp mode.
Eco (STATUS indicator is lit green)
Lamp brightness is set to 80% and the lamp life is extended.
Normal (STATUS indicator is off)
Lamp brightness is set to 100% and the screen is bright.
Note:
Frequent switching this mode can degrade the lamp.
ON
OFF
FREEZE
MUTE
ECO
DVI
RGB
VIDEO
S-VIDEO
QUICK
ASPECT
AUTO
POWER
POWER
POWER
STATUS
STATUS indicator
Summary of Contents for U2-1200
Page 68: ......


