E-5
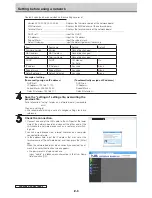
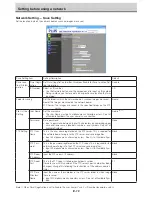
Version:04.00.00.05.00.00.00.52 ........ Displays the firmware version of the network board
MAC Address ..................................... Displays the MAC address of the network board
Terminal Name .................................... Displays the terminal name of the network board
------------------------------------------------------------------------------------------------------------------------
DHCP=off ........................................... Input the DHCP
IP Address= ........................................ Input the IP address.
Subnet Mask= .................................... Input the subnet mask.
Default Gateway= ............................... Input the default gateway if necessary.
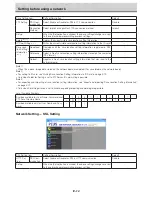
Contents upon purchase and when network settings are reset
Item
Item name
Setting
Default
Firmware version
Version
Cannot be changed
MAC address
MAC Address
Cannot be changed
Terminal name
Terminal Name
Cannot be changed
DHCP
DHCP
Off: Manual
On: Auto
On
IP address
IP Address
Any value
Blank
Subnet mask
Subnet Mask
Any value
Blank
Default gateway
Default Gateway
Any value
Blank
Example of setting
(To manually assign an IP address)
DHCP=off
IP Address=192.168.11.120
Subnet Mask=255.255.255.0
Default Gateway=192.168.11.1
(To automatically assign an IP address)
DHCP=on
IP Address=
Subnet Mask=
Default Gateway=
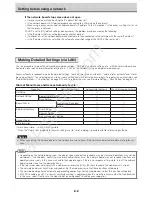
Save the “setting.ini” settings file, overwriting the
previous file.
Save to location: “setup” folder on network board (removable
disk)
File name: setting.ini
• We recommend making a note of changed settings for future
reference.
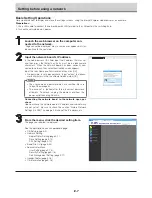
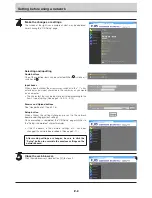
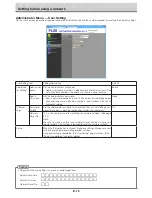
Check the connection.
1 Connect one end of the LAN cable to the LAN port of the lower
side of the network board and connect the other end of the
LAN cable to a network device such as a router and a switch-
ing hub.
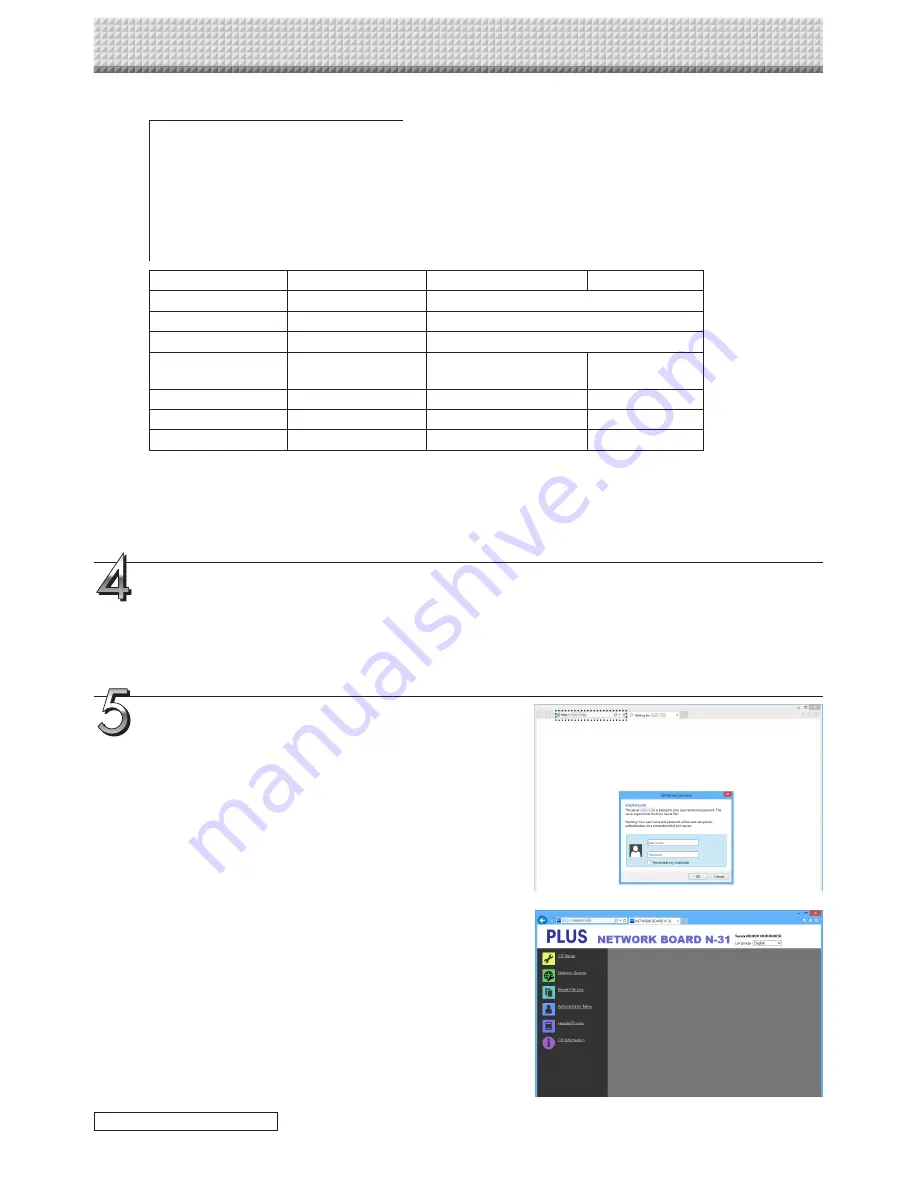
2 Launch a web browser (ex.: Internet Explorer) on a computer
connected to network.
3 In the address field, input the IP address that was set or the
terminal name of the network board, and then press the [Enter]
key.
When the network board has been correctly connected to net-
work, the user authentication screen appears.
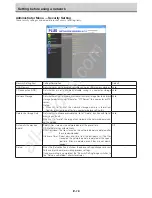
• No password is set upon purchase.
Input “admin” in alphanumeric characters in the User Name
field and click [OK].
Setting before using a network
continued on next page
All manuals and user guides at all-guides.com

