


Establishing Transmitter-Receiver R/C Link
Turn on your transmitter by pushing the 3 position switch all the way
to the far right. The main transmitter LED will glow. It is always best
to turn the transmitter on first.
The receiver can communicate to the user with audible tones and LED
blinking sequence.
Attach the LP30 cell to the Butterfly receiver, you will notice a distinc-
tive audible musical arpeggio tone sequence (musical notes C-E-G-
C-G-E-C) that indicates successful microprocessor startup. This
arpeggio is followed by a two-tone repetitive sequence (C-E,,,C-E,,,C-
E -- and so on). This repeating two-tone sequence indicates that the
receiver is scanning for a transmitter signal - it will continue to repeat
until a valid transmitter signal is received. Once a valid transmitter
has been found, the Channel number will be indicated by a series of
tones (G note). The default transmitter channel is Channel 2, so you
should hear two “G” notes to indicate that the receiver is operating on
Channel 2. (European HFX868 default is CH 5, so in Europe, you get
to hear 5 “G” notes indicating the receiver is operating on Channel 5.
Once you hear the final count of “G” notes, you will know that your
HFX900 system is ready for action. The actuator may start moving
and making a small sound and if your throttle stick or throttle trim is
not adjusted the propeller may be spinning, so be mindful of this.
You will be able to control the actuators by using the Transmitter Joy-
sticks,
(See Fig. 8)
but first you will need to adjust the trim by
moving the small trimmer wheels located near the transmitter joy-
sticks
Adjusting the Trimmers
Rotate the trimmer wheels with your thumb until you have successful-
ly stopped any motion and/or sound of the actuators. Most experi-
enced R/C pilots will have no problems with this, but if you are a
beginner, it might seem strange for now. Basically you will want the
trimmer wheels to be positioned near the middle of their full range of
motion. Make sure you know what mixing mode your transmitter is
configured to. If you are confused, remove the Bahoma cell from the
receiver, and review the transmitter mixing functions and start again.
Low Battery Protection - built in failsafe.
The Lithium Polymer Bahoma battery should not be discharged lower
than about 2.7 Volts. The low battery failsafe function of the Micro9
Butterfly receiver will ensure that you do not over discharge your lithi-
um polymer battery. The receiver measures cell voltage while your are
flying, and the LED will blink a series of flashes to indicate the gener-
al state of the battery voltage. In normal operation with a full battery,
the LED of the Butterfly receiver will blink once every second. The
receiver will warn you when your battery is low and needs to be
recharged by cutting the throttle to 60% and the LED will blink twice
per second giving you a visual indication of the battery voltage. If cell
voltage drops any lower, throttle will be automatically cut to 30% and
the LED will blink 3 times per second - Definitely time to land the
plane if you have not done so already. If you leave the battery on the
receiver for too long (like overnight) you may over discharge and
damage the cell - so be sure to disconnect it and recharge when you
are done
HFX900 (Americas) Frequencies
CHANNEL 1
904.4775 Mhz
CHANNEL 2
915.9975 Mhz
CHANNEL 3
927.5175 Mhz
HFX868 (Europe)Frequencies.
CHANNEL 4
868.105 Mhz
CHANNEL 5
868.385 Mhz
CHANNEL 6
869.910 Mhz
FMS F
LIGHT
S
IM
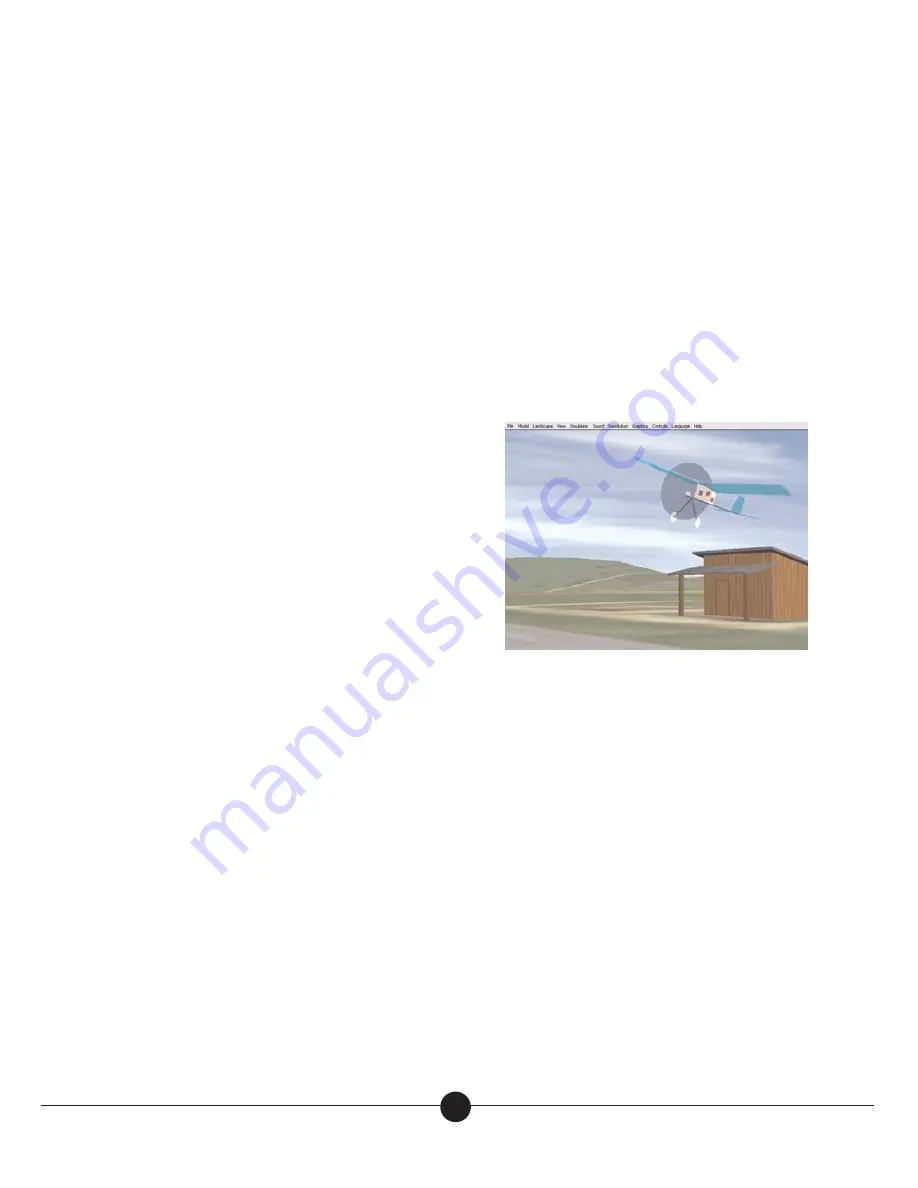
Using the HFX900 Transmitter for the FMS
R/C Flight Simulator
To use our transmitter in the FMS joystick mode, connect the supplied
serial cable to your Windows PC and insert the mono plug into the jack
on the left side of the transmitter
We have included a CDROM that has the FMS Flight simulator, and
also has the Plantraco MicroScout FMS model. Soon we will be
adding the Butterfly FMS model and other items to the CDROM.
You will be able to download the Butterfly FMS model and also find
links to FMS stuff from our website at http://www.plantraco.com/FMS
If you lose the CDROM that was included with your system, you can
download the freeware Flight Simulator "FMS"
The Windows Installer can be downloaded here:
http://www.n.ethz.ch/student/mmoeller/fms/beta/fmsdisk01.exe
The official website for FMS can be found here:
http://n.ethz.ch/student/mmoeller/fms/index_e.html
Once downloaded launch the installer and choose your installation
directory (Normally "C:\Program Files\" ) This should already be the
default, and you can just press next.
You can choose to put an Icon on the desktop for easy launch of the
application. The program should be installed.
You can Launch the program from the icon located on the desktop or
6


