


21
UE-100TX
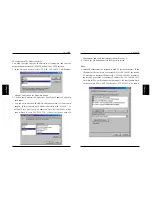
o t h e r P C s o n t h e n e t w o r k w i l l n o t b e d i s p l a y e d i n t h e N e t w o r k
Neighborhood window.
■
Computer Description
Enter any additional information about the PC. This parameter is optional.
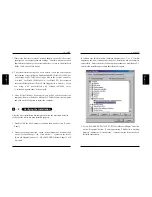
2. Click on the Configuration tab, and locate a field titled “Primary Network
Logon”. Click on the pull-down menu button, and select “Microsoft
Network Client”. If this item is not available in the list, click on the Add
button to add this Client component. (See Step 2 in Section 3-1 above.)
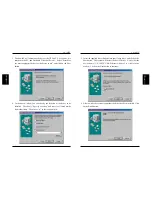
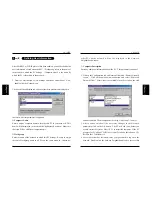
3. After you have made all the necessary changes to the Network
parameters, click on the OK button. The PC will ask you whether you
wish to restart the system. Select “Yes” to restart the computer. If the PC
prompts for Windows CD-ROM, set your Windows Installation CD-
ROM to the CD-ROM drive.
4. After the system has restarted, enter your password to log on to the
network. Double-click the Network Neighborhood icon to access other
20
UE-100TX
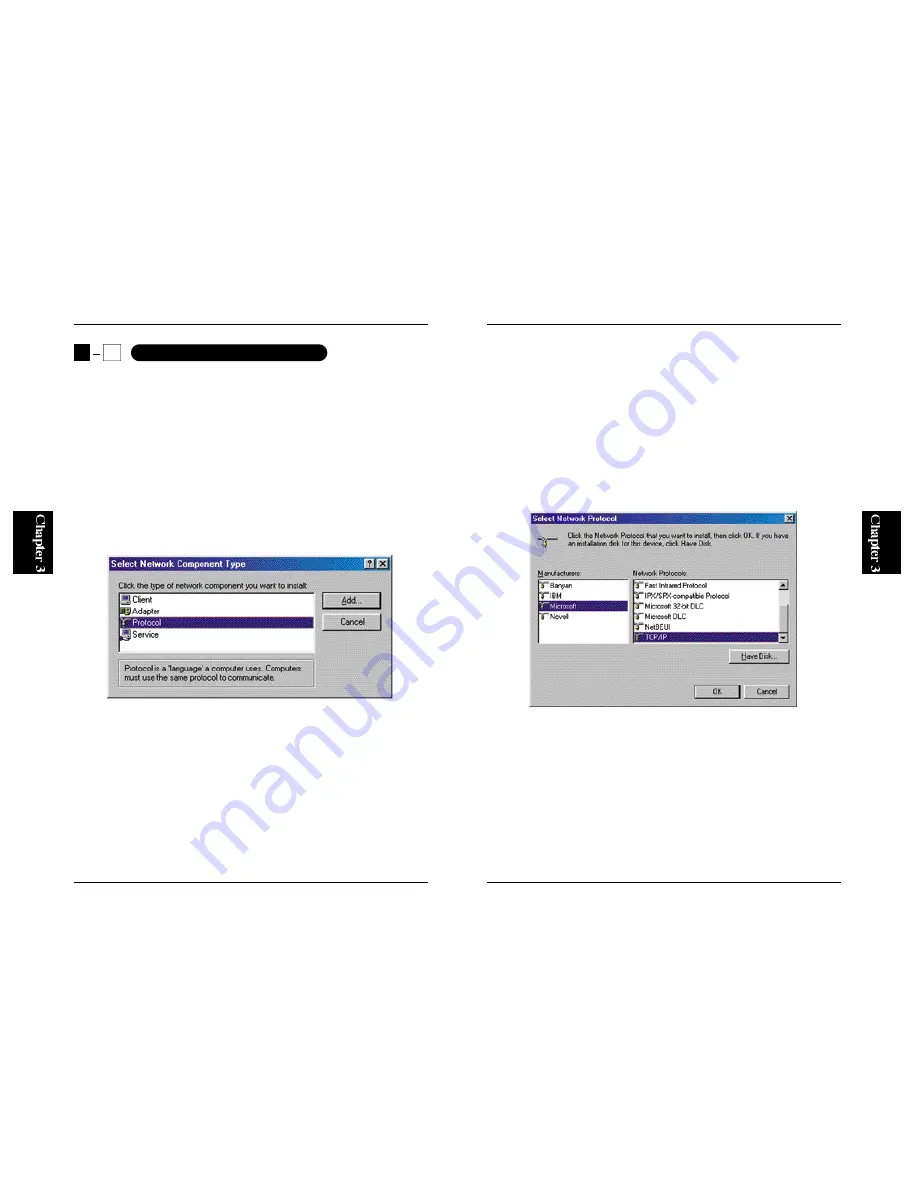
mask.
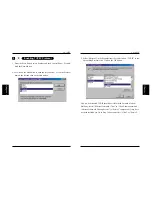
After NetBEUI or TCP/IP protocol has been enabled, you need to define the
user information of each networked PC. “Workgroup” refers to the name of
the network to which the PC belongs. “Computer Name” is the name by
which the PC is identified in the network.
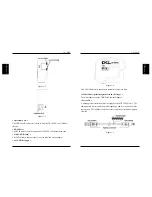
1. From the Start button, select Settings and then Control Panel. Now,
double-click the Network icon.
Click on the Identification tab, and enter the three parameters displayed in
the screen (the last parameter is optional).
■
Computer Name
Enter a unique computer name to identify this PC in your network. This
name will be displayed in the Network Neighborhood window. Make sure
that each PC has a different computer name.
■
Workgroup
Enter the name of the network to which this PC belongs. Be sure to assign
the same Workgroup name to all PCs on the same network. Otherwise,
3
3
Defining User Information
Summary of Contents for UE-100TX
Page 2: ......
Page 21: ...31 UE 100TX 30 UE 100TX ...
Page 22: ...33 UE 100TX 32 UE 100TX ...
Page 23: ...34 UE 100TX ...


