Planet Networking & Communication DKVM-1700, User Manual
The Planet Networking & Communication DKVM-1700 User Manual is available for free download from our website. This comprehensive manual provides step-by-step instructions on setting up and utilizing the DKVM-1700, ensuring seamless networking and communication. Get your free manual today at manualshive.com and make the most of your product.
Share
Download


Reviews:
No comments
Related manuals for DKVM-1700
DOUBLE REFRIGERATOR DRAWERS
Brand: Jenn-Air Pages: 32

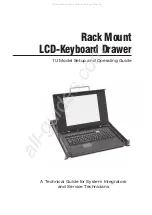
RACKACCESS 16I -
Brand: Daxten Pages: 2

3000 SERIES
Brand: U-Line Pages: 12
MW 420 620
Brand: Gaggenau Pages: 20
DV 461 710
Brand: Gaggenau Pages: 32
40070
Brand: Kargo Master Pages: 5
T1700
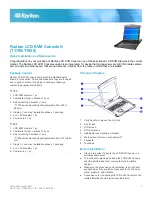
Brand: Raritan Pages: 5
1U ELD115M
Brand: i. Tech Dynamic Pages: 23
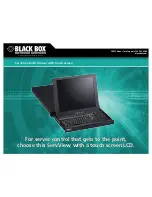
ServTray KVT415A
Brand: Black Box Pages: 19
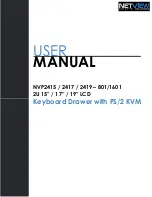
NVP2415
Brand: I-Tech Pages: 29
ACL624MAT
Brand: Pelgrim Pages: 12
RKP115-1601
Brand: I-Tech Pages: 30

NKFD1W6**DSC
Brand: Panduit Pages: 4
RP1619D
Brand: I-Tech Pages: 1
RackConsole 17
Brand: G&D Pages: 24
KVT317A-T
Brand: Black Box Pages: 2

RM-X17DAx3
Brand: Crystal Image Technologies Pages: 12
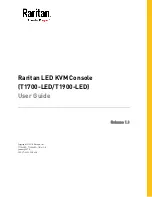
T1700-LED
Brand: Raritan Pages: 37


