background image

We will fully test the device before it is sent out. This will ensure that the device is working properly and is able to pick 
up TV or Satellite channels depending on the model that has been ordered.

As the streaming device uses frequencies that are only available at your location using your aerial, the device does not 
come pre-configured to work with your frequencies. This is something that needs to be configured once the streaming 

device is installed and on your network.

Pre-Configuration

Setup Instructions

Firstly plug an Ethernet cable into the “LAN 1” connector and connect the device to your network. Next plug in the 
Freeview or satellite aerial connection into the connection labelled “RF IN”. Please note the number of cards and inputs 

on the back of the device will depend on the model that has been ordered. 

Once the aerial is connected, plug in the power cable and press the red “Power On” button on the front of the box. The 

device should turn on and initialise. 

After around 30 seconds, press the down arrow button on the front of the device until the in-built screen shows the IP 
address. The device will be set to use DHCP and should be given an IP address automatically by your network.

Once you have the IP address go to a web browser and type the IP address into the address bar. When prompted for 
login the default username and password are as follows.

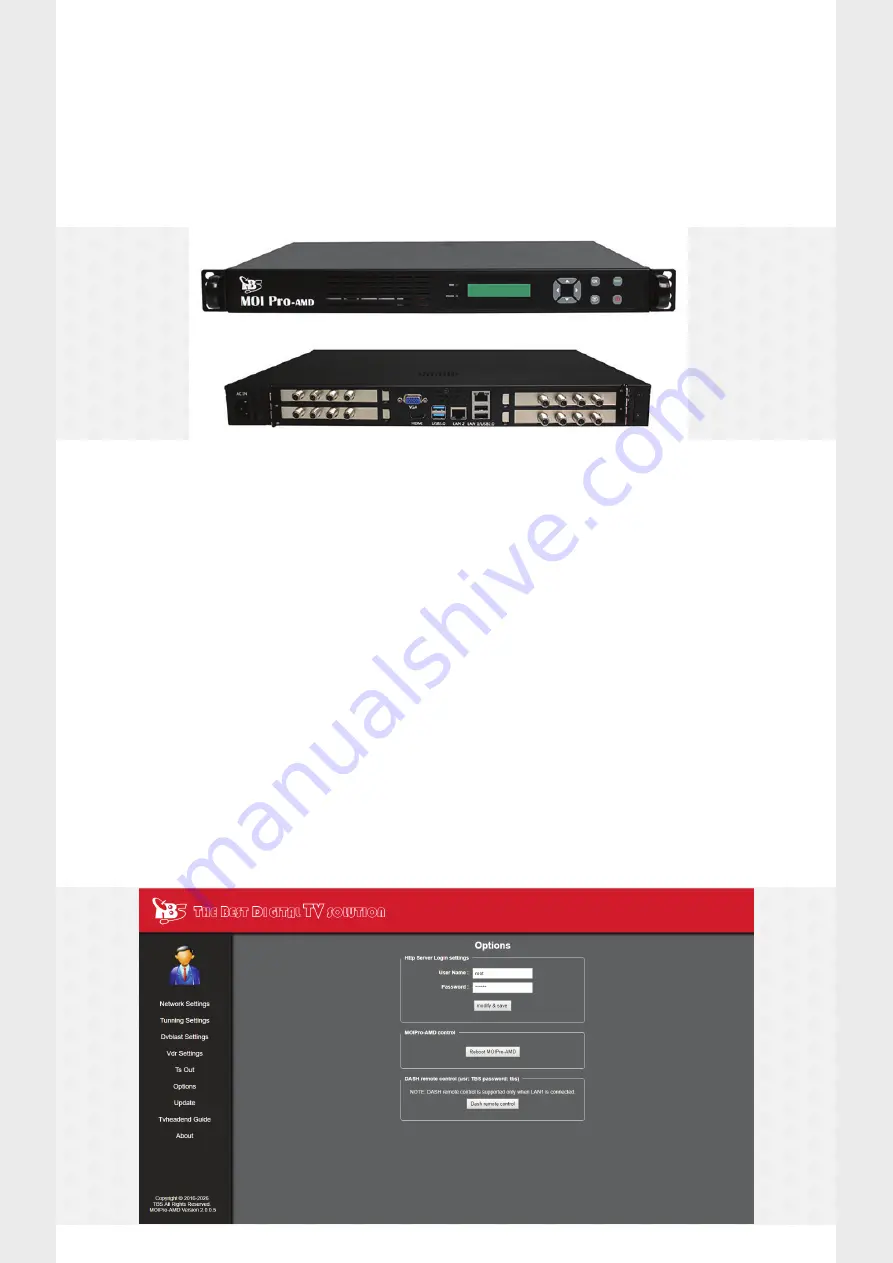
Once you are logged in we recommend changing the default password by clicking the “Options” tab on the left-hand 
side. You can also reboot the device from the web interface here.

Username - root

Password - root

Summary of Contents for Planet IPTV Streamer - Terrestrial (DVB-T) - Quad

Page 1: ...ers No of Frequencies that can be monitored Approximate Number of Channels Possible The number of tuners directly relates to how many frequencies you can monitor at any one time For example if you have the Planet IPTV Streamer Terrestrial DVB T Quad this will allow you to monitor 4 terrestrial TV frequen cies at the same time From these 4 frequencies you can select to broadcast as many channels as...

Page 2: ...n labelled RF IN Please note the number of cards and inputs on the back of the device will depend on the model that has been ordered Once the aerial is connected plug in the power cable and press the red Power On button on the front of the box The device should turn on and initialise After around 30 seconds press the down arrow button on the front of the device until the in built screen shows the ...

Page 3: ...vice will reboot and you will need to navigate to the new IP address to access the web interface again To setup the tuners click the DVBlast Settings button on the left hand side This will show you all the tuners available to you For the terrestrial models you need to select the devices called DVB T T2 For satellite cards you would need to select DVB S Once you have selected the DVB T device some ...

Page 4: ...that in order for this to work you will need to ensure that multicasting is enabled on your network and that any ports used are not being blocked by a firewall Once the channel has been saved to test that this is playing back correctly open the VLC Media Player application and from the Media menu select the Open Streaming URL In the network URL entry box enter in the URL in the format udp CHANNEL_I...

Reviews: