TECHNOLOGIE FÜR DEN HAUSHALT
TECHNOLOGY FOR DOMESTIC USE
Bedienungsanleitung
Instruction Manual
Mode d'emploi
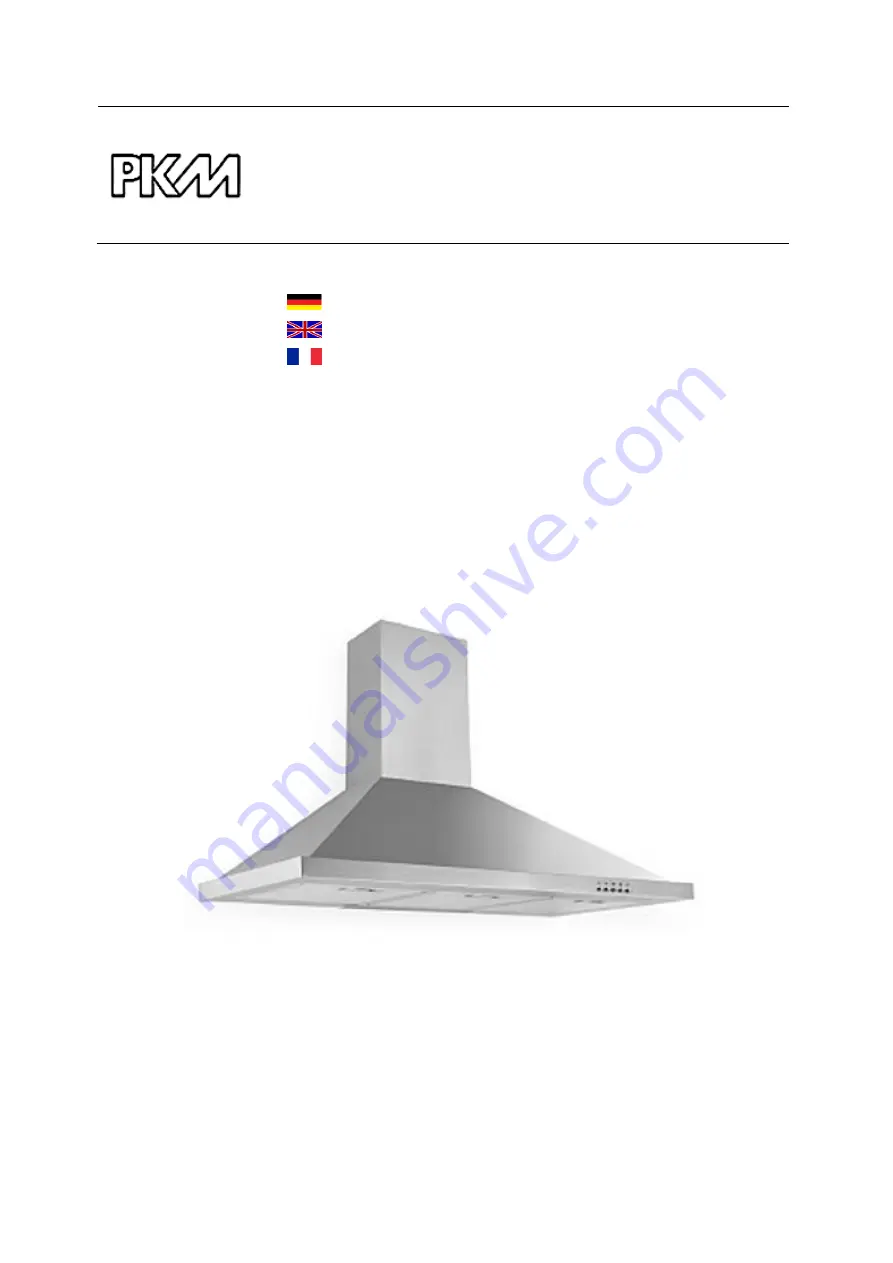
Dunstabzugshaube
Extractor Hood
Hotte
9090-2H
Deutsch
Seite
2
Englisch
Page
17
Français
31
www.pkm-online.de
Page 1: ... FÜR DEN HAUSHALT TECHNOLOGY FOR DOMESTIC USE Bedienungsanleitung Instruction Manual Mode d emploi Dunstabzugshaube Extractor Hood Hotte 9090 2H Deutsch Seite 2 Englisch Page 17 Français Page 31 www pkm online de ...
Page 2: ... von dem tatsächlichen Design Ihres Geräts abweichen Folgen Sie in einem solchen Fall dennoch den beschriebenen Sachverhalten Der Hersteller behält sich das Recht vor solche Änderungen vorzunehmen die keinen Einfluss auf die Funktionsweise des Geräts haben Entsorgen Sie das Verpackungsmaterial entsprechend den örtlichen Vorschriften Ihres Wohnorts Das von Ihnen gekaufte Gerät wurde möglicherweise ...
Page 3: ...rf jederzeit griffbereit ist Befolgen Sie sorgfältig alle Hinweise um Unfälle oder eine Beschädigung des Geräts zu vermeiden Prüfen Sie auf jeden Fall auch das technische Umfeld des Geräts Sind alle Kabel oder Leitungen die zu ihrem Gerät führen in Ordnung Oder sind sie veraltet und halten der Geräteleistung nicht mehr Stand Daher muss durch eine qualifizierte Fachkraft Elektrotechniker in eine Üb...
Page 4: ...ommen sollte Öffnen Sie alle Fenster zur Belüftung Ziehen Sie nicht den Stecker aus der Steckdose und benutzen Sie nicht das Bedienfeld bzw die Schalter Berühren Sie nicht das Gerät bis sämtliches Gas abgezogen ist Bei Missachtung dieser Anweisungen können Funken entstehen die das Gas entflammen WARNUNG 1 Wenn Sie die Abzugshaube zusammen mit anderen nicht durch elektrische Energie versorgten Gerä...
Page 5: ... brennbaren Materialien enthalten 12 Die von dem Gerät angesaugte Luft darf nicht über das Abluftrohr einer Heizung oder anderer nicht elektrisch betriebener Geräte abgeführt werden 13 Das Gerät darf ausschließlich mit eingesetzten Fettfiltern betrieben werden da sich ansonsten durch den Dunst transportiertes Fett in der Haube und im Abluftsystem ablagert BRANDGEFAHR Reinigen oder ersetzen Sie die...
Page 6: ...istet einen einwandfreien Betrieb und die optimale Leistung Ihres Geräts 5 Entnehmen Sie der Verpackung und den Styropor Komponenten unbedingt alle Zubehörteile 6 Überprüfen Sie vor dem Anschluss des Geräts ob das Netzkabel oder das Gerät selbst keine Beschädigungen aufweisen 2 Installation 1 Der Durchmesser des Abluftschlauchs muss mit dem Durchmesser des Verbindungsrings übereinstimmen 2 Sollte ...
Page 7: ...lnen Leitungsbereiche ein starkes Temperaturgefälle entstehen In diesem Fall wird in den betroffenen Bereichen Kondenswasser entstehen was eine Isolierung der betroffenen Bereiche zwingend notwendig macht Statten Sie eine solche Abluftleitung neben der Isolierung gegebenenfalls auch mit einer Kondenswassersperre aus 9 Je nach Modell kann Ihre Abzugshaube mit einer oben oder zwei oben und hinten Ab...
Page 8: ...ringen Sie die beiden halbkreisförmigen Kunststoff Ventilklappen a b in der Luftauslassöffnung des Geräts an Bringen Sie die Achsen der Ventilklappen durch vorsichtiges Biegen der Ventilklappen 1a in die entsprechenden Löcher ein 1b Beide Ventilklappen müssen sich anschließend nach außen öffnen 2 2 Schließen Sie nun den Abluftschlauch am dafür vorgesehenen Ausgang der Haube an Stülpen Sie den Ablu...
Page 9: ...d dann an der Wand an Sie können diesen Schritt zuerst provisorisch vornehmen um die Löcher für die Wandmontage des Flacheisens anzuzeichnen und die entsprechenden Bohrungen in der Wand vorzunehmen Wand Kamin Kamin 7 Setzen Sie den Kamin samt Teleskopstück auf die Haube und befestigen Sie ihn an der Haube an den dafür vorgesehenen Punkten 8 Befestigen Sie den Montagebügel für den Abluftkamin unter...
Page 10: ...nsten nicht ordnungsgemäß arbeitet Kohlefilter Vor Montage Netzstecker ziehen Nur im Umluftbetrieb verwenden 1 auf 2 zu 3 Bedienfeld 1 Aus 2 Niedrigste Einstellung 3 Mittlere Einstellung 4 Höchste Einstellung 5 Licht ein aus HINWEIS Benutzen Sie alle Beleuchtungseinheiten nur wenn das Gerät in Betrieb ist Benutzen Sie die Beleuchtungseinheiten nicht zur Raumbeleuchtung 1 Sollte sich die Netzanschl...
Page 11: ...niger 5 Reinigen Sie bei jedem Fettfilter oder Kohlefilteraustausch bzw bei einer Reinigung des Filters alle frei einsehbaren unteren Komponenten Ihres Geräts mit einem milden nicht ätzenden und fettlösendem Reinigungsmittel 6 Beschädigen Sie beim Reinigen von Metallfiltern nicht das Gitter Durch häufiges Reinigen können Farbveränderungen der Metalloberfläche entstehen 7 Solche Veränderungen haben...
Page 12: ...Informationen vom Hersteller dazu finden Sie auf der Verpackung der Filter 5 Problembehandlung FEHLER MÖGLICHE URSACHE MASSNAHMEN Gerät arbeitet überhaupt nicht Das Gerät ist mit dem Stromstecker nicht an der Steckdose angeschlossen Der Stromstecker ist locker Die Steckdose wird nicht mit Strom versorgt Die entsprechende Sicherung ist ausgeschaltet Überprüfen Sie die fragliche Steckdose indem Sie ...
Page 13: ...ng des Motors beeinträchtigt werden kann falls Sie am Mauerkasten ein Fliegengitter angebracht haben kann dadurch der Luftstrom beeinträchtigt werden Entfernen Sie zum Überprüfen das Gitter falls an der Abdeckplatte des Mauerkastens feste und sehr schräg stehende Lamellen sind kann dadurch der Luftstrom beeinträchtigt werden Entfernen Sie zum Überprüfen die Abdeckplatte Bringen Sie eine Abdeckplat...
Page 14: ...ngsaufnahme ausgeschaltet Po 0 00 W Leistungsaufnahme Bereitschaft Ps 0 00 W Leistungsaufnahme Lichtsystem Wl 1 x 2 5 W LED Anschlusswert 67 5 W Stromspannung Frequenz AC 220 240V 50Hz Fettfilter Material spülmaschinenfest 3 Aluminium Kohlefilter 2 CF 130 Abluftschlauch Befestigungsmaterial Bedienungsanleitung Teleskopkamin ausziehbar von bis 40 00 78 00 cm Abmessungen Gerät H B T in cm 70 00 108 ...
Page 15: ...nd danach das Stromanschlusskabel am Gerät abschneiden und direkt mit dem Netzstecker entfernen und entsorgen Entsorgen Sie Papier und Kartonagen in den dafür vorgesehenen Behältern 4 Entsorgen Sie Kunststoffe in den dafür vorgesehenen Behältern 5 Falls es in Ihrem Wohnumfeld keine geeigneten Entsorgungsbehälter gibt bringen Sie diese Materialien zu einer geeigneten kommunalen Sammelstelle 6 Näher...
Page 16: ...Beschaffenheit die auf den Gebrauchswert des Produkts keinen Einfluss haben 3 Schäden infolge Betriebs und Bedienungsfehler 4 Schäden durch aggressive Umgebungseinflüsse Chemikalien Reinigungsmittel 5 Schäden am Produkt die durch nicht fachgerechte Installation oder Transport verursacht wurden 6 Schäden infolge nicht haushaltsüblicher Nutzung 7 Schäden die außerhalb des Geräts durch ein PKM Produk...
Page 17: ...h are described in this instruction manual comply with the harmonized regulations The relevant documents can be requested from the final retailer by the competent authorities The figures in this instruction manual may differ in some details from the current design of your appliance Nevertheless follow the instructions in such a case Any modifications which do not influence the functions of the app...
Page 18: ...l All connections and energy leading components incl wires inside a wall must be checked by a qualified professional All modifications to the electrical mains to enable the installation of the appliance must be performed by a qualified professional The appliance is intended for private use only The appliance is intended for extracting recirculating cooking vapours in a private household only The a...
Page 19: ...et to minimize risk of electric shock The technical data of your energy supply must meet the data on the rating label 5 Your domestic circuit must be equipped with an automatic circuit breaker 6 Strictly observe the minimum distance between hood and hob Minimum distance hood to Ceramic glass rings hotplates 65 cm Gas cooker 75 cm Coal oil stove wood firing 85 cm 7 Do not cook a la flambé dishes be...
Page 20: ...en so they will not play with the appliance CAUTION 1 Accessible parts of the hood may become hot while cooking 2 Carry out the installation of the appliance with at least two persons Risk of damage RISK OF INJURY NOTICE 1 The appliance must be transported and installed by at least two persons 2 Unpack the parts of the chimney very carefully otherwise you will damage the chimney 3 Remove the compl...
Page 21: ...oses only 6 When the exhaust duct is connected horizontally a minimum falling gradient of 1 cm m or an inclination of 20 is required Otherwise condensate will get into the motor of the hood 7 When an exhaust duct is used the ending of the exhaust hose must be adjusted into the direction of flow 8 If the exhaust duct passes through cool areas e g an attic a temperature gradient may occur in the dif...
Page 22: ...while drilling Screws for wall mounting Fixing the chimney to 1 Installation bracket 2 pcs 4 40 4 Installation bracket 2 pcs 4 8 2 Flat bar 2 pcs 4 30 5 Flat bar 2 pcs 4 8 3 Suspension device 3 pcs 4 40 6 Hood 2 pcs 4 8 Installation steps 1 Install the 2 semi circular valve flaps a b into the air outlet opening of the appliance Insert the axles of the valve flaps into the relevant openings 1b by b...
Page 23: ... pencil before 4 Drill the holes and fix the suspension device with the screws and dowels 5 Hang the hood on the fixed suspension device 6 Install the flat bar on the bottom chimney first then on the wall You can carry out this step provisionally to mark the drillings of the wall mounting and drill the relevant holes Wall Chimney Chimney 7 Place the top and bottom chimney on the hood and fix the b...
Page 24: ...o the mains3 Check the correct position of the hood from front and side perspective Otherwise the appliance will not work properly Carbon filter Unplug the appliance before installing the carbon filter For recirculating mode only 1 open 2 close 3 Control panel 1 Off 2 Lowest setting 3 Medium setting 4 Highest setting 5 Light on off 3 If the socket is covered by the chimney you must plug in the app...
Page 25: ...ack painted appliances as these detergents cause colour changes 4 Clean the glass panels4 with a suitable detergent only 5 When you clean or replace the grease filters or the carbon filters also clean all visible components on the bottom of the appliance with a mild non acrid and fat dissolving detergent 6 Do not damage the grid of metal made grease filters The colour of the metal surface may chan...
Page 26: ...ese filters is limited You can use such filters for about 3 6 months Replace a depleted filter Find further information on the filter packaging 5 Trouble shooting MALFUNCTION POSSIBLE CAUSE MEASURE The appliance does not work at all The plug of the appliance is not connected to the socket The plug has become loose The socket is not supplied with energy The fuse is switched off Check the correspond...
Page 27: ...ive should be 120 mm otherwise the capacity of the motor may be decreased If you have installed a fly screen on the wall box the air vent may be obstructed Check by removing the fly screen If the cover panel of the wall box is equipped with firm and slanted slats the air vent may be obstructed Check by removing the cover panel Install a cover panel with moveable slats which do not obstruct the air...
Page 28: ...ry C Power consumption off Po 0 00 W Power consumption standby Ps 0 00 W Power consumption lighting system Wl 1 x 2 5 W LED Connected load 67 5 W Voltage frequency AC 220 240V 50Hz Grease filter material dishwasher proof 3 aluminium Carbon filter 2 CF 130 Exhaust hose Installation material Instruction manual Telescopic chimney extractable from to 40 00 78 00 cm Dimensions appliance H W D in cm 70 ...
Page 29: ...ff the entire power cord Dispose of the power cord and the plug immediately 4 Dispose of any paper and cardboard into the corresponding containers 5 Dispose of any plastics into the corresponding containers 6 If suitable containers are not available at your residential area dispose of these materials at a suitable municipal collection point for waste recycling 7 Receive more detailed information f...
Page 30: ...eir authorized condition if they do not influence the utility value of the product 3 damage caused by handling errors or false operation 4 damage caused by aggressive environmental conditions chemicals detergents 5 damage caused by non professional installation and haulage 6 damage caused by non common household use 7 damages which have been caused outside the appliance by a PKM product unless a l...
Page 31: ...x réglementations harmonisées Les documents pertinents peuvent être demandés auprès du détaillant par les autorités compétentes Les chiffres figurant dans le présent mode d emploi peuvent différer dans certains détails de la conception actuelle de votre appareil Néanmoins dans un tel cas veuillez suivre les instructions Le fabricant se réserve le droit d apporter toute modification qui n a pas d i...
Page 32: ... avec l appareil fonctionnent bien Ou sont ils usés par le temps et ne correspondent pas aux exigences techniques de l appareil Un contrôle des connexions existantes et récemment créée doit être effectué par un professionnel agréé Toutes les connexions et les composants électriques y compris les fils dans un mur doivent être vérifiés par un professionnel qualifié Toutes les modifications apportées...
Page 33: ... contrôle électrique les appareils à gaz et à mazout la pression négative de la pièce concernée ne doit pas être supérieure à 4 Pa 4 10 5 bar 2 Une alimentation électrique de 220 240 V AC 50 Hz est nécessaire Ne pas utiliser une bande d alimentation ou une prise multiple ou une rallonge lorsque vous utilisez l appareil avec 220 240 V 50 Hz AC Toutes les connexions électriques qui peuvent être endo...
Page 34: ...Lors du déballage les matériaux d emballage sacs en polyéthylène des morceaux de polystyrène etc doivent être tenus hors de portée des enfants RISQUE D ÉTOUFFEMENT 16 Cet appareil peut être utilisé par des enfants âgés de 8 ans et plus ainsi que par des personnes ayant des capacités physiques sensorielles et mentales réduites ou le manque d expérience et de connaissances si elles sont surveillées ...
Page 35: ...formances de votre appareil 4 L angle de flexion maximale appropriée est 1200 vers l extérieur 5 Utiliser des tubes lisses ou tuyaux d échappement flexibles uniquement non inflammables 6 Lorsque le conduit d évacuation est connecté horizontalement une descente minimale de 1 cm m ou une inclinaison de 20 est nécessaire Sinon la condensation entrera dans le moteur de la hotte 7 Quand un conduit d éc...
Page 36: ...36 Composants principaux A Hotte B Base de la cheminée C Cheminée télescopique D Rail de montage E Barre plate F Table de cuisson ...
Page 37: ...her la cheminée à 1 Support d installation 2 pcs 4 40 4 Support d installation 2 pcs 4 8 2 Barre plate 2 pcs 4 30 5 Barre plate 2 pcs 4 8 3 Dispositif de suspension 3 pcs 4 40 6 Hotte 2 pcs 4 8 Étapes d installation 1 Installez les deux clapets de vanne semi circulaires a b dans l ouverture de sortie d air de l appareil Insérez les axes des clapets de vanne dans les ouvertures correspondantes 1b e...
Page 38: ...vis et chevilles 5 Accrochez la hotte sur le dispositif de suspension fixé 6 Installez la barre plate d abord sur la cheminée inférieure puis sur le mur Vous pouvez effectuer cette étape provisoire pour marquer les perçages de montage sur le mur et percer les trous pertinents Mur Cheminée Cheminée 7 Placez la cheminée supérieure et inférieure sur la hotte et accrochez la cheminée supérieure à elle...
Page 39: ... correctement Filtre à charbon Débranchez l appareil avant d installer le filtre à charbon Uniquement pour le mode de recirculation 1 ouvert 2 fermé 3 Panneau de commande 1 Arrêt 2 Vitesse basse 3 Vitesse moyenne 4 Vitesse haute 5 Lumière allumée éteinte AVIS Allumez la lumière uniquement pendant que l appareil est utilisé N allumez pas la lumière pour éclairer la pièce 5 Si la prise est couverte ...
Page 40: ...rbon veuillez nettoyer aussi tous les composants visibles sur le fond de l appareil avec un détergent doux non âcre et dégraissant 6 Ne pas endommager la grille de filtres à graisse fabriqués en métal La couleur de la surface métallique peut changer en raison des nettoyages fréquents ainsi que de l utilisation de détergents agressifs 7 De tels changements n influence pas la capacité de l appareil ...
Page 41: ...e usé Veuillez trouver plus d informations sur l emballage du filtre 5 Instructions de dépannage DYSFONCTIONNEMENT CAUSE POSSIBLE MESURE L appareil ne fonctionne pas du tout La fiche d alimentation de l appareil n est pas branchée dans la prise La fiche d alimentation est desserrée La prise n est pas alimentée de l énergie Le fusible est désactivé Vérifier la prise appropriée en la connectant avec...
Page 42: ...pement Le diamètre du tuyau d échappement depuis la hotte jusqu à la boîte murale incluse devrait être de 120 mm sinon la capacité du moteur peut être réduite Si vous avez installé une moustiquaire sur la boîte murale l évent d aération peut être obstrué Vérifiez le en enlevant la moustiquaire Si le panneau protecteur du boîtier mural est équipé de solides lamelles obliques l évent d aération peut...
Page 43: ...onsommation d énergie arrêt Po 0 00 W Consommation d énergie veille Ps 0 00 W Consommation d énergie système de l éclairage Wl 1 x 2 5 W LED Puissance connectée 67 5 W Voltage fréquence AC 220 240V 50Hz Filtre à graisse matériel lavable au lave vaisselle 3 aluminium Filtre à charbon 2 CF 130 Tuyau d échappement Installation du matériel Mode d emploi Cheminée télescopique extractible du à 40 00 78 ...
Page 44: ...ètement le cordon d alimentation Jetez immédiatement le cordon et la fiche d alimentation 4 Éliminez le papier et le carton dans les conteneurs réservés 5 Débarrassez vous des matières plastiques dans les conteneurs réservés 6 Si des conteneurs appropriés ne sont pas disponibles dans votre zone d habitation jetez ces matériaux dans un centre de collecte de votre commune chargé du recyclage des déc...
Page 45: ...45 A Technische Zeichnung technical drawing dessin technique ...
Page 46: ... dem Sie das Gerät erworben haben Please contact the shop you purchased the appliance at Veuillez contacter le magasin où vous avez acheté l appareil Änderungen vorbehalten Subject to alterations Sous réserve de modification Stand Updated Mis à jour 11 12 2014 12 11 2014 12 11 2014 PKM GmbH Co KG Neuer Wall 2 47441 Moers ...