41
XV-DV575
5
6
7
8
5
6
7
8
A
B
C
D
E
F
8. EACH SETTING AND ADJUSTMENT
8.1 ID NUMBER AND ID DATA SETTING
This display appears when the PLAY key is pressed in Step
4
.
Enter a 9-digit number to compare. The number is also
displayed on the FL display.
6
By pressing the CLEAR key without having input a number, the
unit returns to Step
2
without doing anything else. Each press
of this key after a number has been input deletes one digit.
7
After entering all 9 digits, if you press the PLAY key, the unit
compares the numbers input in Steps
2
and
6
, and only if the
numbers match, that number is set as the ID. Then the unit
automatically enters ID DATA Input Mode. If the numbers do not
match, the disc tray is opened, and the unit exits ID
N
umber
Input Mode.
8
[Player's ID
N
umber Setting]
ID
N
umber ?
0 0 0 0 0 0 0 0 1
Compare
∗
∗
∗
∗
∗
∗
∗
∗
∗
Input ID
N
umber !
6
[Player's ID
N
umber Setting]
ID
N
umber ?
0 0 0 0 0 0 0 0 1
Compare
0 0 0 0 0 0 0 0 1
<PLAY> Enter
Input ID
N
umber !
8
Input ID
N
umber !
After entering all 9 digits, if you press the SEARCH key, the
unit unconditionally sets the input number as the ID number.
Then the unit automatically enters Player's Data Input Mode.
(The SEARCH key is not accepted after all 9 digits have been
entered.)
5
[Player's ID
N
umber Setting]
ID
N
umber ?
0 0 0 0 0 0 0 0 1
<PLAY> Compare Mode
<SEARCH> Enter
4
5
Caution:
For the D
V
D players compatible with D
V
D-R
W
, for playback of a D
V
D-R
W
disc (CPRM) and for the D
V
D players possessing
HDMI output, for HDCP process, it is necessary that an individual ID number and ID data are set for each player. If the ID
number and ID data be not properly set in the manner described below, future operations cannot be guaranteed. The ID
number is written on the yellow label at the rear panel of the player.
If there is no yellow label, before downloadin
g
FLASH ROM, take note of the ID number set followin
g
the procedures
outlined in "ID Number Confirmation Mode" on the next pa
g
e.
Note:
Enter ID numbers while the unit is in Stop mode so that the values set will be immediately written to the flash ROM.
Note:
If you press the PLAY button before inputting a 9-digit ID
number, the unit returns to Step
6
without doing anything
else.
To enter ID
N
umber Input Mode, with no ID number set, such as
in a case of immediately after upgrading the firmware, press the
ESC key then the STEREO key.
Note:
If a previous ID number and ID data, such as a factory-
preset ID number and ID data, are maintained, the unit
enters
ID
N
umber Confirmation Mode when the above keys
are pressed. However, if only an ID number is maintained,
the unit enters ID Data Input Mode.
ID Number Input Mode
[Player's ID
N
umber Setting]
ID
N
umber ?
- - - - - - - - -
<CLEAR> Exit
Input ID
N
umber !
1
Enter a 9-digit ID number. The ID number is also displayed on
the FL display.
2
By pressing the CLEAR key without having input a number, you
can exit this mode. Each press of this key after a number has
been input deletes one digit.
3
After entering all 9 digits, if you press the PLAY key, the unit
enters Compare mode. Enter the same ID number again. Only
if your two input numbers match, the ID number is set. Compare
mode helps eliminate mistyping of the ID number.
4
2
3
Note:
If you press the PLAY button before inputting a 9-digit ID
number, the unit returns to Step
2
without doing anything
else.
Settin
g
an ID number or ID data is re
q
uired in the
followin
g
case:
If "
N
o
N
UM" or "
N
O DATA" is displayed on the FL display
for a few seconds immediately after the power to the player
is turned on or during Stop mode.
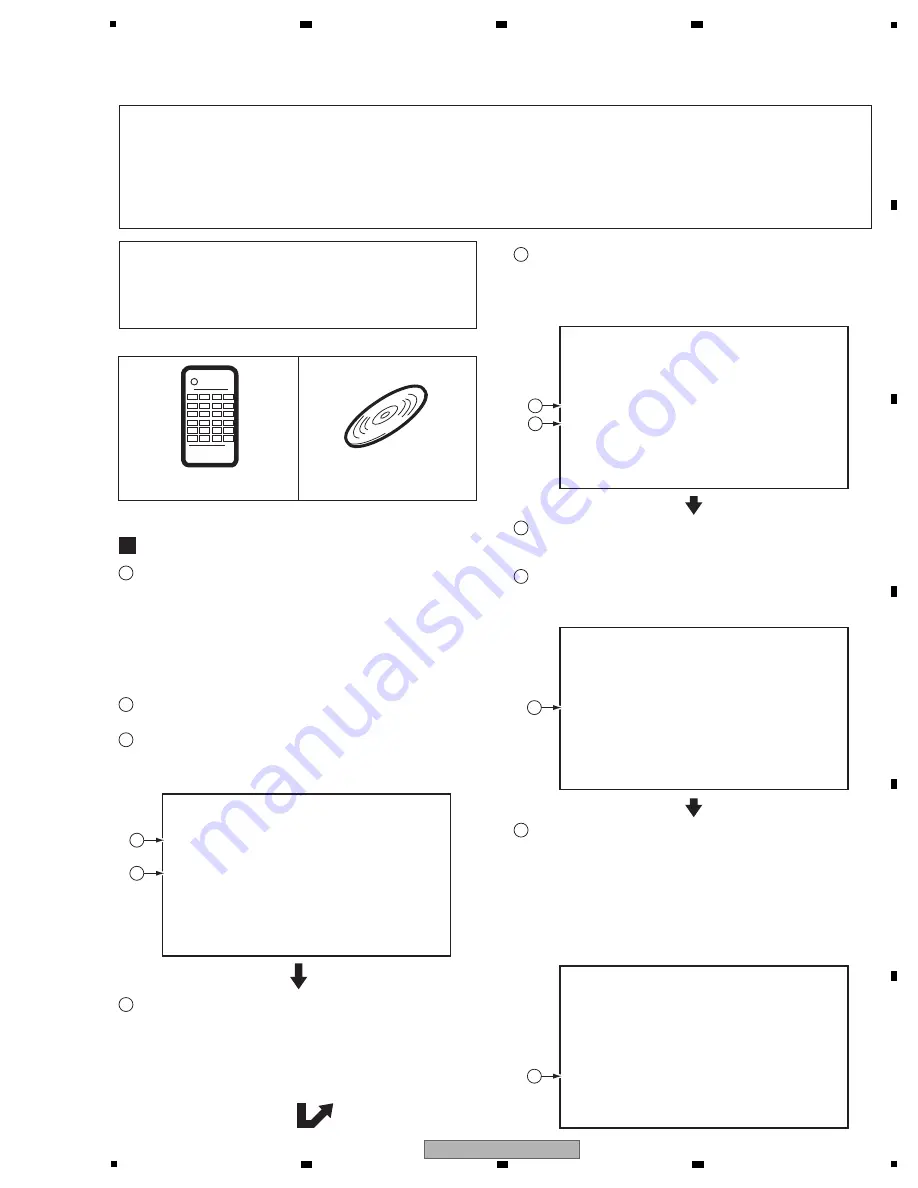
JIGS AND MEASURING INSTRUMENTS
D
V
D Data Disc
[GG
V
1309]
Service Remote Control Unit
[GGF13
8
1]


