Black plate (16,1)
2
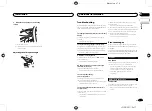
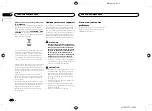
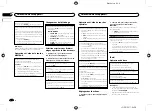
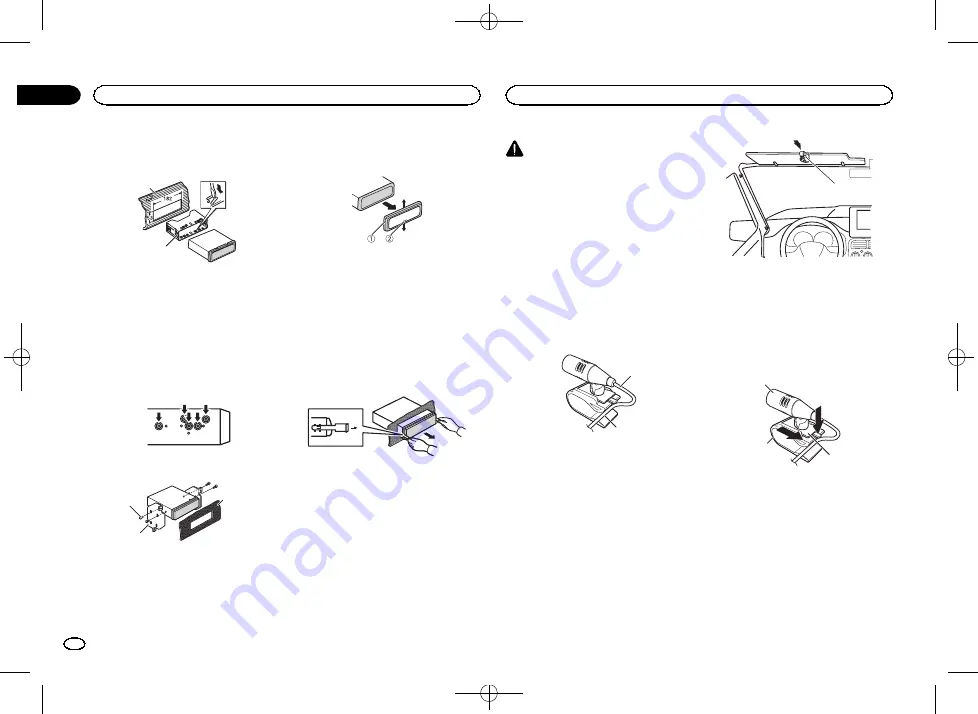
Secure the mounting sleeve by using a
screwdriver to bend the metal tabs (90°) into
place.
1
2
1
Dashboard
2
Mounting sleeve
#
Make sure that the unit is installed securely in
place. An unstable installation may cause skipping
or other malfunctions.
DIN Rear-mount
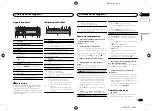
1
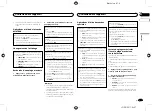
Determine the appropriate position
where the holes on the bracket and the side
of the unit match.
2
Tighten two screws on each side.
1
2
3
1
Tapping screw (5 mm × 8 mm)
2
Mounting bracket
3
Dashboard or console
Removing the unit
1
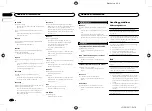
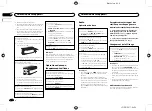
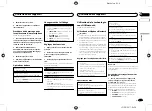
Remove the trim ring.
1
Trim ring
2
Notched tab
!
Releasing the front panel allows easier ac-
cess to the trim ring.
!
When reattaching the trim ring, point the
side with the notched tab down.
2
Insert the supplied extraction keys into
both sides of the unit until they click into
place.
3
Pull the unit out of the dashboard.
Removing and re-attaching the front
panel
You can remove the front panel to protect your
unit from theft.
For details, refer to
and
Installing the microphone
Only for MVH-X360BT
CAUTION
It is extremely dangerous to allow the micro-
phone lead to become wound around the steer-
ing column or shift lever. Be sure to install the
unit in such a way that it will not obstruct driv-
ing.
Notes
!
Install the microphone in a position and ori-
entation that will enable it to pick up the
voice of the person operating the system.
!
Use separately sold clamps to secure the
lead where necessary inside the vehicle.
When installing the microphone on
the sun visor
1
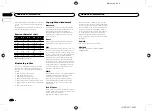
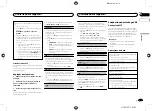
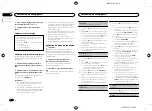
Fit the microphone lead into the groove.
1
2
1
Microphone lead
2
Groove
2
Install the microphone clip on the sun
visor.
With the sun visor up, install the microphone
clip. (Lowering the sun visor reduces the voice
recognition rate.)
1
1
Microphone clip
When installing the microphone on
the steering column
1
Detach the microphone base from the mi-
crophone clip.
To detach the microphone base from the micro-
phone clip, slide the microphone base.
1
2
3
1
Microphone
2
Microphone clip
3
Microphone base
Installation
16
Section
Installation
En
03
<QRD3211-B>16


