20
Displaying the “
System
” setting
screen
1 Press .
2 Touch , and then
.
The “
System
” setting screen appears.
Setting the steering wheel
control
You can set the steering wheel control on the display via a wired
remote cable.
Power cord
on page 28
p
This setting is available only when you stop your vehicle in a
safe place and apply the parking brake.
p
This setting is available when turn all the sources off.
This setting is required for using the steering wheel remote
control function.
p
You can set a function key to more than one steering wheel
key.
p
You can set only one function key to a steering wheel key.
p
If you make a mistake after connecting this product with the
supplied wired remote cable, please reset it.
p
If this function does not work correctly, contact your dealer
or an authorized Pioneer Service Station.
p
When you start to set, all the default key settings is automati-
cally cleared.
For steering wheel control adapter
for Pioneer users
1 Display the “
System
” setting screen.
Displaying the “
System
” setting screen
on page 21
2 Touch [
Steering Wheel Control
].
3 Touch [
With Adapter
].
4 Touch [
OK
].
Registering function to each key
manually
1 Display the “
System
” setting screen.
Displaying the “
System
” setting screen
on page 21
2 Touch [
Steering Wheel Control
].
Selects a file from the list.
Selecting files from the file name list
on page 20
p
By pressing the
or
button, you can also skip files
forward or backward.
p
By pressing and hold the
or
button, you can also
perform fast reverse or fast forward.
p
Before using the Bluetooth audio player, register and con-
nect the device to this product.
Registering your Bluetooth devices
on page 9
p
Depending on the Bluetooth device connected to this prod-
uct, the available operations with this product may be limited
or differ from the descriptions in this manual.
p
While you are listening to songs on your Bluetooth device,
please refrain from operating the phone function as much as
possible. If you try operating, the signal may cause noise for
song playback.
p
When you are talking on the Bluetooth device connected to
this product via Bluetooth, it may pause playback.
Starting procedure
1 Display the “
System
” setting screen.
2 Touch [
AV Source Settings
].
3 Confirm that “
Bluetooth Audio
” is turned on.
4 Press .
5 Touch [
Bluetooth Audio
].
Selecting files from the file
name list
p
This function may not be available depending on some
Bluetooth device.
1 Touch .
2 Touch a file or a folder on the list to play back.
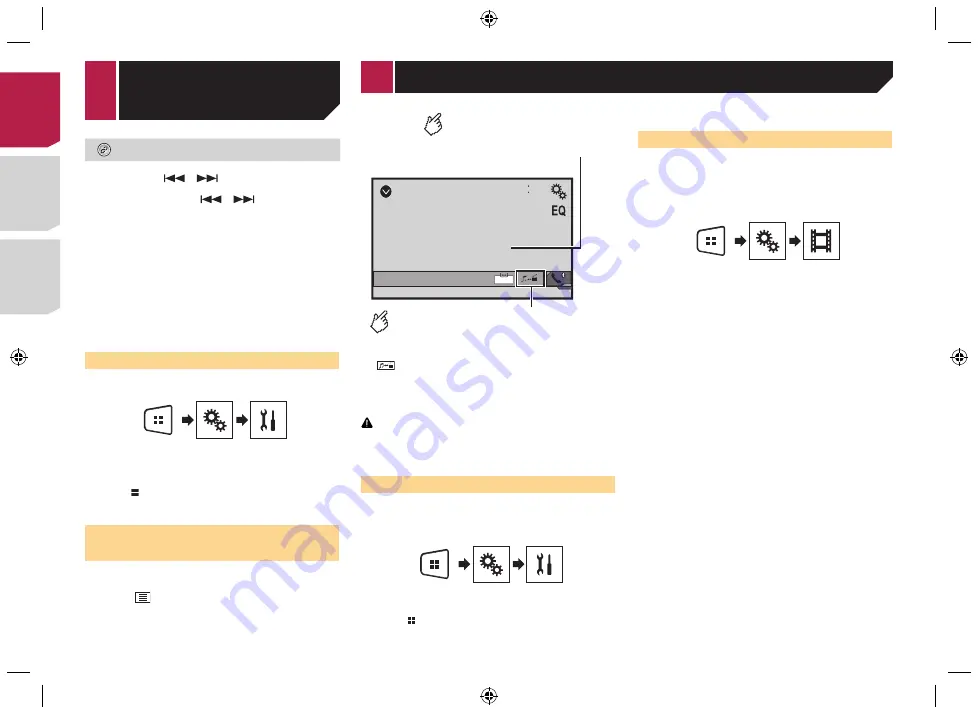
AUX
48
21
Full
6/10
Switches between the screen to
operate video files and that to
operate music files.
Hides the touch panel keys.
To display again the keys,
touch anywhere on the screen.
p
is only available when there are both audio and video
files on the auxiliary equipment.
p
A Mini-jack AV cable (CD-RM10) (sold separately) is required
for connection.
External video component and the display
on page 30
CAUTION
For safety reasons, video images cannot be viewed while your
vehicle is in motion. To view video images, stop in a safe place
and apply the parking brake.
Starting procedure
You can display the video image output by the device connected
to video input.
1 Display the “
System
” setting screen.
2 Confirm that “
AUX Input
” is turned on.
3 Press .
4 Touch [
AUX
].
The image is displayed on the screen.
Setting the video signal
When you connect this product to an AUX equipment, select the
suitable video signal setting.
p
You can operate this function only for the video signal input
into the AUX input.
1 Display the “
Video Setup
” screen.
2 Touch [
Video Signal Setting
].
3 Touch [
AUX
].
4 Touch the item you want to set.
The following items are available:
Auto
(default),
PAL
,
NTSC
,
PAL-M
,
PAL-N
,
SECAM
.
< CRD4876-A >
< CRD4876-A >
AUX source
Bluetooth audio
player
< CRD4876-A > 20
Summary of Contents for MVH-AV175
Page 39: ...39 CRD4876 A CRD4876 A 39 ...
Page 74: ...۳۹ F M w CRD4876 A 74 ...


