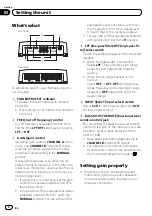
What
’
s what
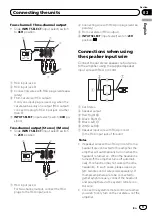
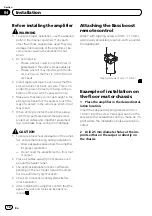
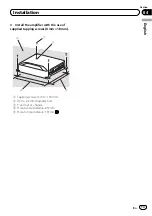
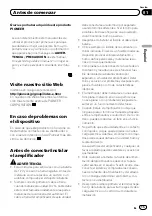
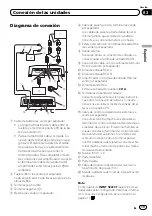
Front side
3
4
2
5
6
1
Rear side
To adjust the switch, use a flathead screwdri-
ver if needed.
1
POWER/PROTECT indicator
The power indicator lights up to indicate
power ON.
!
If something is not normal, the indicator
turns red.
2
FREQ (cut off frequency) control
Cut off frequency selectable from 40 Hz to
500 Hz if the
LPF
/
HPF
select switch is set to
LPF
or
HPF
.
3
GAIN (gain) control
Adjusting gain controls
CHANNEL A
(chan-
nel A) and
CHANNEL B
(channel B) helps
align the car stereo output to the Pioneer
amplifier. Default setting is the
NORMAL
position.
If output remains low, even when the car
stereo volume is turned up, turn controls to
lower level. If distortion occurs when the car
stereo volume is turned up, turn these con-
trols to higher level.
!
If using only one input plug, set the gain
controls for speaker outputs A and B to
the same position.
!
For use with an RCA equipped car stereo
(standard output of 500 mV), set to the
NORMAL
position. For use with an RCA
equipped Pioneer car stereo, with maxi-
mum output of 4 V or more, adjust level
to match that of the car stereo output.
!
For use with an RCA equipped car stereo
with output of 4 V, set to the
H
position.
4
LPF (low-pass filter)/HPF (high-pass fil-
ter) select switch
Switch the settings based on the connected
speaker.
!
When the Subwoofer is connected:
Select
LPF
. This eliminates high range
frequency and outputs low range fre-
quency.
!
When the full range speaker is con-
nected:
Select
HPF
or
OFF
.
HPF
eliminates low
range frequency and output high range
frequency.
OFF
outputs the entire fre-
quency range.
5
INPUT SELECT (input select) switch
Select
2CH
for two-channel input and
4CH
for four
–
channel input.
6
BASS BOOST REMOTE (bass boost level
remote control) jack
By connecting the Bass boost level remote
control to the jack on the main unit, you will
be able to select a bass boost level from
0 dB to 18 dB.
!
Bass boost level setting applies only to
CHANNEL B
(channel B) output.
!
For instruction of connecting the bass
boost remote control to the amplifier, see
the
Setting gain properly
!
Protective function included to prevent
malfunction of the unit and/or speakers
due to excessive output, improper use or
improper connection.
En
4
Section
02
Setting the unit
Summary of Contents for GM-D8604
Page 43: ...Ptbr 43 Português B ...

