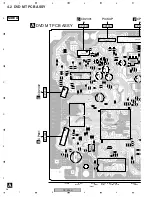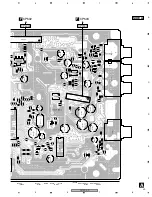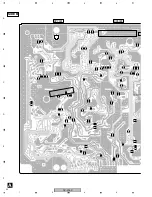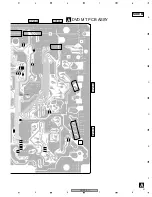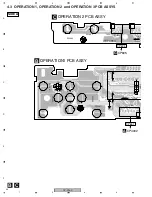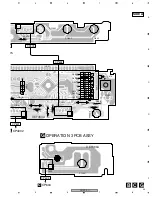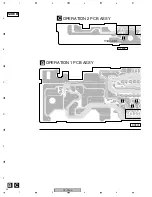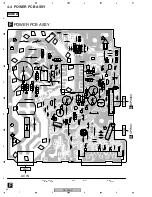
DV-393-S
52
1
2
3
4
1
2
3
4
C
D
F
A
B
E
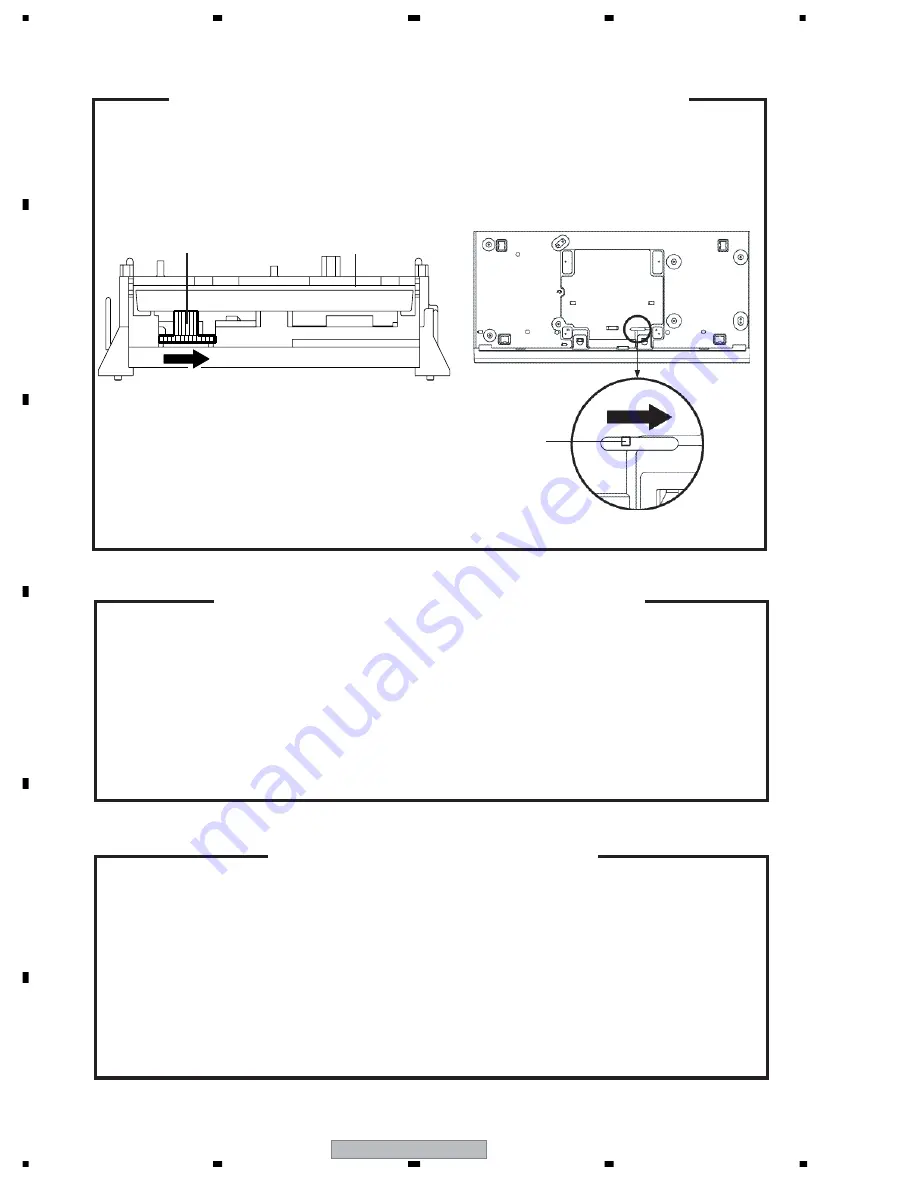
6.4 DISC REMOVAL METHOD
1.
2.
3.
Remove the Top Cabinet and Front Cabinet.
(Refer to item 1 of the DISASSEMBLY INSTRUCTIONS.)
Rotate the Main Gear in the direction of the arrow by hand.
(Refer to Fig. 1, Fig.2)
Draw the Tray.
DISC REMOVAL METHOD AT NO POWER SUPPLY
Fig. 1
DVD Deck
Main Gear
If the stored 4 digit password in the Rating Level menu needs to be cancelled, please follow the steps
below.
Set the DVD to the Stand-by Mode.
Press and hold the 'STOP' key on the front panel.
Simultaneously press and hold the POWER key on the front panel.
The 4 digit password has now been cleared.
1.
2.
3.
4.
PARENTAL CONTROL - RATING LEVEL
4 DIGIT PASSWORD CANCELLATION
NOTE:
The above procedure will reset ALL of the player's settings to the default factory state.
The laser diode used for a pickup head may be destroyed with external static electricity.
Moreover, even if it is operating normally after repair, when static electricity discharge is
received at the time of repair, the life of the product may be shortened.
Please perform the following measure against static electricity, be careful of destruction of a
laser diode at the time of repair.
•
Place the unit on a workstation equipped to protect against static electricity, such as
conductive mat.
•
Soldering iron with ground wire or ceramic type is used.
•
A worker needs to use a ground conductive wrist strap for body.
PREPARATION OF SERVICING
Fig. 2
Rack Loading (White)
DVD Player (Bottom Side)
Summary of Contents for DV-393-K
Page 36: ...DV 393 S 36 1 2 3 4 1 2 3 4 C D F A B E ...
Page 69: ...DV 393 S 69 5 6 7 8 5 6 7 8 C D F A B E ...
Page 70: ...DV 393 S 70 1 2 3 4 1 2 3 4 C D F A B E ...
Page 71: ...DV 393 S 71 5 6 7 8 5 6 7 8 C D F A B E ...
Page 72: ...DV 393 S 72 1 2 3 4 1 2 3 4 C D F A B E ...
Page 73: ...DV 393 S 73 5 6 7 8 5 6 7 8 C D F A B E ...
Page 74: ...DV 393 S 74 1 2 3 4 1 2 3 4 C D F A B E ...
Page 75: ...DV 393 S 75 5 6 7 8 5 6 7 8 C D F A B E ...
Page 76: ...DV 393 S 76 1 2 3 4 1 2 3 4 C D F A B E ...

