Information for the smartphone
compatibility
The following devices are compatible with this
function.
!
iPhone and iPod touch
In this chapter, iPod and iPhone will be re-
ferred to as
“
iPhone
”
.
For iPhone users
!
Use a Pioneer USB cable to connect an
iPhone.
!
Song information may not display correctly
for iOS versions earlier than 5.0.
Notes
!
Please check our website for a list of sup-
ported smartphone applications for this unit.
!
Pioneer is not liable for any issues that may
arise from incorrect or flawed app-based
content.
!
The content and functionality of the sup-
ported applications are the responsibility of
the App providers.
Starting procedure
1
Connect an iPhone to the USB cable using
an iPhone Dock Connector.
2
Switch the source to Apps.
3
Start up the application on the smart-
phone and initiate playback.
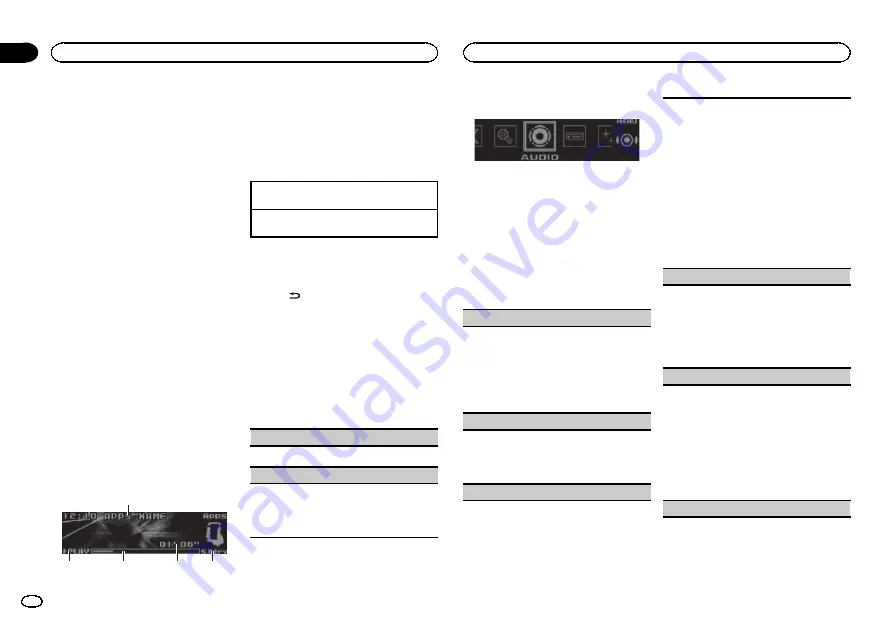
Basic operations
4
3
2
1
5
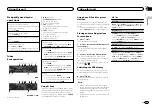
1
Application name
2
PLAY
/
PAUSE
indicator
3
Song time (progress bar)
4
Play time indicator
5
S.Rtrv
indicator
Appears when Sound Retriever function is
on.
Selecting a track
1
Turn
LEVER
.
Fast forwarding or reversing
1
Turn and hold down
LEVER
to the right or left.
Switching the display
Selecting the desired text information
%
Press
/DISP.
Function settings
1
Press M.C. to display the main menu.
2
Turn M.C. to change the menu option
and press to select FUNCTION.
3
Turn M.C. to select the function.
Once selected, the following functions can be
adjusted.
Pause
(pause)
1
Press
M.C.
to pause or resume.
Sound Retriever
(sound retriever)
1
Press
M.C.
to select the desired setting.
1
—
2
—
OFF
(off)
1
is effective for low compression rates, and
2
is effective for high compression rates.
Audio adjustments
1
Press M.C. to display the main menu.
2
Turn M.C. to change the menu option
and press to select AUDIO.
3
Turn M.C. to select the audio function.
Once selected, the following audio functions
can be adjusted.
!
The cut-off frequency and output level can be
adjusted when the subwoofer output is on.
!
SLA
is not available when FM is selected as
the source.
Fader/Balance
(fader/balance adjustment)
1
Press
M.C.
to display the setting mode.
2
Press
M.C.
to cycle between fader (front/rear)
and balance (left/right).
3
Turn
M.C.
to adjust the front/rear speaker bal-
ance.
Turn
M.C.
to adjust the left/right speaker bal-
ance.
Preset EQ
(equalizer recall)
1
Press
M.C.
to display the setting mode.
2
Turn
M.C.
to select an equalizer curve.
Powerful
—
Natural
—
Vocal
—
Custom1
—
Cus-
tom2
—
Flat
—
SuperBass
G.EQ
(equalizer adjustment)
You can adjust the currently selected equalizer
curve setting as desired. Adjusted equalizer curve
settings are stored in
Custom1
or
Custom2
.
!
Custom1
can be set separately for each
source. However,
USB
,
iPod
,
SD
and
Apps
are
all set to the same setting automatically.
!
Custom2
is a shared setting used in common
for all sources.
1
Press
M.C.
to display the setting mode.
2
Press
M.C.
to cycle between the following:
Equalizer band
—
Equalizer level
3
Turn
M.C.
to select the desired setting.
Equalizer band:
100Hz
—
315Hz
—
1.25kHz
—
3.15kHz
—
8kHz
Equalizer level:
+6
to
–
6
Loudness
(loudness)
Loudness compensates for deficiencies in the low-
frequency and high-frequency ranges at low vol-
ume.
1
Press
M.C.
to display the setting mode.
2
Press
M.C.
to turn loudness on or off.
3
Turn
M.C.
to select the desired setting.
Low
(low)
—
Mid
(mid)
—
High
(high)
Subwoofer1
(subwoofer on/off setting)
This unit is equipped with a subwoofer output
which can be turned on or off.
1
Press
M.C.
to display the setting mode.
2
Press
M.C.
to turn subwoofer output on or off.
3
Turn
M.C.
to select the phase for the sub-
woofer output.
Turn
M.C.
to the left to select reverse phase,
and
Reverse
appears in the display. Turn
M.C.
to the right to select normal phase, and
Nor-
mal
appears in the display.
Subwoofer2
(subwoofer adjustment)
Using this unit
10
Section
Using this unit
En
02


