


Product information
18
Copyright © 2012–2015 Pico Technology Limited. All rights reserved.
ps3000d.en r2
3. Oscilloscope installation
Once you have connected your oscilloscope to a PC using the appropriate USB cable,
Windows will install the device. You will see different alerts depending on your
operating system. There is no need to reinsert the software CD.
·
Windows XP
A
New Hardware Found
wizard will be displayed. Simply click
Next
to run through
the installation. If a
Windows Logo Testing
warning is displayed, click
Continue
Anyway
.
·
Windows Vista, Windows 7, Windows 8 and Windows 10
The process is automatic. An
Installing device driver software
message will be
displayed during the installation.
Note:
If you move your oscilloscope to a different USB port at any point the
installation process will be repeated.
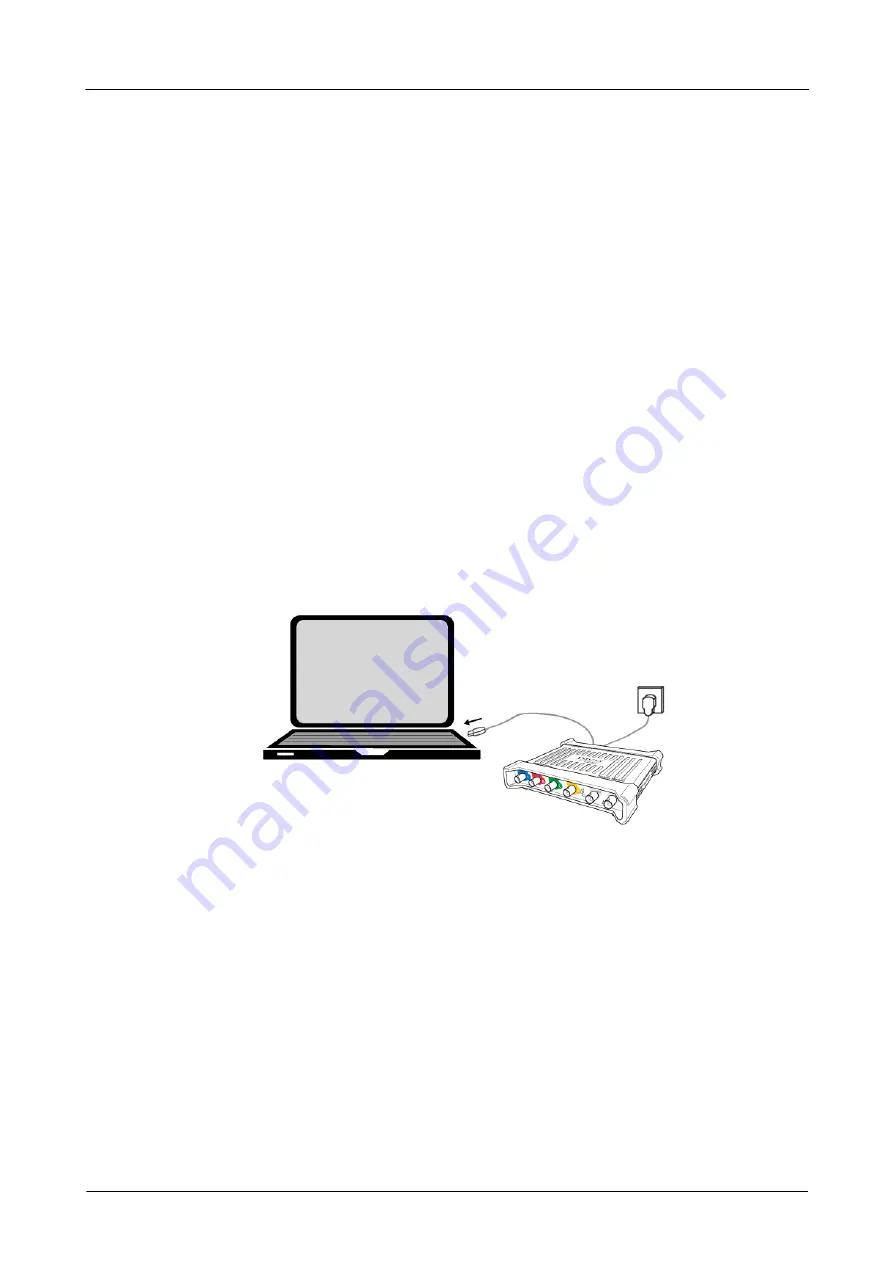
4. External power supply
For PicoScopes with 4 analog channels, the supplied AC power adaptor may be
required if the USB port(s) provide less than 1200 mA. The PicoScope software will
notify you if the AC adaptor is required. Simply connect the adaptor and USB cable as
shown below.
Note:
if the AC adaptor is connected or disconnected while the oscilloscope is in
operation, it will restart automatically and any unsaved data will be lost.
5. Running the PicoScope software
Once you have connected the oscilloscope, start the PicoScope software. Signals
connected to the scope inputs should now be displayed. If you touch a connected
probe's tip with your finger, you should see a small 50 or 60 Hz signal in the
oscilloscope window.
ООО "Техэнком" Контрольно-измерительные приборы и оборудование www.tehencom.com


