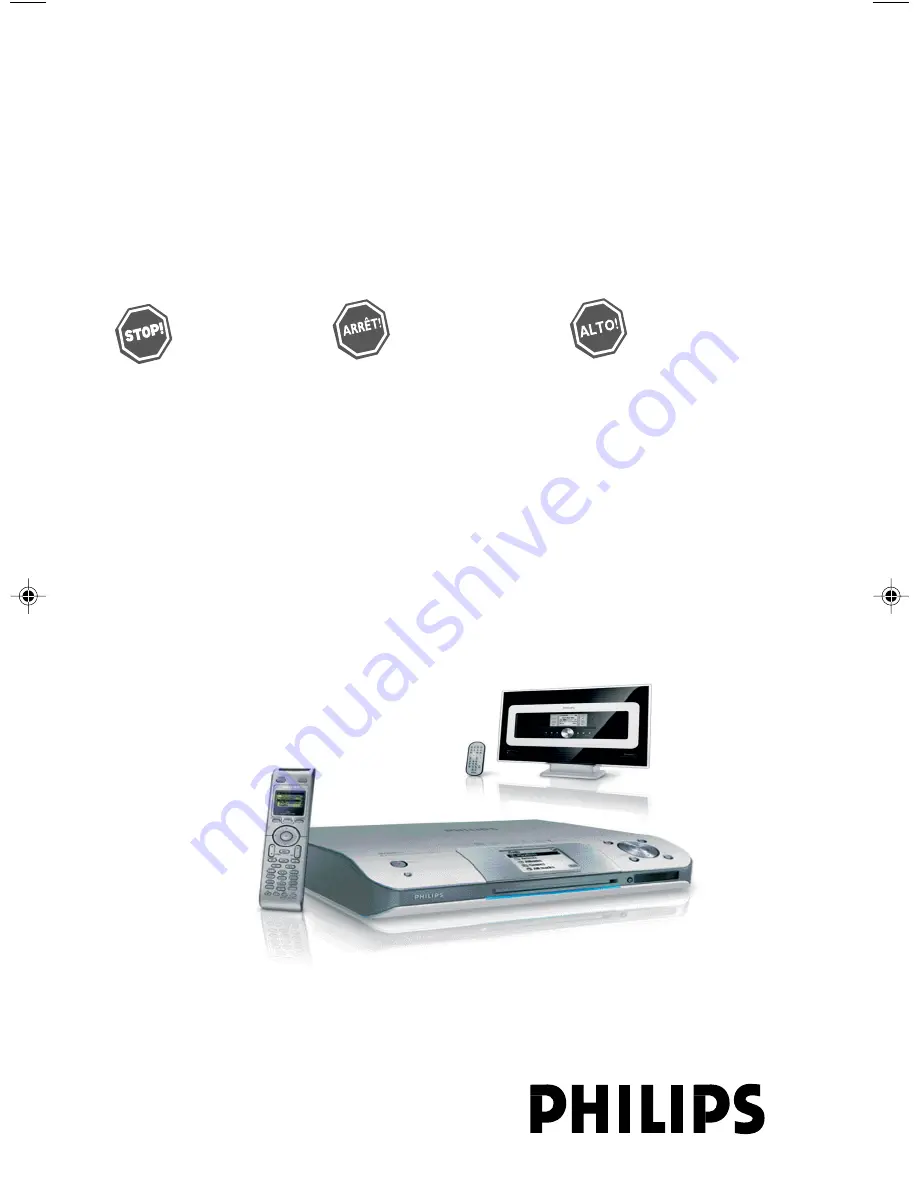
background image

Thank you for choosing Philips.

Need help fast? 

Read your Quick Use Guide and/or

Owner's Manual first for quick tips

 that make using your Philips product 

more enjoyable.

If you have read your instructions 

and still need assistance,

you may access our online help at 

www.philips.com/support

or call

1-888-PHILIPS (744-5477) 

while with your product.

Philips vous remercie de 

votre confiance.

Besoin d'une aide 

rapide? 

Les Guide d'utilisation rapide et Manuel de 

l'utilisateur regorgent d'astuces destinées à 

simplifier l'utilisation de votre produit Philips.

Toutefois, si vous ne parvenez pas à résoudre 

votre probléme, vous pouvez accéder à 

notre aide en ligne à l'adresse 

www.philips.com/support

ou formez le

1-800-661-6162 (Francophone)

1-888-PHILIPS (744-5477) (English speaking)

Veillez à avoir votre produit à

portée de main.

(et model / serial nombre)

Gracias por escoger Philips

Necesita ayuda 

inmediata? 

Lea primero la Guía de uso rápido o el

Manual del usuario, en donde encontrará

consejos que le ayudarán a disfrutar 

plenamente de su producto Philips.

Si después de leerlo aún necesita ayuda,

consulte nuestro servicio de 

asistencia en línea en 

www.philips.com/support

o llame al teléfono

1-888-PHILIPS (744-5477)

y tenga a mano el producto.

(y número de model / serial)

WACS 57

Wireless Music Station

        (and Model / Serial number)

p001-P052-WACS57_Eng_37

1/25/2006, 14:11

1

Summary of Contents for Streamium WAS700

Page 1: ...is si vous ne parvenez pas à résoudre votre probléme vous pouvez accéder à notre aide en ligne à l adresse www philips com support ou formez le 1 800 661 6162 Francophone 1 888 PHILIPS 744 5477 English speaking Veillez à avoir votre produit à portée de main et model serial nombre Gracias por escoger Philips Necesita ayuda inmediata Lea primero la Guía de uso rápido o el Manual del usuario en donde...

Page 2: ...2 ...

Page 3: ...3 1 2 3 4 5 0 9 8 7 6 STOP MENU Wireless Music Center WAC5 ...

Page 4: ...4 Wireless Music Station WAS700 1 3 4 5 6 7 8 9 0 2 ...

Page 5: ...re entitled to protection by one of the most comprehensive warranties and outstanding serv ice networks in the industry What s more your purchase guaran tees you ll receive all the information and special offers for which you qualify plus easy access to accessories from our convenient home shopping network Most importantly you can count on our uncompromising commit ment to your total satisfaction ...

Page 6: ...6 IMPORTANT SAFETY INSTRUCTIONS Class II equipment symbol This symbol indicates that the unit has a double insulation system Clean only with a piece of dry cloth materials ...

Page 7: ...correct the interference by one or more of the following measures Reorient or relocate the receiving antenna Increase the separation between the equipment and the receiver Connect the equipment into an outlet on a circuit different from that to which the receiver is connected Consult the dealer or an experienced radio TV technician for help IMPORTANT NOTE FCC Radiation Exposure Statement This equi...

Page 8: ...all use of the Gracenote Data the Gracenote Database and Gracenote Embedded Software Gracenote reserves all rights in the Gracenote Data Gracenote Database and Gracenote Embedded Software including all ownership rights You agree that Gracenote may enforce its rights under this Agreement against you directly in its own name The Embedded Software and each item of Gracenote Data are licensed to you A...

Page 9: ...e Park Shatin Hong Kong This offer is valid for a period of three years after the date of purchase of this product GPL Package written offer This product contains Linux 2 4 27 vrsl that is made available under the GNU GPL license version 2 hereafter called the Program Philips Electronics Hong Kong Ltd hereby offers to deliver or make available upon request for a charge no more than the cost of phy...

Page 10: ...k Different play modes REPEAT SHUFFLE 41 Display track information 41 FM radio on Station only Tuning to radio stations 43 Storing preset radio stations 43 44 Autostore automatic programming Manual programming To listen to a preset station General Information About WACS57 11 Supplied accessories 11 Philips on line support 12 Environmental information 13 Maintenance 13 Safety information 13 Control...

Page 11: ...e parts Modification of the product could result in hazardous radiation of EMC or other unsafe operation Changes or modifications not expressly approved by Philips could void FCC authorization to operate this equipment The making of unauthorized copies of copy protected material including computer programs files broadcasts and sound recordings may be an infringement of copyrights and constitute a ...

Page 12: ...CD player or PC etc or be troubled by the wiring Now you will have the freedom to enjoy and share your favorite music around your home Available storage capacity is based on 4 minutes per song 10 songs per CD on average 128 kbps MP3 encoding and given the fact that operational software is part of the product s memory Actual free space is 69GB or less due to the buffer partition for MP3 compression...

Page 13: ...additions to this exciting range to make your home entertainment experience even more enjoyable Please visit www philips com support and enter your product name WACS57 to view FAQ Frequently Asked Questions Latest user manuals and PC software manuals Firmware upgrade files for WACS57 Latest PC software downloads Interactive troubleshooting Since it is possible for you to upgrade your product we re...

Page 14: ...tended for analog records Protecting the hard disk Keep your WAC5 Center from violent vibration which may result in the damage to the hard disk Safety information Place the set on a flat hard and stable surface Do not expose the system batteries or discs to excessive moisture rain sand or heat sources caused by heating equipment or direct sunlight Place the sets in a location with adequate ventila...

Page 15: ...s to previous option lists 3 4 HD CD skips searches tracks passage backward forward in playback screen fast scrolls the option list 2 OK confirms selection OK HD CD starts or pauses playback CD selects or deselects tracks to be recorded on hard disk 5 STOP MENU stops playback or recording press and hold to enter or exit setup menu 6 MUSIC FOLLOWS ME HD moves music playback between Center and Stati...

Page 16: ...infrared remote control Helpful hints Always point the remote control towards this sensor 6 VOLUME adjusts the volume level 7 STOP stops playback 8 1 2 3 4 navigation controls left right up down to scroll through the option list 1 HD returns to previous option lists Radio enters the list of preset stations 3 4 HD skips searches tracks passage backward forward in playback screen fast scrolls the op...

Page 17: ... selects HD source In standby mode switches the set on and selects HD source TUNER AUX on Center selects the audio input from an additional connected appliance In standby mode switches the set on and selects the audio input from an additional connected appliance on Staton selects Radio source or the audio input from an additional connected appliance In standby mode switches the set on and selects ...

Page 18: ...Station MUSIC BROADCAST HD broadcasts music from Center to Station MUTE switches the sound off temporarily for Station only REC CD AUX starts the recording to hard disk SMART EQ HD selects match sound setting for current genre for Station only DIM changes the brightness of display illumination press and hold to turn the blue indicator on or off for Station only SLEEP adjusts displays switches off ...

Page 19: ... CD starts playback Å HD CD pauses playback 4 Ç stops playback or recording 5 3 4 Scroll scroll the display screen upward or downward 6 View toggles playback display and previous option list 7 Repeat selects continuous playback Shuffle selects random playback 8 VOL adjusts the volume level 9 Sleep ajusts displays switches off sleep timer 0 DBB Dynamic Bass Boost turns the bass enhancement on DBB1 ...

Page 20: ...ns to previous option lists Radio enters the list of preset stations 3 4 HD CD skips searches tracks passage backward forward in playback screen fast scrolls the option list Radio tunes to radio stations 2 OK confirms selection à á HD CD searches track passage backward forward in playback screen O P HD CD skips tracks backward forward in playback screen MUTE switches the sound off temporarily ...

Page 21: ...21 English Installation Center AC power cord Station for illustration only OPTICAL OUT DIGITAL OUT FM antenna 75 Ω FM ANTENNA AC power cord ...

Page 22: ...on onto walls to learn more about wall mounting Setting up Wi Fi connection between Center and Station Wi Fi connection starts automatically when you power up WAC5 Center and WAS700 Station 1 The first time you set up Wi Fi connection place Center and Station side by side on a flat and firm surface 2 First connect the Center to power supply and then connect the Station to power supply Center Stati...

Page 23: ...o amplifiers Using audio cables connect one one set of WAC5 s sound output terminals LINE OUT DIGITAL OUT or OPTICAL OUT to the corresponding input terminals in the connected device Helpful hints For better sound output use DIGITAL OUT or OPTICAL OUT if it is available on the connected device LINE OUT 1 Insert the red plug of the red white audio cables supplied to the red socket LINE OUT R and the...

Page 24: ...D player with the WAC5 Center On WAC5 Center you can playback or record music from an external source 1 Insert the red plug of the red white audio cables not supplied to the red socket AUX IN R and the white plug to the white socket AUX IN L 2 Connect the other end of the audio cables to the AUDIO OUT terminals of the additional appliance OPTICAL OUT DIGITAL OUT 3 Select AUX mode on Center Helpful...

Page 25: ...e Station On WAS700 Station you can playback music from an external source 1 Insert the red plug of the red white audio cables not supplied to the red socket AUX IN R and the white plug to the white socket AUX IN L 2 Connect the other end of the audio cables to the AUDIO OUT terminals of the additional appliance Using AC power 1 Make sure all the connections have been made before switching on the ...

Page 26: ...3 2 2 Insert 4 batteries type R03 or AAA into the remote control with the correct polarity as indicated by the and symbols inside the battery compartment 3 Put back the compartment door Station s remote control Remove the protective plastic tab before using the Station s remote control To replace the battery 1 Press and hold 1 as indicated 2 Simultaneously pull the battery tray at 4 3 Remove the o...

Page 27: ...setting works with Center only when you insert new batteries into it Using the display on the Center s remote control You can synchronize the local display of your Center or Station onto the display of Center s 2 way remote control With the synchronized display your operation of remote control becomes quicker and easier Note Avoid placing your Center or Station close to the plasmaTV It may interfe...

Page 28: ... and Wi Fi connection are turned off The Center s harddisk also stops working When you switch Center to Eco power it is impossible to move music between Center and Station or import music from PC to Center 1 When the set is on press and hold STANDBY ON ECO POWER to switch it to Eco power or y on the remote control The display is switched off The Red indicator lights up 2 To switch on press and hol...

Page 29: ...he navigation controls 3 or 4 and 2 to select Settings 3 Press 3 or 4 and 2 to select Display 4 Press 1 2 3 4 to select your options Backlight Press 3 or 4 and 2 to select on or off You can also turn the backlight on or off by pressing DIM on the remote control SAME ARTIST SMART EQ SMART EQ Contrast Press 1 2 to reduce or enlarge the contrast Switching the blue indicator on off for Center only The...

Page 30: ...4 and 2 to select Rock Pop default Jazz Neutral Techno Classical or Bass Treble 4 Press OK or 2 to confirm Bass adjustment Press DBB Dynamic Bass Boost once or more to select your option DBB OFF by default DBB 1 DBB 2 or DBB 3 To select Treble Bass options 1 Press MENU to enter the MENU screen 2 Use the navigation controls 3 or 4 and 2 to select Settings 3 Press 3 or 4 and 2 to select Treble Bass ...

Page 31: ...uring playback In the playback screen briefly and repeatedly press the navigation controls 3 or 4 to select previous or next tracks or 4 or on Center s remote control O P on Station s remote control HD Playing Harddisk HD On WAC5 Center is located a 80GB hard disk where music is centrally stored Via Wi Fi all the stored music can be streamed and played on Station 1 Check the Center or Station is s...

Page 32: ...tion Fast search during playback 1 In the playback screen press and hold the navigation controls 3 or 4 or 4 or on Center s remote control à áon Station s remote control The HD plays at a high speed 2 When you recognize the passage you want release 3 or 4 or 4 or on Center s remote control à áon Station s remote control Normal playback resumes Selecting tracks of a particular artist During playbac...

Page 33: ...elect Yes Creating Playlist custom collection of your favorite music On Center s hard disk you can create up to 99 playlists consisting of your favorite tracks in the desired sequence To create a playlist 1 Press and hold STOP MENU to enter the MENU screen or on the remote control press MENU 2 Use the navigation controls 3 or 4 and 2 to select Create Playlist A new playlist is created a default pl...

Page 34: ...cenote This product and service may practice one or more of the following U S Patents 5 987 525 6 061 680 6 154 773 6 161 132 6 230 192 6 230 207 6 240 459 6 330 593 and other patents issued or pending Services supplied and or device manufactured under license for following Open Globe Inc United States Patent 6 304 523 Gracenote and CDDB are registered trademarks of Gracenote The Gracenote logo an...

Page 35: ...onnecting an additional appliance 2 In AUX mode start playback from the external source see AUX 3 Press RECORD Recording starts 4 To stop recording press STOP Ç The recording is saved as a file under AUX in Albums A file name is given e g Aux_xx where xx denotes a number To find your recording 1 Select HD source 2 In Albums use the navigation controls 3 or 4 and 2 to enter AUX Helpful hints You ca...

Page 36: ...n the Station s remote control 2 Press MUSIC FOLLOWS ME to activate The icon appears 3 To deactivate MUSIC FOLLOWS ME press MUSIC FOLLOWS ME again or other functional keys e g SLEEP 1 2 3 4 MUSIC FOLLOWS ME will be automatically deactivated if you do not activate MUSIC FOLLOWS ME on the second unit within 5 minutes On the second unit Center or Station where music will continue 4 Check you have swi...

Page 37: ...o the station again you have to stop MUSIC BROADCAST on Center and then activate MUSIC BROADCAST again on Center 5 To stop MUSIC BROADCAST press STOP Ç on the Center Helpful hints MUSIC BROADCAST will also stop when you switch Center to Standby or Eco power the selected album or playlist has reached the end 5 Press MUSIC FOLLOWS ME MUSIC FOLLOWS ME will be automatically deactivated if you do not a...

Page 38: ...n you wish to delete 4 Press 3 or 4 and 2 to select Yes Viewing station status 1 Switch on WAC5 Center and select HD source 2 To select Station Status on Center a Press MENU on the remote control b Use the navigation controls 3 or 4 and 2 to enter Station Mgnt menu c In Station Mgnt menu use the navigation controls 3 or 4 and 2 to select On the Center s display shows the list of stations connected...

Page 39: ...ntrols 3 or 4 and 2 to select Installation Mode Firmware Upgrading firmware The supplied PC Installer CD contains Digital Media Manager DMM software It will help you get the upgrades for WAC5 Center For details see DMM s help file Refer to the manual Connect to your PC to learn how to install DMM software Restoring previous firmware After the Center s firmware is upgraded you can restore it to its...

Page 40: ...t e g Word documents doc or MP3 files with extension dlf are ignored and will not be played DRM protected WMA files WMA files in Lossless orVBR format CD on Center only IMPORTANT Make sure that the file names of MP3 files end with mp3 For DRM protected WMA files use Windows Media Player 10 or later for CD burning conversion Visit www microsoft com for details about Windows Media Player andWM DRM W...

Page 41: ...lighted album to start playback of the album orÉ Å on Center s remote control the Play keyÉ on Station s remote control MP3 WMA Press OK on the highlighted album All tracks to start playback of all the tracks on the disc orÉ Å on Center s remote control the Play keyÉ on Station s remote control 5 To pause playback press OK orÉ Å on Center s remote control Å on the Station s remote control To resum...

Page 42: ...ize bit rate of mp3 wma files 3 Press VIEW once or more to return to the playback screen Different play modes REPEAT SHUFFLE plays the current track continuously repeats all the tracks under current album repeats all the tracks under current album in random order tracks under current album are played in random order 1 During playback press once or more REPEAT or and SHUFFLE to select play modes 2 ...

Page 43: ...l reception is found Storing preset radio stations You can store up to 40 preset radio stations in the memory Autostore automatic programming Autostore automatically starts programming radio stations from preset 1 Available stations are programmed in the order of radio frequencies To select Autostore radio a Press MENU b Use the navigation controls 3 or 4 and 2 to select Display shows Autostore Pl...

Page 44: ...nal device through your Center or Station 1 Check the external device has been properly connected See Installation Connecting an additional appliance 2 Check the set is switched on or to standby See Basic functions 3 Press SOURCE once or more to select AUX on the remote control pressTUNER AUX 4 Press the PLAY key on the connected device to start playback 5 To adjust the sound and volume use the so...

Page 45: ...he desired time period options in minutes Display shows in sequence Sleep 15 30 45 60 90 120 Off Display shows the selected option briefly and returns to its previous status The icon Z Z appears 2 To view the time countdown to the standby mode press SLEEP again To deactivate the sleep timer press SLEEP until Sleep Off is displayed or Press STANDBY ON ECO POWER to switch the set to standby or y on ...

Page 46: ...desired language English French Spanish Dutch Italian and German The set enters Installation Mode The search for Center or Stations starts The Wi Fi connection is being re established If the Center is reset and Stations are not reset On the Stations select AUX mode and enter Installation Mode by a Press MENU b Use the navigation controls 3 or 4 and 2 to select Installation Mode The Stations start ...

Page 47: ... 500mV 1V Output Impedance speakers WAS700 6 Ω Panel 12 Ω Subwoofer Impedance headphones 32Ω 150Ω Wireless Wireless standard 802 11g backwards compatible to 802 11b Wireless security WEP 64 or 128bit WPA PSK Frequency range 2412 2462 MHz CH1 CH11 Tuner WAS700 only Wave range FM 87 5 108 MHz Number of presets 40x FM Antenna cable COAX T antenna 75Ω IEC connector HDD CD player WAC5 only Frequency ra...

Page 48: ...nnect to your PC If possible change the operating channels of the other Wi Fi devices at your home Turn the devices in different directions to minimize interference Check your plasma TV is turned off Check you have placed two IR operated devices Station in separate rooms wherever possible Wi Fi connection During the first time setup Station s display shows Searching for Center I get interference o...

Page 49: ...t you wish to operate You switched on the set by using the control on the set instead of center s remote control Press REFRESH on center s remote control to synchronize its display Remove the protective plastic tab before using the Station s remote control Reduce the distance between the remote control and the set Insert the batteries with their polarities signs aligned as indicated Replace the ba...

Page 50: ... the antenna or connect an external antenna for better reception Increase the distance between the set and your TV orVCR Install the supplied FM wire antenna for better reception Keep your Station at least 1 meter away from PC Use the by packed wall mounting kits It is recommended you get a qualified person to fix the mounting brackets safely onto your walls before you mount the Station For detail...

Page 51: ...stallation Ask a qualified person to help you with the wall mounting who should to avoid unexpected damage learn about the piping wiring and other relevant information inside your walls according to your walls materials decide what type of screws you need to fix the mounting brackets and hold the weight of a Station according to the drilling requirements choose suitable drilling tools take other p...

Page 52: ...ons Damage occurring to product during shipping when improp erly packaged or cost associated with packaging Product lost in shipment and no signature verification of receipt can be provided A product used for commercial or institutional purposes including but not limited to rental purposes Products sold AS IS or RENEWED SHIP IN WARRANTY For Ship In warranty repair ship the product to a Philips aut...

Reviews: