background image

12

English

Basic Functions

Switching the system on

Press 

STANDBY ON

 or 

SOURCE

 (or 

2

on

the remote control).

The system will switch to the last selected

source.

Press 

CD

TUNER 

or 

TAPE

 on the remote

control.

The system will switch to the selected source.

To switch the system to standby mode

Press 

STANDBY ON

 on the system (or 

2

on

the remote control).

If in tape mode or recording mode, press

STOP•OPEN

Ç

0

 first.

The volume level (up to a maximum volume

level of 20), interactive sound settings, last
selected source and tuner presets will be
retained in the player's memory.

Power-saving automatic standby

The power-saving feature automatically switches
to standby 15 minutes after a CD playback has
ended and no control is operated.

Adjusting volume and sound

1

Turn the 

VOLUME

 control anti-clockwise to

decrease or clockwise to increase volume on the
system (or press 

VOL


-

/

+

 on the remote

control).

Display shows the volume level 

VOL

 and a

number from 0-32.

2

Press 

DSC

 repeatedly to select the desired

sound effect: 

JAZZ 

/

 POP 

/

 CLASSIC 

/

 ROCK

.

3

Press 

DBB

 to switch bass enhancement on or

off.

Display shows:           if the DBB is activated.

4

Press 

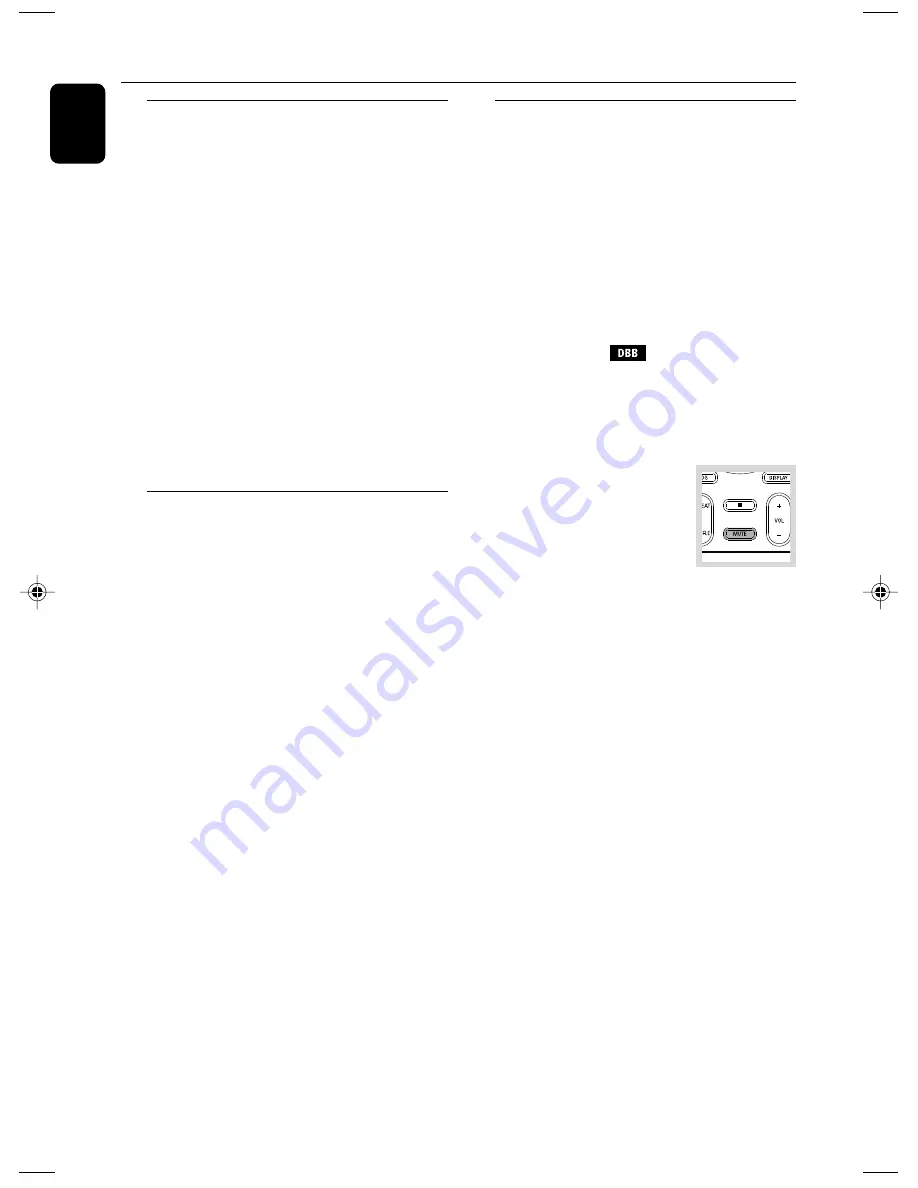
MUTE

 on the remote control to

interrupt sound reproduction instantly.

Playback will continue without sound.

To activate sound reproduction you can:
– press 

MUTE

 again;

– adjust the volume controls;
– change source.

MCM204_61-Eng

2007.11.9, 15:35

12

Summary of Contents for MCM204B

Page 1: ...MCM204B Micro Hi Fi System User manual Register your product and get support at www philips com welcome ...

Page 2: ...2 CAUTION Use of controls or adjustments or performance of procedures other than herein may result in hazardous radiation exposure or other unsafe operation ...

Page 3: ...3 1 1 3 6 7 5 0 6 9 7 8 2 3 4 M I C R O S Y S T E M M C M 2 0 4 ALBUM ...

Page 4: ...h a safe volume level Set your volume control at a low setting Slowly increase the sound until you can hear it comfortably and clearly without distortion Listen for reasonable periods of time Prolonged exposure to sound even at normally safe levels can also cause hearing loss Be sure to use your equipment reasonably and take appropriate breaks Be sure to observe the following guidelines when using...

Page 5: ...5 English Index English 6 ...

Page 6: ...sc 13 14 Different play modes Shuffle and Repeat 14 Programming track numbers 14 Reviewing the programme 14 Erasing the programme 14 Radio Reception Tuning to radio stations 15 Programming radio stations 15 Automatic programming Manual programming Tuning to preset radio stations 15 Tape Operation Recording Tape playback 16 General information on recording 16 Synchro start CD recording 16 Recording...

Page 7: ...r the AC outlet and where the AC power plug can be easily reached Place the system in a location with adequate ventilation to prevent internal heat build up in your system Allow at least 10 cm 4 inches clearance from the rear and the top of the unit and 5 cm 2 inches from each side The ventilation should not be impeded by covering the ventilation openings with items such as newspapers table cloths...

Page 8: ... system a safety circuit has been built in Therefore your system may switch to Standby mode automatically under extreme conditions If this happens let the system cool down before reusing it not available for all versions B Antenna Connection MW Antenna Connect the supplied MW loop antenna to the AM aerial terminal Adjust the position of the antenna for optimal reception Position the antenna as far...

Page 9: ...l substances so they should be disposed of properly Preparations FM Antenna It is unnecessary to connect the FM pigtail antenna since it is fixed to the main unit Adjust the FM antenna for optimal FM stereo reception C Speakers Connection Front Speakers Connect the speaker wires to the SPEAKERS terminals right speaker to RIGHT and left speaker to LEFT coloured marked wire to and black unmarked wir...

Page 10: ...ock timer adjusts the hours and minutes for the clock timer function 7 VOLUME VOL adjusts the volume level 8 iR SENSOR infrared sensor for remote control 9 Tape Deck Operation RECORD starts recording PLAY 2 starts playback SEARCHà á fast rewinds winds the tape STOP OPENÇ0 stops the tape opens the tape compartment PAUSEÅ interrupts recording or playback 0 OPEN CLOSE3 opens closes the CD door AUX ja...

Page 11: ... When all the available radio stations are stored or the memory for 40 presets are used the last preset radio station will be played To reinstall Plug and Play 1 In standby mode press and holdÉÅ on the system until AUTO INSTALL PRESS PLAY is displayed 2 Press ÉÅ again to start installation All previously stored radio stations will be replaced To exit without storing the Plug and Play Press 9 on th...

Page 12: ...y Power saving automatic standby The power saving feature automatically switches to standby 15 minutes after a CD playback has ended and no control is operated Adjusting volume and sound 1 Turn the VOLUME control anti clockwise to decrease or clockwise to increase volume on the system or press VOL on the remote control Display shows the volume level VOL and a number from 0 32 2 Press DSC repeatedl...

Page 13: ...LAY 2 key Playing an MP3 disc 1 Load an MP3 disc The disc reading time may exceed 10 seconds due to the large number of songs compiled into one disc YY XXX is displayed YY is the total album number and XXX is the total track number 2 Press ALBUM PRESET 4 3 or 4 3 on the remote control to select a desired album IMPORTANT The lens of the CD player should never be touched Loading a disc This CD playe...

Page 14: ...f you have selected SHUFFLE playback starts automatically 3 To return to normal playback press the respective SHUFFLE or REPEAT button until the various SHUFFLE REPEAT modes are no longer displayed You can also press 9 to cancel your play mode Note The SHUFFLE and REPEAT functions cannot be used simultaneously Programming track numbers Programme in the STOP position to select and store your disc t...

Page 15: ... not in the memory already 1 Press ALBUM PRESET 4 3 to select the preset number where programming should start Note If no preset number is selected default is preset 1 and all your presets will be overridden 2 Press PROG for more than 2 seconds to activate programming AUTO is displayed and available stations are programmed in order of waveband reception strength The first preset automatically stor...

Page 16: ...rd a particular passage within a CD track Press and hold down on 4 Release the control when you recognize the passage you want To pause CD playback press 2 Recording starts from this exact point in the track when you press RECORD 6 To pause press PAUSE Press again to resume 7 To stop recording press STOP OPENÇ0 Tape playback 1 Select TAPE source Display shows TAPE throughout tape operation 2 Open ...

Page 17: ...ty clean the heads A the capstan s B and pressure roller s C after every 50 hours of tape operation Use a cotton swab slightly moistened with cleaning fluid or alcohol You can also clean the heads by playing a cleaning tape once Demagnetising the heads Use a demagnetising tape available at your dealer Recording from the radio 1 Tune to the desired radio station seeTuning to radio stations 2 Press ...

Page 18: ... extension dlf are ignored and will not be played AAC WAV PCM NTFS audio files DRM protected WMA files WMA files in Lossless format Playing a USB mass storage device Note It is not recommended to use 1 5m USB cable in order to reduce interference 1 Make sure that your MCM204 is being powered on 2 Press SOURCE repeatedly or USB on the remote to enter USB mode Display shows with USB DIRECT 3 Plug a ...

Page 19: ... it will work with this micro system b If your Mass storage device requires a battery power source please make sure you have a fresh battery in it or charge the USB device first and then plug it into the micro system again 2 Supported Music type a This device only supports unprotected music with file extension mp3 wma b Music bought from on line music stores are not supported because they are secu...

Page 20: ...he display Setting the clock 1 In standby mode press and hold DISPLAY CLOCK on the set or CLOCK on the remote control for 2 seconds The clock digits for the hours flash 2 Press TUNING 4 to set the hours 3 Press DISPLAY CLOCK again The clock digits for the minutes flash 4 Press TUNING 4 to set the minutes 5 Press DISPLAY CLOCK to confirm the time Note The backlight for clock display is off in stand...

Page 21: ...ity 20 µV MW 26 dB sensitivity 5 mV m Total harmonic distortion 5 TAPE DECK Frequency response Normal tape type I 125 8000 Hz 8 dB Signal to noise ratio Normal tape type I 40 dBA Wow and flutter 0 4 JIS SPEAKERS Bass reflex system Dimensions w x h x d 146 x 228 x 160 mm GENERAL INFORMATION AC Power 110 127 60 Hz Dimensions w x h x d 146 x 228 x 216 mm Weight with without speakers approx 4 4 2 0 kg...

Page 22: ... only NORMAL IEC I tape Apply a piece of adhesive tape over the missing tab space Remove and reconnect the AC power plug and switch on the system again Adjust the volume Disconnect the headphones Check that the speakers are connec ted correctly Check if the stripped speaker wire is clamped Make sure the MP3 CD was recorded within 32 256 kbps bit rate with sampling frequencies at 48 kHz 44 1 kHz or...

Page 23: ... control directly towards the IR sensor Set the clock correctly PressTIMER to switch on the timer If recording or tape dubbing is in progress stop recording Power has been interrupted or the power cord has been disconnected Reset the clock timer It is not set in the USB mode Select USB mode The device is not securely connected to MCM204 s USB port Re connect the device and make sure that the devic...

Page 24: ...añol Português Português Deutsch Nederlands Italiano Svenska Dansk Suomi Polski Polski English Printed in China CLASS 1 LASER PRODUCT MCM204B PDCC JH 0745 Meet Philips at the Internet http www philips com ...

Reviews: