14
English
Step 2:
Connecting to TV
This connection enables you to view the
video playback from this unit. Y
ou only
need to choose
one
of the options
below to make the video connection.
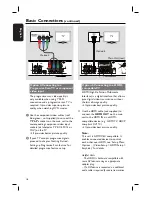
– For a standard TV, follow option 1, 2
or 3.
– For a progressive scan TV, follow
option 4.
– For a HDMI TV, follow option 5.
Helpful Hint:
– It is important to connect this unit directly
to the TV in order to enjoy optimum video
quality.
– To hear the TV audio through this unit,
connect AUDIO IN-AUX sockets on the unit
to the audio output on your TV (cables not
supplied). Then press AUX (MP3 LINK)
until ‘AUX’ is displayed on the front panel.
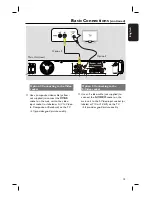
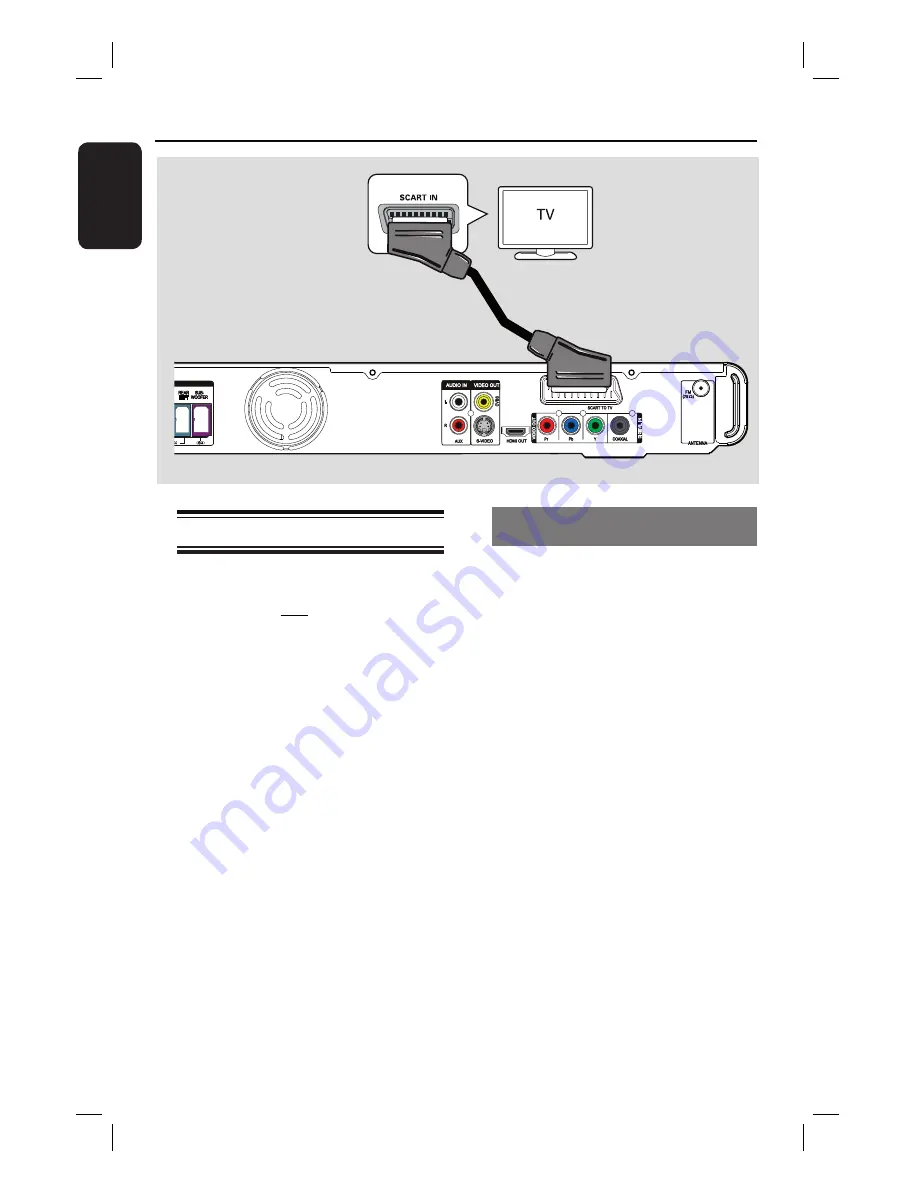
Option 1: Connecting to the Scart
socket
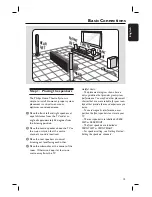
Connect the scart cable (supplied) from
the
SCART TO TV
socket on the main
unit to the corresponding SCART input
socket on the TV.
Helpful Hint:
– With this connection, audio connection is
not required, you can press AUX (MP3
LINK) repeatedly on the remote control to
select SCART IN to route the TV’s audio to
the speakers.
Basic Connections
(continued)
Option 1
Main Unit (rear)


