Your Philips air cleaner is a very effective appliance which
improves the quality of the air you breathe in your house or
office. The appliance significantly reduces indoor air pollution
caused by pollen, dust, bacteria, viruses, moulds, smoke and
all kinds of other smells, such as cooking odours and traffic or
industry smells from outside.
When comparing air cleaners you will notice that suppliers use
a number of criteria to indicate the effectiveness of their
appliances. The standard that best reflects the effectiveness of
an air cleaner is CADR (Clean Air Delivery Rate). In general,
an air cleaner with a high CADR will remove particles from the
air more quickly than an air cleaner with a low CADR.
How does the Philips air cleaner work?
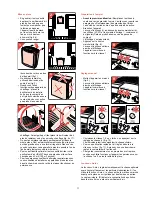
The air cleaner sucks in air though its front and both sides. The
sucked-in air is filtered by the air cleaner. After filtering, clean
air is blown out from the top of the appliance. To be able to
remove even the smallest particles from the air, the air cleaner
has been equipped with a unique three-stage filter system.
1
Prefilter
The washable prefilter catches the larger airborne particles,
such as fluff, hairs, etc.
2
HEPA filter
The HEPA filter removes the smaller particles from the air. The
filter is made of glass fibres which are packed so closely
together that they prevent even very small particles from
passing through the filter. The same type of filter is also used in
most operating rooms in hospitals.
3
Active carbon filters
The final stage consists of two active carbon filters. Active
carbon is the only filter material that effectively absorbs most
gases that cause, among other things, odour nuisance.
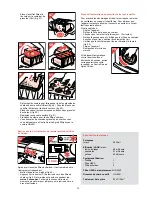
General description
(fig. 1)
A
Air inlets
B
Prefilter
C
HEPA filter
D
HEPA filter replacement indicator
E
Active carbon filters
F
Control panel
G
Air outlet
H
Handle
I
Cord storage facility
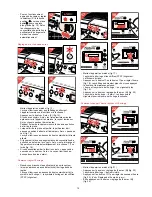
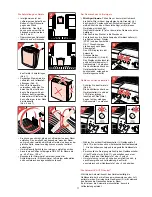
Description of control panel
(fig. 2)
J
On/off control with pilot light
K
On/off control for automatic speed adjustment with
pilot light (‘Auto’ control)
L
Speed control with pilot lights
1
= low speed
2
= normal speed
turbo = high speed
M
Control for setting the timer and the clock
N
Display
O
Controls for setting the clock (back and forward)
P
Reset control of the active carbon replacement
indicator
Q
Active carbon replacement indicator (pilot light)
R
Gas sensor
S
Switch for setting the gas sensor
for small rooms (up to approx. 20 m
2
)
Ô
Ô
for larger rooms (up to approx. 40 m
2
)
4
English
Important
• Read the instructions carefully before you start using
the appliance.
• Never immerse the appliance in water or any other
liquid.
• Do not use the appliance outside or in a humid
environment.
• You can clean the appliance with a moist cloth.
Unplug the appliance before you do so.
• Do not touch any moving parts when you open the
appliance. Let the fan come to a halt by itself.
• Keep the cord away from hot objects.
• If the cord of this appliance is damaged, it may only
be replaced by an authorised Philips service centre,
since repair requires special tools and/or parts.
• Do not expose the smoke sensor to a direct source
of heat or very strong smells. For instance, do not
use the air cleaner as a cooking hood over your
cooker.
• Do not spray in the direction of the smoke sensor
with a spray can.
• When you leave the room for quite some time, switch
the ‘Auto’ setting off.
• The appliance influences the air circulation in the
room in which it is used. It is recommended not to
use the appliance next to an open fire.

