background image

14

EN

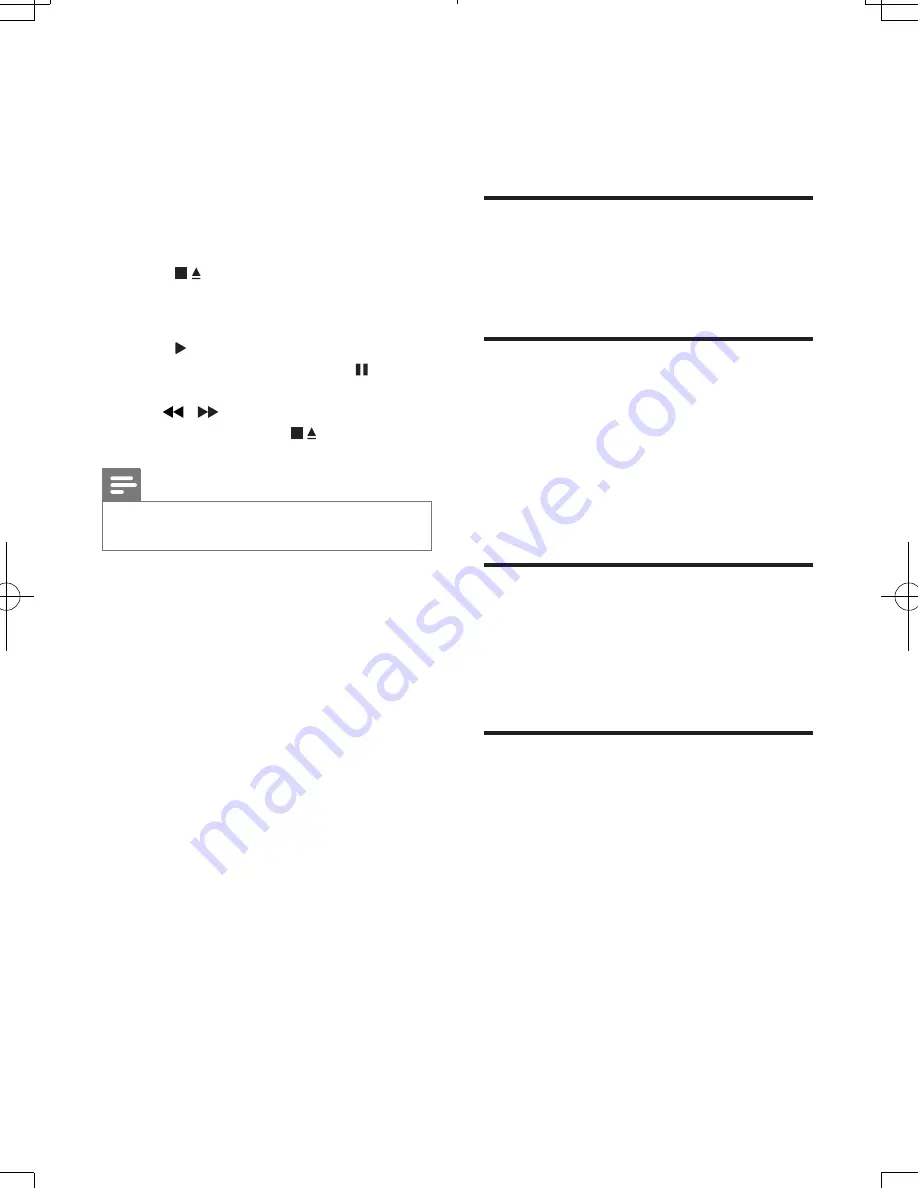
7  Play tape

Press 

TAPE

 on the main unit to select the 

tape source.

Pull 

OPEN

 on the front panel to open the 

tape button cover.

Press     to open the tape door.

Load the tape with the open side 

downward and the full spool to the left.

Press   to start play.

• 

To pause/resume play, press  . 

• 

To fast rewind/forward the tape, press 

 /  .

• 

To stop play, press    .

Note


When you play or record a tape, the sound source 

cannot be changed.

8  Adjust sound

Adjust volume

During play, press 

VOL +/-

 to increase/

decrease the volume.

Select a preset sound effect

During play, press 

DSC

 repeatedly to 

select:

•  [POP] (pop)

•  [JAZZ] (jazz)

•  [CLASSIC] (classic)

•  [ROCK] (rock)

Enhance bass

During play, press 

DBB

 to turn on or off 

dynamic bass enhancement.


»

If DBB is activated, DBB is displayed.

Mute sound

During play, press 

MUTE

 to mute/unmute 

sound.

FWM154_05_UM_EN.indd   14

7/10/2012   10:29:18 AM

Summary of Contents for FMW154

Page 1: ...FMW154 Register your product and get support at www philips com welcome Always there to help you User Manual Question Contact Philips ...

Page 2: ...Listen to the radio 13 Tune to a radio station 13 Program radio stations automatically 13 Program radio stations manually 13 Select a preset radio station 13 7 Play tape 14 8 Adjust sound 14 Adjust volume 14 Select a preset sound effect 14 Enhance bass 14 Mute sound 14 9 Use more of your Mini Hi Fi System 15 Listen to an external device 15 Record from disc 15 Record from radio 15 Record from exter...

Page 3: ...he unit or remote control is not used for a long time Batteries battery pack or batteries installed shall not be exposed to excessive heat such as sunshine fire or the like The unit shall not be exposed to dripping or splashing Do not place any sources of danger on the unit e g liquid filled objects lighted candles Where the MAINS plug or an appliance coupler is used as the disconnect device the d...

Page 4: ...t contains batteries covered by the European Directive 2006 66 EC which cannot be disposed of with normal household waste When you see the crossed out wheel bin symbol with the chemical symbol Pb it means that the batteries comply with the requirement set by the directive for lead Please inform yourself about the local rules on separate collection of batteries The correct disposal of batteries hel...

Page 5: ... this unit you can enjoy audio from discs tapes external devices or radio stations The unit offers you multiple sound effect settings that enrich sound with Digital Sound Control DSC and Dynamic Bass Boost DBB The unit supports the following media formats What s in the box Check and identify the contents of your package Main unit Speaker box x 2 Remote control MP3 link cable User manual Quick star...

Page 6: ...Switch the unit to standby mode b Skip to the previous next track Search within a track or disc Adjust time i l o m p q j k h n b c a d e g f r c Source buttons DISC TAPE TUNER AUX MP3 LINK Select a source d DBB Turn dynamic bass enhancement on or off ...

Page 7: ...display the clock p MP3 LINK Audio input jack 3 5mm for an external audio device q OPEN Pull to open the tape button cover r Tape controls Start to record Start tape play Fast rewind forward the tape Stop the tape play or open the tape door Pause tape play or pause recording Overview of the remote control a Turn on the unit Switch to standby mode b Source buttons DISC TUN AUX MP3 LINK Select a sou...

Page 8: ... the clock 3 Get started Caution Use of controls or adjustments or performance of procedures other than herein may result in hazardous radiation exposure or other unsafe operation Always follow the instructions in this chapter in sequence If you contact Philips you will be asked for the model and serial number of this apparatus The model number and serial number are on the back of the apparatus Wr...

Page 9: ...t Never pull the cord Before connecting the AC power cord ensure you have completed all other connections FM ANT LOOP ANT Speaker Right Speaker Left 3 1 2 1 Connect the power cord to the wall outlet Set the clock 1 In standby mode press and hold CLOCK The hour digits are displayed and begin to blink 2 Press on the remote control to set the hours 3 Press CLOCK The minute digits are displayed and be...

Page 10: ...DISC to select the disc source 2 Press OPEN CLOSE on the front panel to open the disc tray 3 Insert a disc with the printed side facing up then close the disc tray Play starts automatically To pause resume play press To stop play press For MP3 WMA disc to select an album press ALBUM PRESET To skip to a track press To search within a track press and hold Release to resume normal play ...

Page 11: ...cks are played randomly 2 To return to normal play press SHUFFLE again Tip Shuffle play cannot be selected when you play programmed tracks You can activate SHUF shuffle and REPEAT ALL repeat all at the same time Program tracks You can program a maximum of 20 tracks 1 At CD mode in the stop position press PROGRAM on the remote control to activate the program mode PROG program blinks on the display ...

Page 12: ... mode press and hold PROGRAM for 2 seconds to activate automatic program mode AUTO auto is displayed and begins to blink All available stations are programmed in the order of waveband reception strength The first programmed radio station is broadcast automatically Program radio stations manually Note You can program a maximum of 20 preset radio stations 1 Tune to a radio station 2 Press PROGRAM to...

Page 13: ... rewind forward the tape press To stop play press Note When you play or record a tape the sound source cannot be changed 8 Adjust sound Adjust volume 1 During play press VOL to increase decrease the volume Select a preset sound effect 1 During play press DSC repeatedly to select POP pop JAZZ jazz CLASSIC classic ROCK rock Enhance bass 1 During play press DBB to turn on or off dynamic bass enhancem...

Page 14: ...ert a blank tape and close the tape compartment 5 To record from a specific track press to select the track 6 To record tracks in a specific sequence program the tracks see Play options Program tracks 7 Press to start to record To pause press To resume press again To stop press Record from radio 1 Tune to a radio station 2 Press to open the tape door 3 Insert a blank tape and close the tape compar...

Page 15: ...igits are displayed and begin to blink 5 Press to set the minute 6 Press TIMER to confirm The timer is set and activated To select a source to activate as the alarm sound 1 Press DISC TUN AUX MP3 LINK or TAPE to select a source For DISC ensure that there is a disc in the disc compartment ForTUNER tune to a radio station For AUX MP3 LINK ensure that the external device is connected and turned on Fo...

Page 16: ... Harmonic Distortion 3 Signal to Noise Ratio 45 dB MW Tuning Range 531 1602 kHz Tape deck Frequency Response Normal tape type I 125 8000Hz 8dB S N Ratio Normal tape type I 35dBA Wow and flutter 0 4 DIN General information AC Power 220 230V 50 Hz Operation Power Consumption 44 W Standby Power Consumption 0 9 W Dimensions Main Unit W x H x D Speaker Box W x H x D 220 x 290 x 271 mm 189 x 290 x 175 m...

Page 17: ...e disc lens After prolonged use dirt or dust may accumulate at the disc lens To ensure good play quality clean the disc lens with Philips CD lens cleaner or any commercially available cleaner Follow the instructions supplied with cleaner Clean the heads and the tape paths To ensure good recording and play quality clean the heads A the capstan s B and pressure roller s C after every 50 hours of tap...

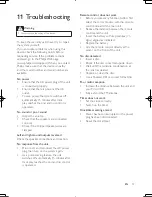
Page 18: ...ocation No response from the unit Disconnect and reconnect the AC power plug then turn on the system again As a power saving feature the unit switches off automatically 15 minutes after track play reaches the end and no control is operated Remote control does not work Before you press any function button first select the correct source with the remote control instead of the main unit Reduce the di...

Page 19: ...Specifications are subject to change without notice 2012 Koninklijke Philips Electronics N V All rights reserved FWM154_05_UM_V3 0 ...

Reviews: