English
49
Using the Disc Library
TIPS:
Up to 999 discs (or 9000 titles ) can be stored in the disc library.
Maximum titles per disc is 999.
The Disc Library is an integrated database
in this recorder. It gives you a quick and
easy access to the recordings you have
made onto the recordable DVDs.
The Disc Library keeps the information
on which video is recorded on which
disc, length of recording and remaining
disc space.
Storing the recorded DVD
data in the Disc Library
This recorder will assign the disc a
number, and keep track of what you have
recorded and update the data
automatically whenever you add in new
recording to the disc.
A
Press
HDD-BROWSER
on the remote
control.
B
Load in a recordable DVD.
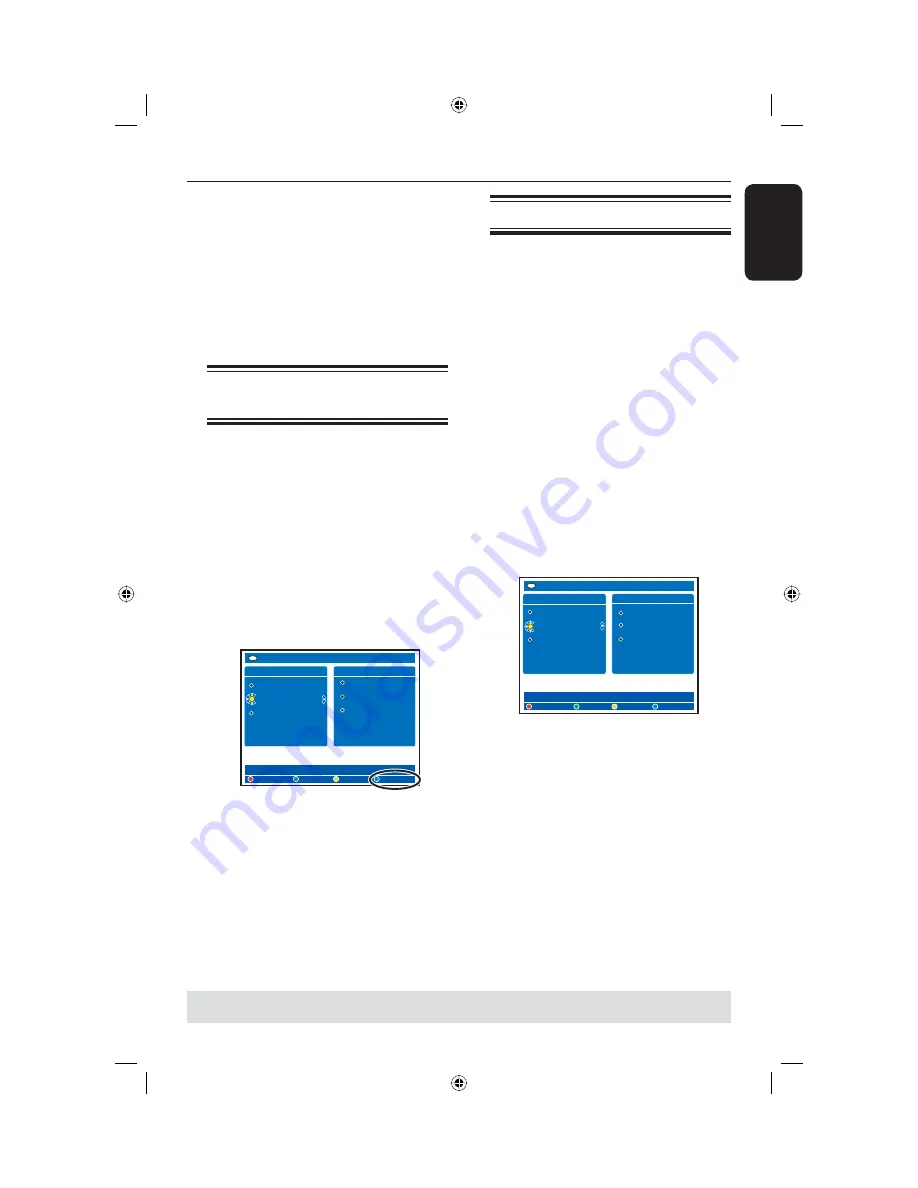
If {
TO LIBRARY
} appears, it means
this disc has not be added to the Disc
Library.
SOURCES 1/3
Hard Disk
Disc Tray
Disc Library
Video
Audio
Photo
+R
CONTENT
[BROWSER]
TO LIBRARY
C
Press the
Blue
button on the remote
control for {
TO LIBRARY
}.
The assigned disc number appears and
the disc tray opens automatically
D
Write the same disc number on the disc
and disc’s cover for easy locating the
appropriate disc next time, then press
OK
to exit.
Finding a recorded title
To do this, the recorded disc data must
have been stored in the Disc Library. The
appropriate disc does not have to be in
the recorder.
A
Press
HDD-BROWSER
on the remote
control.
B
Press
to select {
Disc Library
}, then
press
to select {
SORTING
} menu.
C
Use
keys to select one of the
sorting options.
{
Alphabetical
} - Lists all the titles
by alphabetical order.
{
Numerical
} - Lists all the discs by
numerical order.
D
Press
repeatedly until the {
DISCS
}
or {
TITLES
} and {
INFO
} menus
appears.
DISCS
001
002
003
My Holiday
My Pictures
Celebrations
+R
TITLES
[BROWSER]
REMOVE DVD
GET TITLE
E
Highlight the title you want and press the
Blue
button on the remote control for
{
GET TITLE
}.
A message showing the disc number
appears.
F
Load in the appropriate disc and start
playback.
If the disc library becomes full, you will
have to delete some of the discs data in
order to use the memory for new discs.
Select a disc number from the {
DISCS
}
menu, then press the
Red
button for
{
REMOVE DVD
}.
dvdr5350H_UK_Eng2.indd 49
dvdr5350H_UK_Eng2.indd 49
2005-10-10 10:59:42 AM
2005-10-10 10:59:42 AM


